

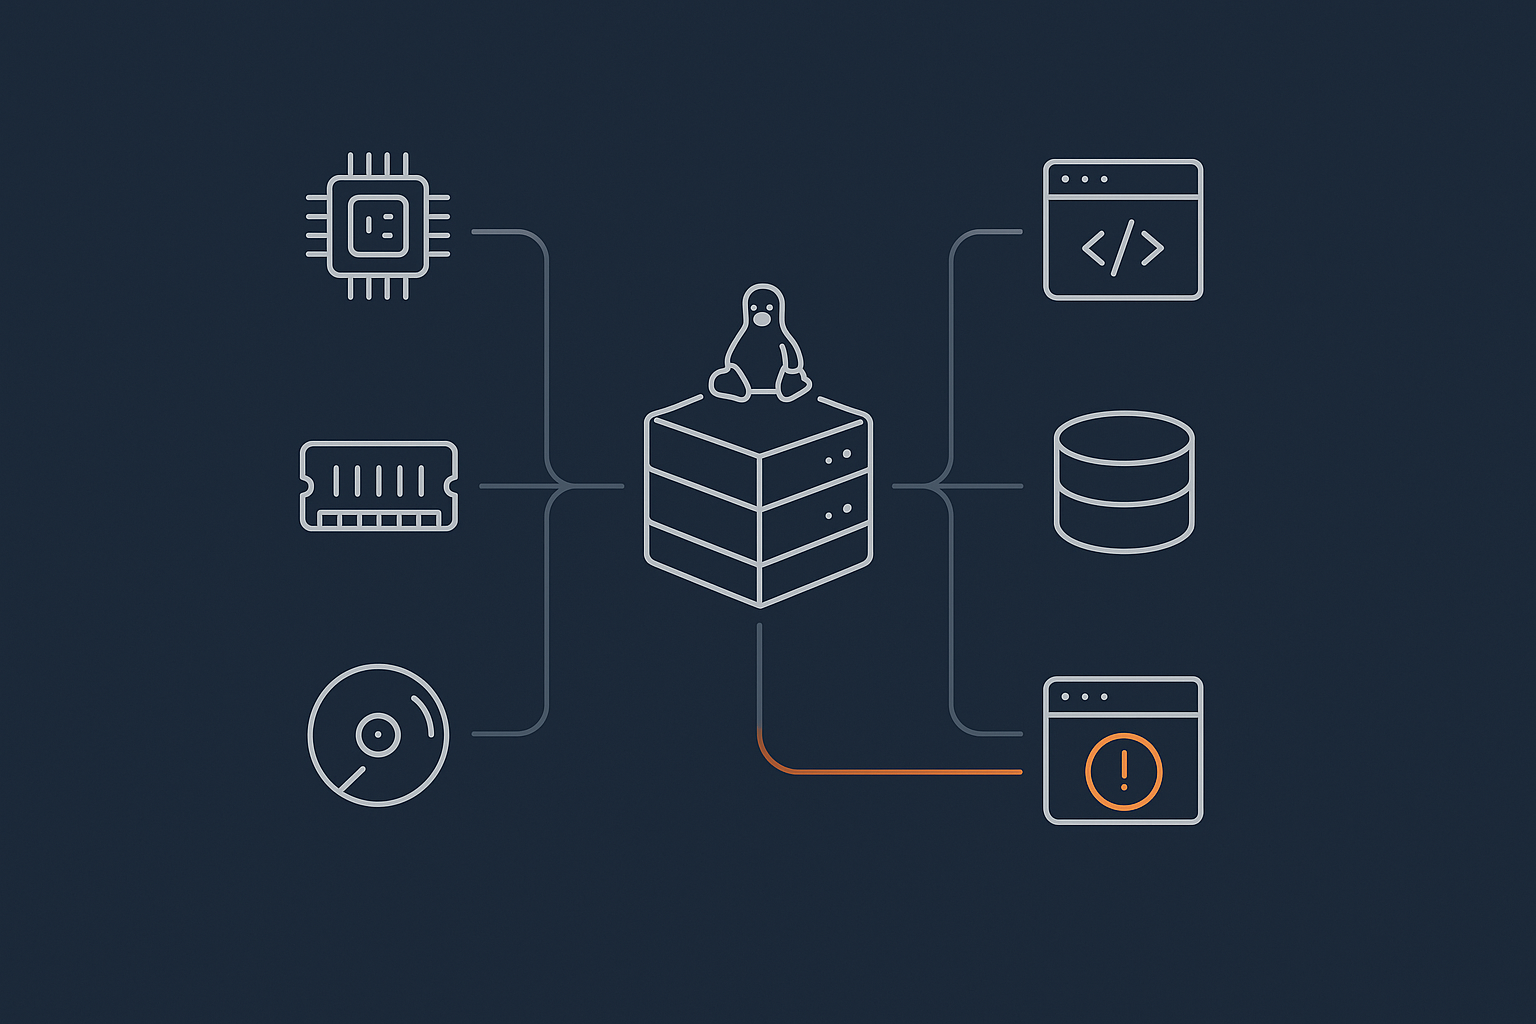
Who This Monitoring Guide Is For (And What You Will Set Up)
Typical situations: from shared hosting to your own VPS
You may have moved from shared hosting to a VPS because you needed more control, better performance or specific software. The trade‑off is that you now have more responsibility for keeping the server healthy.
This guide is written for people who:
- Run one or a handful of sites on a small Linux VPS
- Are comfortable following clear instructions, but are not full‑time system administrators
- Want early warning when something is wrong, without learning complex monitoring suites
It also applies if you are on a virtual dedicated server or a small dedicated box. The same principles and commands apply, and the ideas here scale up well.
If you are still deciding between managed and unmanaged virtual dedicated servers, this article will also show you what “doing it yourself” actually involves, at least at a basic level.
What “simple, reliable monitoring” looks like in practice
When people hear “monitoring” they often imagine dashboards, graphs and complex alert rules. Those tools are valuable, but you do not need them to get started.
Simple, reliable monitoring on a small VPS usually means:
- A few automated checks that run every few minutes
- Email alerts when:
- Disk space is low
- CPU or load is unusually high
- Your site is not responding
- Key services such as the web server or database are down
- Occasional manual checks that help you build a sense of “what normal looks like”
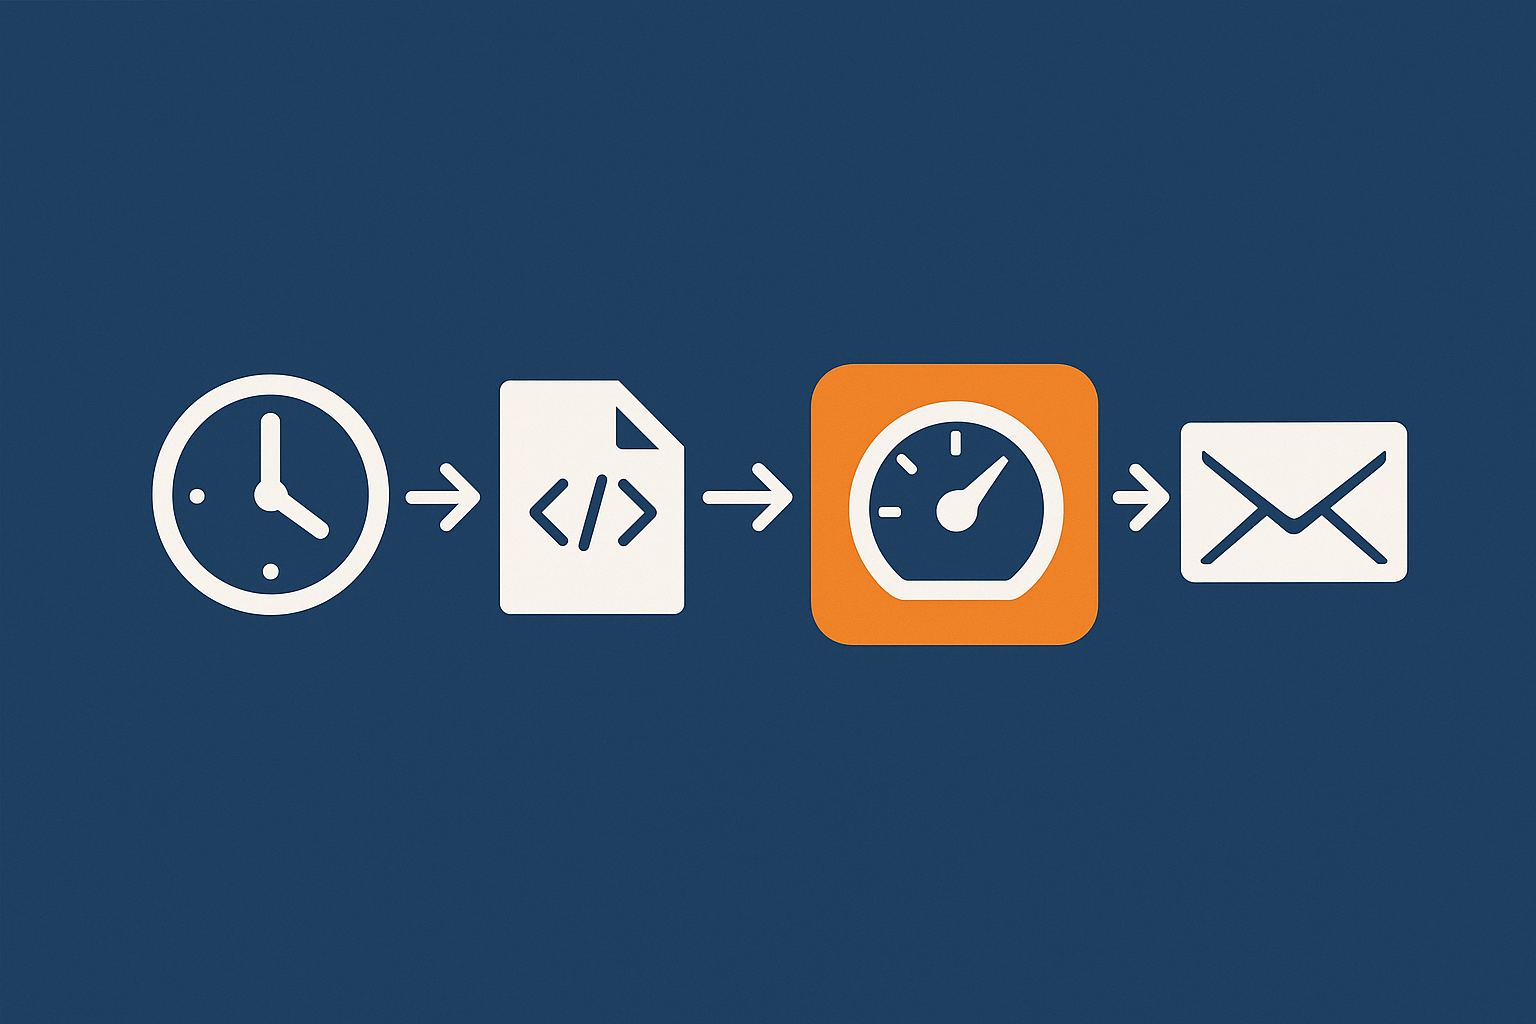
The tools for this are already on your server or can be installed with a couple of commands. You will glue them together with short shell scripts and cron jobs.
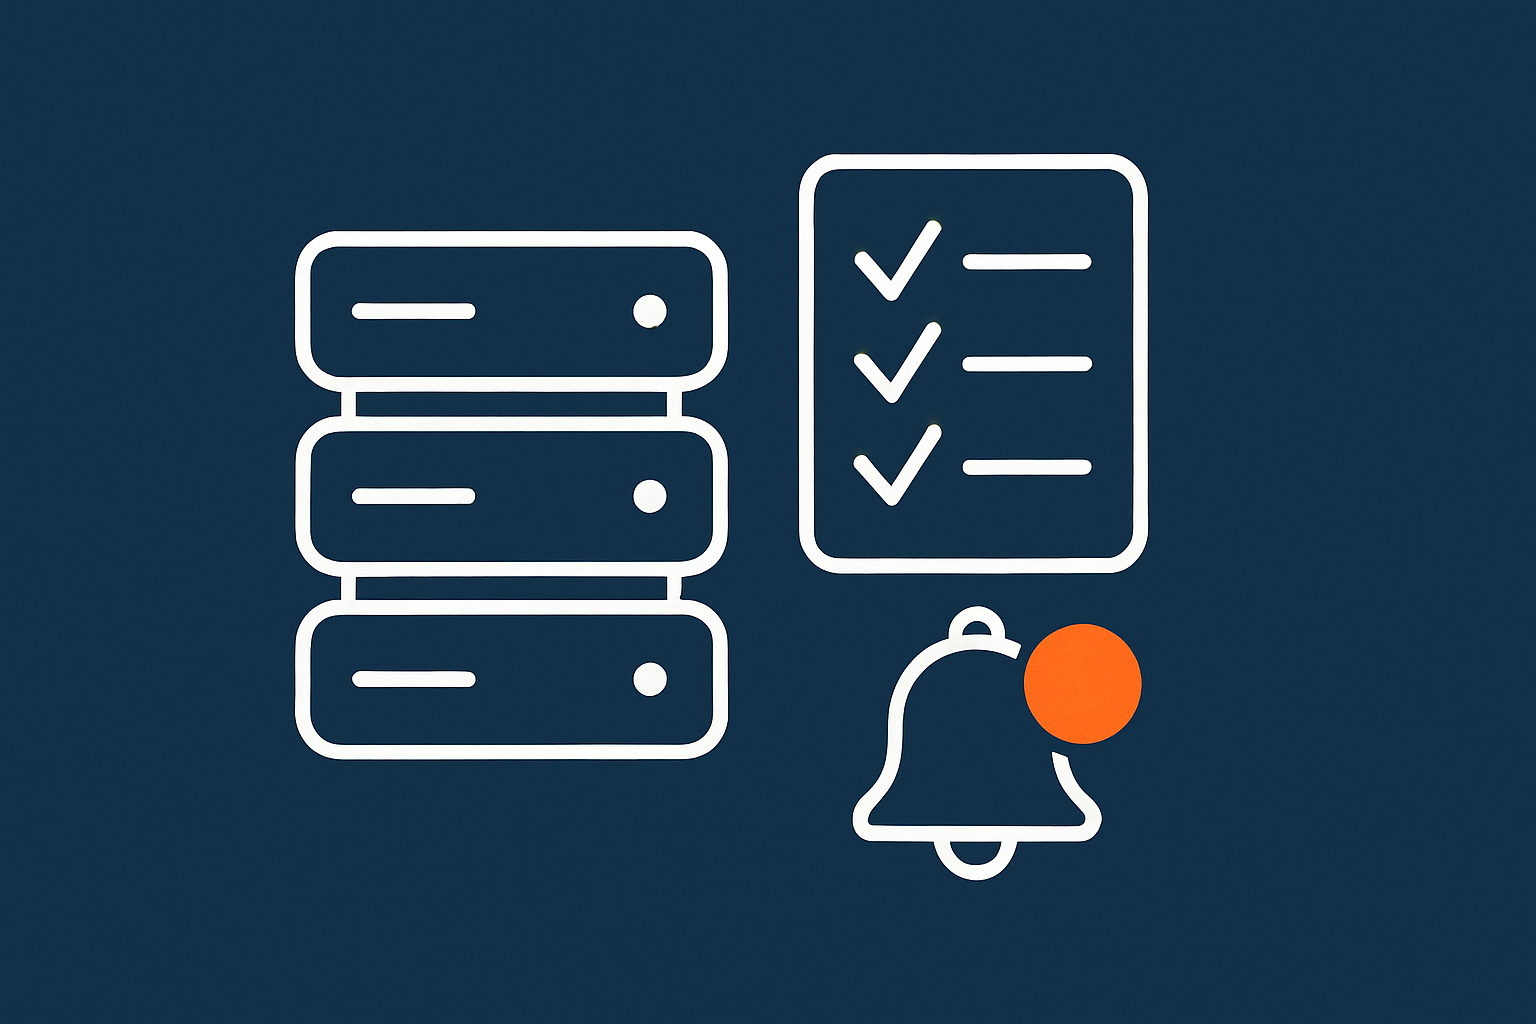
What you will have at the end: a small, practical monitoring checklist
By the end of this guide you will have:
- Manual commands you can run to check CPU, RAM, disk and services
- An email alert when disk space on your main partition goes below a threshold you choose
- Basic alerts when CPU load is consistently too high
- A simple HTTP check from your server to your site, with an alert if it fails
- Examples of log‑based alerts to catch repeating errors
- A small checklist you can review daily, weekly and quarterly
If you are completely new to VPS administration, you may find it useful to pair this with our “first steps” article: First 48 Hours on a New Linux VPS: A Safe Setup Checklist for Beginners.
Monitoring Basics in Plain English
The difference between monitoring, logging and uptime checks
Before typing commands, it helps to separate three related ideas:
- Monitoring is continuous observation of key measurements such as CPU, RAM, disk and response time. Monitoring tools usually raise alerts when thresholds are crossed.
- Logging is recording events and messages to files. Logs say what actually happened, in detail. Monitoring often reads logs to decide whether to alert.
- Uptime checks are simple “is it up?” tests, for example a service that visits your site every minute and alerts if it fails.
In this guide you will implement very small pieces of all three. If you later want deeper log knowledge, see Understanding System Logs on Linux and Where to Find Them.
Key things to monitor on a small Linux VPS
CPU, RAM and load
Your server’s processor and memory control how many requests it can handle at once. Useful things to watch are:
- CPU usage: high values for short bursts are normal; consistently high usage might indicate heavy traffic, slow code or a stuck process.
- RAM usage: if memory is constantly full, the server may start swapping, which slows everything down.
- Load average: a simple measure of how much work your server is trying to do. On a 2‑core VPS, a load of 1 to 2 is usually acceptable; a sustained load of 5 or more likely needs attention.
Disk space and inode usage
Running out of disk space is one of the most disruptive events on a server. It can stop databases from writing, logs from rotating and even prevent logins in some cases. For WordPress sites, this often appears as failures to upload media, create backups or update plugins.
You also have a count of file entries called inodes. A huge number of small files can exhaust inodes even if “disk space” looks fine. Monitoring both space and inodes is therefore useful.
Critical services: web server, PHP, database
For most small VPS setups, the essential services are:
- The web server (for example
nginxorapache2) - PHP process manager (for example
php-fpm) - The database (for example
mysqlormariadb)
If any of these stop, your WordPress or WooCommerce site will be unavailable. Monitoring can check whether they are running and whether they respond.
External checks: can people actually reach your site?
Even if your VPS looks healthy from the inside, visitors may still not reach your site if there are DNS, SSL or network routing issues.
Two types of external check help here:
- A simple HTTP check from another location (an uptime monitoring service)
- (Optional) Using a performance and security layer such as the G7 Acceleration Network, which can both cache content and absorb abusive traffic before it hits your VPS
Why “too many alerts” is as bad as none
When you first set up monitoring, it is tempting to alert on everything. The problem is that if you receive frequent alerts that are not actionable, you quickly stop paying attention. This is known as “alert fatigue”.
In this guide we will focus on a small set of high‑value alerts that are:
- Rare in normal operation
- Clear in meaning
- Linked to straightforward next actions
You will also see how to tweak thresholds so they fit your particular VPS and traffic pattern.
Safety First: Access, Packages and Avoiding Common Mistakes
Logging in safely over SSH
To configure monitoring you will use SSH to access your VPS. It is fine to start from your hosting control panel’s console if you prefer, but eventually SSH is more comfortable.
Use a normal user, avoid working as root where possible
On many VPS images, you may initially have a root login. It is safer to create a regular user and only use elevated privileges via sudo when required. This reduces the risk of accidental changes that affect the entire system.
If you do not yet have a normal user with sudo, you can create one from a root shell:
adduser alice
usermod -aG sudo alice
What this does:
adduser alicecreates a new user calledaliceand prompts you for a password and basic details.usermod -aG sudo aliceaddsaliceto thesudogroup so that user can run admin commands withsudo.
To undo or adjust:
- You can remove sudo access with
sudo deluser alice sudo. - You can remove the user entirely with
sudo deluser --remove-home alice, but be very careful: this deletes their home directory and any files inside it.
Commands to treat with extra care: userdel, deluser with --remove-home, or anything that removes system users or files, especially when logged in as root.
Quick recap: how to check who you are logged in as
Before running any command, it is wise to confirm which user you are using.
whoamiThis prints your current username, for example alice or root. If you see root, consider switching to your normal user:
su - aliceOr disconnect and reconnect as that user via SSH.
Updating packages before you start
Monitoring scripts often rely on standard utilities that come from your package manager. It is sensible to ensure your system packages are up to date before installing extras.
On Debian or Ubuntu based systems:
sudo apt update
sudo apt upgrade
What this does: apt update refreshes the list of available packages. apt upgrade installs newer versions of already installed packages.
Impact and rollback:
- This can update critical components such as the kernel or web server.
- On production systems, consider taking a snapshot first using your VPS control panel.
- If a service behaves differently after an upgrade, you can check
/var/log/apt/history.logto see what changed.
On RHEL, AlmaLinux or CentOS systems you would instead use:
sudo dnf updateCommands to be careful with when monitoring
Monitoring typically involves reading information, not changing it. However, some commands can still have side effects:
rm: removing log files or directories can break log rotation or services. Prefer renaming or truncating carefully.systemctl restart: restarting services is often necessary, but do it intentionally. Restarting the database or web server will briefly interrupt your site.crontab -r: this removes all cron jobs for a user. Usecrontab -einstead to edit safely.
Whenever you add or edit monitoring scripts, keep a small notes file with what you changed and why. This makes it easier to adjust or remove things later.
Step 1: Get a Feel for Your Server with Built‑in Tools
Before creating automated alerts, it helps to run some manual checks. This gives you a sense of what “normal” looks like on your particular VPS.
Checking CPU, RAM and load with top and uptime
top is a standard tool that shows processes, CPU, memory and load in real time.
topWhat to look for:
- The lines beginning with
%Cpu(s)andKiB Memor similar - The
load averagenumbers at the top right - Processes at the top of the list using a large share of CPU or memory
Press q to exit top.
You can also view the current load and uptime with:
uptimeYou will see output like:
12:34:56 up 10 days, 3:42, 1 user, load average: 0.25, 0.40, 0.30The three numbers are the average system load over 1, 5 and 15 minutes.
Checking disk space with df (and why full disks are dangerous)
df shows how much disk space is used and free on each mounted filesystem.
df -hWhat this does: lists disk usage in human‑readable units (K/M/G). Look for the partition that contains / (root), as that usually holds your system, logs and often your website files.
If you see usage above about 80 percent, it is a good moment to tidy old backups, logs or temporary files. If you are close to 100 percent, see What Happens When a Linux Server Runs Out of Disk Space (And How to Fix It Safely) before deleting anything.
You can also check inode usage:
df -iThis shows how many “file slots” are used and free on each filesystem.
Checking running services with systemctl and ps
To see whether your web server and database are running, use systemctl.
sudo systemctl status nginx
sudo systemctl status mysql
Adjust the service names if you use apache2 or mariadb instead.
What this does: shows whether the service is active (running) and prints recent log lines. Press q to exit each view.
You can also list key processes with ps:
ps aux | grep php-fpmThis finds lines that mention php-fpm, which is the PHP FastCGI process manager commonly used with WordPress.
Turning these manual checks into a simple “health baseline”
Spend a few days running these commands at different times:
uptimetopfor 30 secondsdf -handdf -isystemctl statusfor your main services
Make a note of typical values when your site feels responsive. This will help you choose sensible thresholds in later steps.
Step 2: Set Up Email Alerts for Disk Space (The One Alert You Must Have)
Why disk space alerts matter so much for WordPress and WooCommerce
When a server runs out of disk space, many things can stop at once:
- WordPress cannot upload media or create backups
- WooCommerce orders might fail if the database cannot write to disk
- Log files cannot rotate, which can hide the real cause of problems
Because disk usage usually increases slowly, a simple alert when space gets low gives you plenty of time to tidy files or grow the disk. That is why, if you set up only one automated alert, it should be this one.
Check current free space and pick sensible thresholds
First, check your current usage again:
df -h /This focuses on the root filesystem. Suppose the output includes something like:
/dev/vda1 40G 20G 18G 53% /Here you are using 53 percent of a 40 GB disk, with 18 GB free. On a site that grows slowly, you might choose to alert at 80 percent and 90 percent so you have time to act.
We will build a script that:
- Checks usage for
/ - Sends an email if it is above a chosen percentage
Install mail utilities so the server can send alerts
For the server to email you, it needs a simple mail transport agent (MTA) or at least a command that can hand off mail to another service.
On Debian or Ubuntu, a lightweight option is mailutils:
sudo apt install mailutilsWhat this does: installs the mail command and related tools. During installation it may ask a couple of questions about local mail delivery. For basic use you can usually accept the defaults.
Testing mail:
echo "Test email from my VPS" | mail -s "VPS test email" your@email.addressThen check your inbox and spam folder. If you do not receive the email:
- Confirm you typed your address correctly
- Check
mailexit status withecho $?(0 means success) - Consider using an external SMTP service and a tool like
ssmtpormsmtpif deliverability remains poor
Create a simple disk check script
Now create a short script under /usr/local/bin. This directory is a good place for your own utilities.
sudo nano /usr/local/bin/check_disk.shPaste in the following:
#!/bin/bash

THRESHOLD=80          # percentage used at which to alert
PARTITION="/"         # what to check
EMAIL="your@email.address"

USAGE=$(df -h "$PARTITION" | awk 'NR==2 {gsub("%","",$5); print $5}')

if [ "$USAGE" -ge "$THRESHOLD" ]; then
  HOSTNAME=$(hostname)
  SUBJECT="Disk space alert on $HOSTNAME: $USAGE% used"
  MESSAGE="Warning: partition $PARTITION on $HOSTNAME is $USAGE% full."

  echo "$MESSAGE" | mail -s "$SUBJECT" "$EMAIL"
fi
Save and exit (in nano, Ctrl+O, Enter, then Ctrl+X).
Make the script executable:
sudo chmod +x /usr/local/bin/check_disk.shWhat this script does:
- Reads the usage percentage for the
/partition usingdfandawk - If usage is greater than or equal to
THRESHOLD, it sends a short email
To adjust or undo:
- Edit thresholds or email address with
sudo nano /usr/local/bin/check_disk.sh - Remove the script entirely with
sudo rm /usr/local/bin/check_disk.shif you no longer want it (take care withrm)
Schedule it with cron and test a real alert
Cron is a scheduler that can run commands at regular intervals. To run this check every 10 minutes for the root user:
sudo crontab -eSelect your preferred editor if prompted, then add this line at the end:
*/10 * * * * /usr/local/bin/check_disk.sh >/dev/null 2>&1What this does:
*/10 * * * *means “every 10 minutes”- Standard output and errors are sent to
/dev/nullso cron does not email you unless your script sends mail itself
Save and exit.
Testing the script:
- Temporarily lower the threshold in the script to, say,
THRESHOLD=1so it will trigger immediately - Run the script manually:
sudo /usr/local/bin/check_disk.sh - Check that you receive the alert email
- Set the threshold back to your real choice and save
Common pitfalls: noisy alerts, wrong partitions, mail not sending
A few things to watch for:
- Noisy alerts: if you receive frequent emails but do not plan to expand or tidy the disk, raise
THRESHOLDslightly. Disk usage that hovers between 80 and 82 percent may generate a run of alerts. - Wrong partition: if your site files are on a different mount (for example
/homeor/var), setPARTITIONto that path instead of/. Usedf -hto confirm. - Mail not sending: if the script runs but you receive no email, check
/var/log/syslogor/var/log/mail.logfor clues, or consider an external SMTP relay.
Step 3: Monitor CPU, RAM and Load with Lightweight Tools
Decide what is “too high” for your VPS
There is no universal “good” CPU or load level. Instead, use the baseline you observed in Step 1.
- On a 2 vCPU VPS with modest traffic, a sustained load above 3 or 4 for more than a few minutes may be worth investigating.
- If your site has regular peaks (for example during mail campaigns), you may set higher thresholds to avoid unnecessary alerts.
Install a simple metrics tool (htop, vmstat, or dstat) for manual checks
You already used top. Many people find htop easier to read.
sudo apt install htopRun it with:
htopWhat this does: shows coloured bars for CPU and memory usage, along with a list of processes. Use arrow keys to navigate; press q to quit.
For a compact snapshot suitable for logging, vmstat is also handy:
vmstat 1 5This prints 5 lines of statistics at 1 second intervals.
Create a basic high‑load alert script
We will create another small script that checks the 5‑minute load average and sends an email if it is too high.
sudo nano /usr/local/bin/check_load.shPaste in:
#!/bin/bash

THRESHOLD=4.0         # adjust to suit your VPS and baseline
EMAIL="your@email.address"

LOAD5=$(awk '{print $2}' /proc/loadavg)

# Convert to integer comparison by removing decimal point
LOAD_INT=${LOAD5%.*}
THRESH_INT=${THRESHOLD%.*}

if [ "$LOAD_INT" -ge "$THRESH_INT" ]; then
  HOSTNAME=$(hostname)
  SUBJECT="High load on $HOSTNAME: 5-min load $LOAD5"
  MESSAGE="Warning: 5-minute load average on $HOSTNAME is $LOAD5.\n\nCheck running processes with: top or htop"

  echo -e "$MESSAGE" | mail -s "$SUBJECT" "$EMAIL"
fi
Save, exit, then:
sudo chmod +x /usr/local/bin/check_load.shWhat this does:
- Reads the 5‑minute load average from
/proc/loadavg - Compares it to
THRESHOLDin a simple integer way - Sends a short email if it is too high
For more precise threshold logic, you could use bc or Python, but this simple comparison works for many cases.
Schedule and test CPU / load alerts with cron
Add another cron entry:
sudo crontab -eAdd:
*/5 * * * * /usr/local/bin/check_load.sh >/dev/null 2>&1This checks load every 5 minutes.
Testing: To simulate high load briefly, you can run a CPU‑heavy command in another shell, for example:
yes > /dev/null &This starts a busy process in the background. Let it run for a minute, then kill it:
pkill yesCheck your email to confirm that an alert was triggered when load spiked. Remove the yes process promptly so it does not interfere with normal traffic.
Linking alerts to real issues: WordPress cron, bots, backups and traffic spikes
When a load alert arrives, try to link it to a specific cause. Common ones on WordPress sites include:
- Heavy background tasks from plugins, such as backup or migration tools
- WordPress cron jobs that run long or frequently
- Search engine crawlers or bots hitting many pages rapidly
- Genuine traffic spikes, for example from marketing campaigns
Use top or htop to identify which processes are most active when the alert fires. For a deeper WordPress specific approach, see How to Troubleshoot High CPU and Memory Usage on WordPress (Before You Upgrade Hosting).
If you regularly see high load from abusive or non‑human traffic, adding a protective layer such as the G7 Acceleration Network can filter that traffic before it hits PHP or the database, which often stabilises CPU and load without needing a larger VPS.
Step 4: Service and Uptime Checks: Is the Site Actually Working?
Check your web server and database locally
We touched on systemctl status earlier. As part of your monitoring, you can also run small local checks to ensure the services respond, not just that they are running.
For MySQL or MariaDB, you can test a simple connection:
mysqladmin pingIf the database is healthy and accessible, you should see:
mysqld is aliveFor the web server, you can make a local HTTP request with curl.
Use curl to test your own site from the server
curl is a command‑line HTTP client. From your VPS, try:
curl -I https://yourdomain.exampleWhat this does: sends a HEAD request to your site and prints response headers. A healthy response will show a status line like:
HTTP/2 200
or
HTTP/1.1 200 OKNon‑200 statuses (such as 500) suggest that PHP or your application code is returning errors, which your monitoring can catch.
Set up a simple local HTTP check with cron and email alerts
We will create another script that checks for a 200 OK response.
sudo nano /usr/local/bin/check_http.shPaste in:
#!/bin/bash

URL="https://yourdomain.example"
EMAIL="your@email.address"

HTTP_CODE=$(curl -o /dev/null -s -w "%{http_code}" "$URL")

if [ "$HTTP_CODE" -ne 200 ]; then
  HOSTNAME=$(hostname)
  SUBJECT="HTTP check failed on $HOSTNAME for $URL (status $HTTP_CODE)"
  MESSAGE="HTTP check for $URL from $HOSTNAME returned status $HTTP_CODE."

  echo "$MESSAGE" | mail -s "$SUBJECT" "$EMAIL"
fi
Save, exit, then:
sudo chmod +x /usr/local/bin/check_http.shAdd a cron entry:
sudo crontab -eAdd:
*/5 * * * * /usr/local/bin/check_http.sh >/dev/null 2>&1This checks your site every 5 minutes from the VPS itself.
Testing: Temporarily change the URL in the script to something invalid (for example add /nonexistent-page) and run it manually to confirm you receive an alert. Then change it back.
Complementing this with an external uptime monitor
The local check confirms that your web stack and code return a healthy response from the server’s perspective. However, it will still “succeed” if an external network or DNS issue prevents visitors from reaching the site.
That is why it is helpful to add an external uptime monitor that requests your site from another network. There are many services that can do this; look for one that:
- Checks at least every minute
- Supports HTTPS
- Notifies you by email or another channel you actually use
Most managed virtual dedicated servers will include some form of external uptime and service monitoring as part of the platform, which can save you running separate tools.
Avoiding alert storms when maintenance is planned
When you plan maintenance that temporarily stops the web server or database, it is sensible to pause or silence relevant alerts. Some options:
- Comment out lines in your root
crontabfor the duration of the work, then uncomment afterwards - Use “maintenance” features of your external uptime monitoring service
- Temporarily change alert email addresses if necessary
Remember to restore the checks afterwards. Keeping a short maintenance checklist that includes “re‑enable monitoring” is helpful.
Step 5: Turn System Logs into Early Warnings (Without Drowning in Detail)
Where to find key Linux and web server logs
On most distributions, system and service logs live under /var/log. Common ones include:
/var/log/syslogor/var/log/messages: general system events/var/log/auth.log: SSH logins and authentication events/var/log/nginx/access.logand/var/log/nginx/error.log: for Nginx/var/log/apache2/access.logand/var/log/apache2/error.log: for Apache/var/log/mysql/error.logor similar: database issues
Our article Understanding System Logs on Linux and Where to Find Them gives more distribution‑specific paths.
Spotting repeating errors that deserve an alert
Not every isolated error line is worth an email. You usually care about issues that:
- Repeat many times in a short period
- Indicate something is unavailable
- Suggest security relevant events (such as repeated failed logins)
Examples:
- Multiple “PHP Fatal error” entries in your web server error log
- Repeated “Access denied for user” in the MySQL log
- Many SSH authentication failures from the same IP in
auth.log
A simple log‑based alert example with grep and cron
We will build a small example that alerts when more than a certain number of “PHP Fatal error” lines appear in the last 5 minutes.
This example assumes Nginx with the PHP errors logged in /var/log/nginx/error.log. Adjust the path for your environment.
sudo nano /usr/local/bin/check_php_errors.shPaste in:
#!/bin/bash

LOGFILE="/var/log/nginx/error.log"
EMAIL="your@email.address"
LIMIT=5

# Count PHP Fatal errors in the last 5 minutes
COUNT=$(awk -v d1="$(date --date='5 minutes ago' '+%Y/%m/%d %H:%M:%S')" \
              -v d2="$(date '+%Y/%m/%d %H:%M:%S')" \
  '$0 >= d1 && $0 <= d2 && /PHP Fatal error/' "$LOGFILE" | wc -l)

if [ "$COUNT" -ge "$LIMIT" ]; then
  HOSTNAME=$(hostname)
  SUBJECT="PHP Fatal errors on $HOSTNAME: $COUNT in last 5 minutes"
  MESSAGE="$COUNT PHP Fatal errors found in $LOGFILE in the last 5 minutes on $HOSTNAME."

  echo "$MESSAGE" | mail -s "$SUBJECT" "$EMAIL"
fi
Save, exit, then:
sudo chmod +x /usr/local/bin/check_php_errors.shAdd a cron entry to run this every 5 minutes:
sudo crontab -eAdd:
*/5 * * * * /usr/local/bin/check_php_errors.sh >/dev/null 2>&1Notes:
- This script assumes log lines begin with a timestamp in
YYYY/MM/DD HH:MM:SSformat, as Nginx often does by default. If your format differs, the date comparison will need adjustment. - Parsing logs with shell tools is a little fragile, so test carefully on a non‑production server if possible.
When to move to a real log monitoring service
As soon as you have more than a couple of log‑based alerts, you may find it easier to use a dedicated log or alerting platform. These can:
- Collect logs from many servers centrally
- Provide dashboards and search tools
- Send alerts based on flexible patterns and thresholds
If you run only a small number of business sites and do not want to manage such tools yourself, using a managed platform such as managed Managed WordPress hosting or managed virtual dedicated servers can move most of this responsibility onto the hosting team.
Keeping Alerts Useful: Tuning, Testing and Documentation
Run safe tests regularly so you know alerts still work
It is easy to forget that monitoring exists until it fails silently. To keep confidence high:
- Once a month, trigger a test alert for each script
- For disk alerts, temporarily lower
THRESHOLDand run the script manually - For HTTP alerts, briefly point to a non‑existent URL
Keep a note of the last time each alert was tested and whether it succeeded.
Adjust thresholds so you see real problems, not normal peaks
If you receive alerts that consistently turn out to be harmless, adjust:
- Disk usage thresholds upwards or downwards
- Load thresholds higher if your VPS is intentionally busy during certain tasks
- Log‑based limits (such as
LIMITin the PHP error script) to allow for occasional harmless errors
The aim is that when an alert arrives you feel that it likely indicates something worth investigating, not a routine event.
Write a one‑page “when this alert fires, do this” playbook
A small text file or document that lists each alert, what it means and first steps is surprisingly helpful, especially when you are tired or in a hurry.
For each alert, include:
- Alert name: “Disk 80% on /”
- Command to confirm:
df -h / - First actions: remove old backups from
/var/backups, rotate logs, etc. - Who to contact or what to check: your host, developer, or documentation
Keep it somewhere obvious, such as /root/monitoring-playbook.txt and a copy in your password manager notes.
Linking monitoring with backups, capacity planning and SLAs
Monitoring does not stand alone. It connects naturally with:
- Backups: a disk alert might prompt you to adjust backup schedules or retention to free space safely.
- Capacity planning: frequent high load alerts may indicate it is time to add CPU or RAM, or to optimise application code.
- SLAs: if you have uptime or response time commitments to clients, these basic alerts help you detect issues early and respond within agreed timeframes.
On WordPress and WooCommerce, you might eventually combine these server‑level alerts with application‑level log and error monitoring such as described in Logging and Error Monitoring for WordPress and WooCommerce: A Practical Guide.
When a Managed VDS or Managed WordPress Is the Safer Choice
Signs you are spending too much time firefighting the server
Running an unmanaged VPS or virtual dedicated server means:
- Applying security and kernel updates
- Monitoring and tuning resource usage over time
- Investigating alerts and reading logs when something breaks
You may decide that a managed service is more appropriate if:
- Server work regularly takes time away from your core business
- Incidents feel stressful or frequent
- You are not comfortable applying security updates or troubleshooting crashes
Our article Managed vs Unmanaged Servers: Who Does What, And What Can Still Break? discusses these trade‑offs frankly.
What a good managed service should monitor for you
A well run managed virtual dedicated server service typically provides:
- 24/7 service and uptime monitoring
- Disk, CPU and memory monitoring with tuned thresholds
- Security monitoring for suspicious logins or attacks
- Proactive intervention, not just alerts
You still benefit from understanding the basics in this article, but you do not have to build and maintain all the scripts yourself.
How this fits with WordPress, WooCommerce and PCI conscious hosting
If your VPS mainly runs WordPress or WooCommerce sites, managed Managed WordPress hosting or specialised WooCommerce hosting can make even more sense.
Those platforms usually handle:
- PHP and web server tuning
- Database management and backups
- Application aware caching and image optimisation
- Security controls suitable for payment related traffic
The G7 Acceleration Network also optimises images to AVIF and WebP on the fly and filters abusive bots before they hit PHP or MySQL, which reduces both bandwidth costs and CPU load on your VPS.
Quick Reference: Minimal Monitoring Checklist for a Small Linux VPS
Daily / weekly manual checks
- Daily:
- Glance at your inbox for monitoring alerts
- Visit your site and a key admin page to confirm responsiveness
- Weekly:
- Run
df -handdf -ito confirm disk and inode usage are stable - Run
uptimeandtoporhtopto confirm CPU, RAM and load look similar to your baseline - Check
systemctl statusfor web server, PHP and database
- Run
Automated alerts you should have in place
- Disk usage on the main partition (for example alert at 80 percent and 90 percent)
- Load average above a threshold that fits your VPS and traffic
- HTTP check from the VPS to your main site URL (non‑200 statuses)
- External uptime monitoring from another network
- (Optional) Log‑based alerts for repeated PHP fatal errors or other key patterns
What to review with your hosting provider once a quarter
Every few months, take 30 minutes to review monitoring and capacity, ideally with your hosting provider if you use a managed service:
- Have you received any alerts more than once or twice?
- Did you have to manually extend disk space or RAM?
- Do you have enough performance headroom for peak events?
- Are backups and restores tested recently?
If your small monitoring setup is starting to feel like a lot to maintain, it may be time to look at managed virtual dedicated servers or Managed WordPress hosting as a way to keep the benefits of a fast VPS while offloading most of the operational work.
Whichever route you choose, taking the time to set up these simple checks and alerts will make your Linux VPS more predictable, easier to support and kinder to your future self.