
Why Plugin Bloat Hurts Speed, Stability and Security
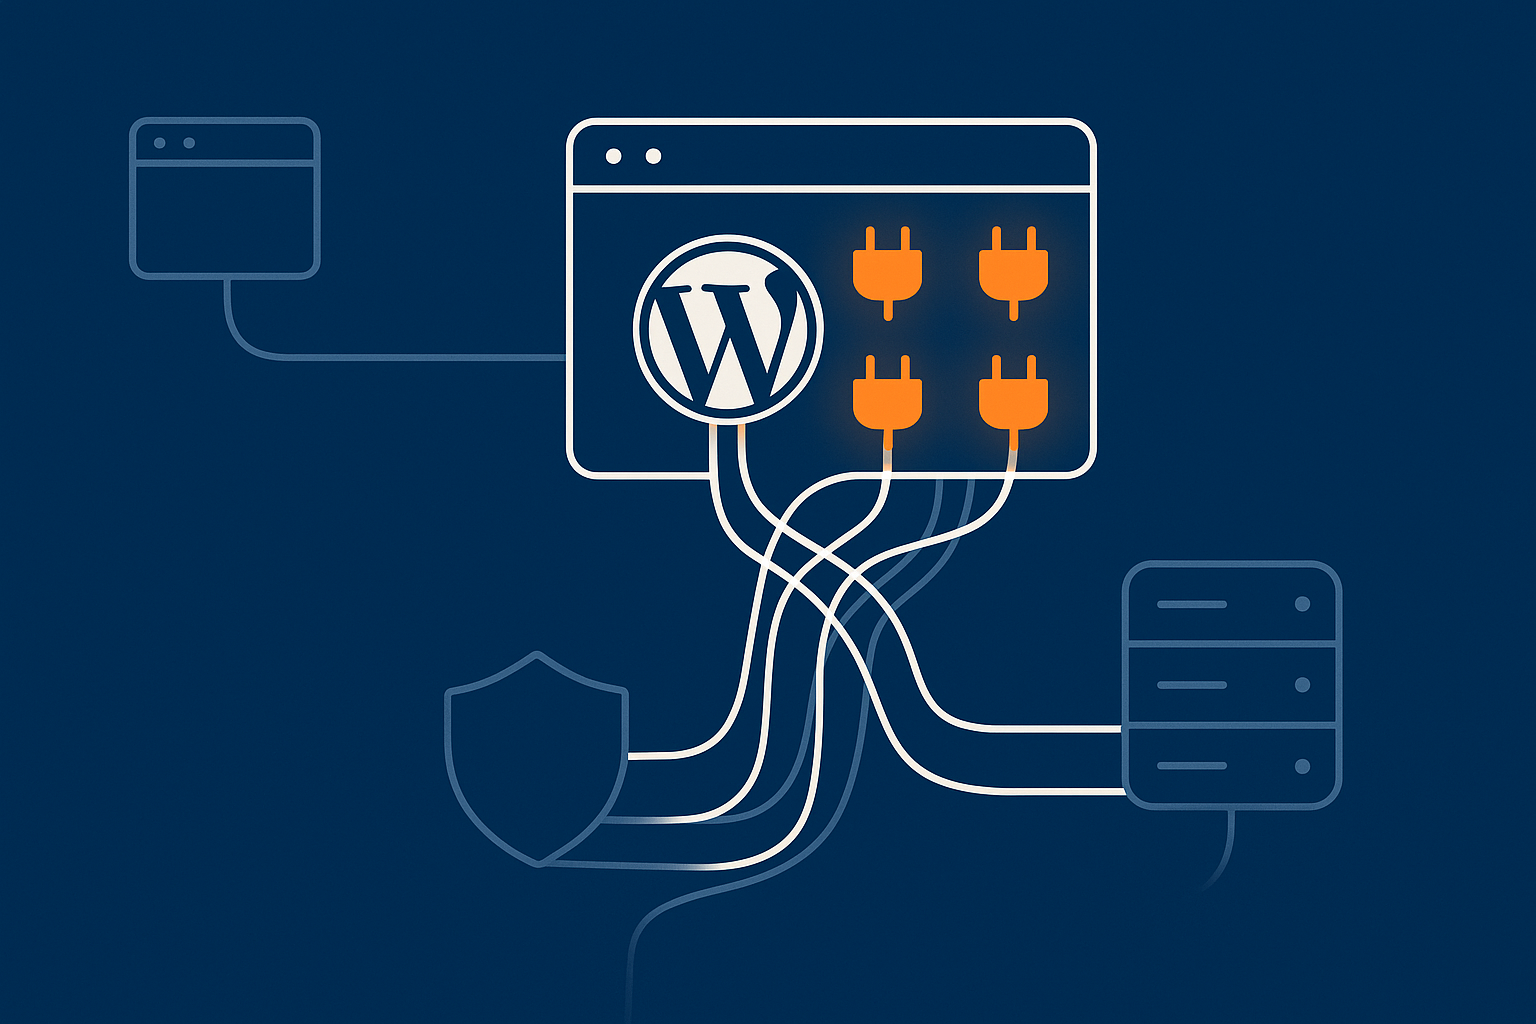
What plugin bloat actually is (beyond “too many plugins”)
Plugin bloat is not only about how many plugins you have installed. It is about:
- What each plugin does on every page load.
- How efficiently it is written and how often it hits the database or external APIs.
- How much overlap there is between plugins trying to do similar jobs.
- How well they are maintained and whether they still match your current needs.
A site with 15 lean, specialist plugins can run faster and safer than a site with 5 huge “do everything” add‑ons that load assets everywhere, query the database heavily and phone home on each request.
For WooCommerce stores, plugin bloat often shows up in:
- Dozens of small add‑ons for payment, shipping, coupons and dynamic pricing.
- Multiple marketing or analytics integrations all loading their own tracking scripts.
- Visual builders stacked on top of each other and on top of the theme.
Common symptoms: slow admin, high CPU, random errors and security warnings
Typical real‑world signs that plugins are getting out of control include:
- Slow wp‑admin: saving posts, updating products or viewing orders feels sluggish.
- Spikes in CPU or memory usage, especially during sales, marketing campaigns or heavy bot traffic.
- Random PHP errors or white screens right after a plugin update.
- Security warnings from your host or security tools about outdated or vulnerable plugins.
- Checkout problems: abandoned carts due to slow or failing payment pages.
If your WordPress admin is consistently slower than the public site, plugin load is often part of the cause. A separate guide, why your WordPress admin is slower than the front end, goes into more detail on pinpointing admin bottlenecks.
How bloated plugins impact Core Web Vitals and hosting costs
Bloated plugins directly affect:
- Time to First Byte (TTFB) through extra PHP processing and database queries.
- Largest Contentful Paint (LCP) by adding heavy scripts, styles and sliders.
- Cumulative Layout Shift (CLS) by injecting content and ads after initial render.
- Total Blocking Time (TBT) via large JavaScript bundles blocking the main thread.
More processing and heavier pages mean your server has to work harder. On cheaper shared plans that often shows up as:
- Resource limits being hit more quickly.
- Throttling or brief downtime during busy periods.
- Pressure to upgrade hosting before it is truly necessary.
The guide on reducing WordPress TTFB on UK hosting explains how plugin weight and database queries contribute to slow responses and what improvements to expect when you slim down.
Before You Start: Backups, Staging and Basic Monitoring
Make a clean backup you can actually restore
Before changing anything:
- Take a full backup of files and database using your host’s tools or a backup plugin.
- Test restore on a non‑production environment if possible, to confirm it really works.
- Store a copy off the server (cloud storage or secure download) in case the server fails.
If your provider offers hassle free WordPress maintenance, automated backups and verified restores will often be included, which reduces the risk of making changes.
Set up a staging site for testing plugin changes
A staging site is a clone of your live site where you can safely deactivate or remove plugins without affecting customers.
To prepare a useful staging environment:
- Clone the live site, including the database and uploads.
- Restrict access with a password or IP allow‑list so it is not indexed by search engines.
- Configure different payment gateways or disable live payments for WooCommerce testing.
Many providers of managed WordPress hosting include one‑click staging so you do not have to set this up manually.
Quick checks: uptime, resource graphs and error logs to watch while you tidy
As you audit and remove plugins, keep an eye on:
- Uptime monitoring to catch any unexpected outages after changes.
- CPU, RAM and I/O graphs in your hosting panel, so you can see whether load is dropping.
- PHP error logs and
debug.logfor new warnings or fatal errors.
The article on troubleshooting high CPU and memory usage on WordPress is useful if you want to confirm whether plugins are the main cause of your server strain before you start uninstalling them.
Step 1: Take a Full Inventory of Your Plugins

Export and document your current plugin list
Start with a clear picture of what is installed:
- Go to Plugins → Installed Plugins and export the list (or copy into a spreadsheet).
- Include plugin name, version, status (active / inactive) and a short note on its purpose.
- Note which plugins are network‑active if you are running multisite.
A simple spreadsheet with columns such as Plugin, Business purpose, Technical role, Status, Notes makes decisions much easier later.
Categorise plugins by business purpose (must‑have vs nice‑to‑have)
For each plugin, ask “what business goal does this support?”. Typical categories:
- Critical to revenue: WooCommerce core, payment gateways, subscriptions, core booking systems.
- Operationally essential: security integration with your host, backups (if not handled by hosting), core SEO plugin.
- Nice to have: social sharing buttons, certain popups, some analytics or heatmaps.
- Legacy / unknown: nobody is quite sure why they are there.
Mark plugins as Must‑have, Nice‑to‑have or Questionable. The last group often contains the easiest early wins.
Spot obvious red flags: duplicates, abandoned plugins and overlaps
Next, look for:
- Duplicate roles: two SEO plugins, two page builders, multiple lazy‑load or image optimisation plugins.
- Abandoned plugins: last updated years ago, or incompatible with your WordPress/PHP version.
- Do‑everything “mega” plugins: security suites that overlap with your host, marketing tools that add multiple features you do not use.
Flag anything that appears unmaintained when you check its page in the WordPress.org repository or its vendor’s site. These often bring both performance and security risk.
Step 2: Identify Heavy and High‑Risk Plugins
Measure performance impact with simple tools (no developer needed)
You do not need to be a developer to get a basic view of plugin impact. A practical approach:
- Pick a few key pages: homepage, a main category, a product page and checkout.
- Run them through tools like PageSpeed Insights or GTmetrix and note:
- TTFB
- Total page size
- Number of requests
- Use a plugin inspector (or your host’s tools) to see which plugins load scripts or styles on those pages.
On some platforms with strong web hosting performance features, you will also see per‑plugin query counts or slow query logs, which quickly reveal problem plugins.
How to recognise heavy plugins from symptoms if you cannot profile precisely
If you cannot get precise metrics, look for patterns:
- The site is fast when logged out, but slow only when logged in: often dashboard or admin‑bar related plugins.
- Only certain page types are slow (for example product pages but not posts): likely an add‑on tied to those templates.
- Slow and inconsistent checkout: payment, shipping or upsell plugins adding lots of AJAX calls.
- Spikes at specific times: scheduled tasks from backup, email or reporting plugins.
Correlate these patterns with your inventory spreadsheet to narrow down suspects.
Security and maintenance risk: outdated, unmaintained and “do everything” plugins
Heavy plugins are not just a speed issue. They can also be harder to keep secure and stable.
Mark a plugin as high risk if:
- It has not been updated in a long time, or does not support your current WordPress version.
- It bundles many unrelated features, especially if you use only a small part of it.
- It has a history of frequent security advisories or major breaking changes.
The article on WordPress security plugins vs server‑level protection explains how relying on multiple heavy security suites can actually increase complexity without adding much protection beyond what good hosting already provides.
Step 3: Decide What to Remove, Replace or Keep
A simple decision matrix: remove, replace, consolidate or keep
For each plugin in your list, decide:
- Keep: critical to revenue or security, actively maintained, and not easily replaced by hosting.
- Consolidate: overlaps with another plugin; aim to run a single, well‑maintained option.
- Replace: necessary function, but the plugin is heavy or unmaintained. Find a lighter maintained alternative.
- Remove: not used, duplicating features, or no clear business case.
Note the decision and the reasoning in your spreadsheet so future audits are easier.
Reducing overlap: multiple SEO, cache, security or page builder plugins
Some of the best wins come from cutting overlaps:
- SEO: generally pick one full SEO plugin rather than several handling titles, sitemaps and schema separately.
- Caching and optimisation: running multiple caching or minification plugins often causes conflicts and rarely helps.
- Security: more than one full security suite tends to duplicate scans, firewalls and login protection.
- Page builders: using multiple builders increases load, especially if each loads its assets on every page.
Consolidating to a single trusted option in each category is usually safer and faster than trying to stack tools.
Safer alternatives to bloated plugins (host‑level features and lighter tools)
Many tasks once handled by plugins can now be moved to hosting or network‑level services, such as:
- Caching and CDN provided by your managed hosting platform.
- Image compression and format conversion handled by the edge rather than in WordPress.
- Bot filtering and basic firewalls running before requests reach PHP or the database.
For example, the G7 Acceleration Network automatically converts images to modern AVIF and WebP formats on the fly, usually cutting image sizes by more than 60 percent without extra plugins or changes inside WordPress. This sort of host‑level optimisation lets you remove multiple image and cache plugins while still improving performance.
Similarly, network‑level bot protection like that in the G7 Acceleration Network filters abusive and non‑human traffic before it hits PHP or MySQL, which reduces the need for multiple heavy firewall or rate‑limiting plugins while keeping response times more stable.
Step 4: Safely Deactivate and Remove Plugins
The right order to deactivate in (and why you change one thing at a time)
On your staging site:
- Start with non‑critical, clearly unused plugins (old popups, unused form builders).
- Then move to overlaps where you have already chosen a replacement or consolidation path.
- Leave payment, shipping and user management plugins until you have tested everything else.
Change one plugin at a time, then retest. This way, if something breaks, you know exactly which change caused it.
Checks after each change: front end, admin, WooCommerce flows
After deactivating a plugin, run quick checks:
- Front end: browse main pages, search, contact forms, blog posts.
- Admin: login, add/edit posts or products, run common admin tasks.
- WooCommerce (if relevant): add to cart, apply coupons, checkout with a test payment method.
Only once you are comfortable that a plugin can stay inactive should you click Delete to remove its files.
If you want more detail on safe removal, the guide on cleaning up WordPress bloat safely walks through plugin and theme removal steps in depth.
Cleaning up leftover data without breaking logins or orders
Many plugins leave tables and options behind when removed. To clean up:
- Check the plugin’s documentation for an uninstall option that removes data safely.
- Use a database tool or cleanup plugin carefully to remove unused tables or options, always from a backup or staging first.
- Do not delete tables linked to orders, users or subscriptions unless you are absolutely sure they are no longer needed.
On WooCommerce sites, be cautious with user meta and order‑related tables. A small amount of leftover data is better than accidentally losing customer history.
Step 5: Re‑Test Performance and Resource Usage

Before vs after: page load, TTFB and Core Web Vitals sanity checks
Once you have trimmed your plugins on staging and then repeated the process on live:
- Re‑run your key pages through PageSpeed Insights or similar tools.
- Compare:
- TTFB
- Overall load time
- LCP and TBT
- Total requests and page weight
You should see fewer requests and lighter pages, especially if you removed front‑end heavy plugins or multiple marketing trackers. If you use a platform such as the G7 Acceleration Network, its automatic AVIF/WebP conversion also reduces image weight substantially without needing extra optimisation plugins, which helps Core Web Vitals further.
Watching CPU, RAM and queries after you reduce plugin load
In your hosting panel or server monitoring, watch trends over a few days:
- Average CPU usage should be lower and more stable.
- Peak CPU and RAM during busy periods may drop significantly.
- Slow query logs should show fewer entries tied to removed plugins.
If you are using bot protection similar to that built into the G7 Acceleration Network, you will also see fewer resources wasted on bad bots and automated scans, which makes performance under load more predictable.
Handling remaining bottlenecks: when the problem is theme or hosting, not plugins
If you have removed obvious plugin bloat and still see issues:
- Check the theme: very heavy multipurpose themes or page builders can be a bottleneck in their own right.
- Review hosting: cheap shared plans will struggle with busy WooCommerce or membership sites even when lean.
- Look at external scripts: ad networks, tag managers and external widgets can block rendering.
The guide on diagnosing WordPress Core Web Vitals bottlenecks helps distinguish between plugin issues, theme choices and external scripts when performance still is not where you want it.
Keeping Plugin Bloat Under Control in Future

A simple plugin policy for your team or agency partners
To stop bloat creeping back, agree a straightforward policy:
- New plugins require a clear business case and someone responsible for maintaining them.
- One plugin per role (SEO, caching, security) unless there is a specific, documented reason.
- No “test” plugins on live: trial them on staging first, then remove if not adopted.
- Quarterly plugin reviews to re‑evaluate what is still needed.
Share this with internal teams and agencies so nobody installs tools casually on production sites.
Safe update and testing routines so bloat does not creep back
When updating or adding plugins:
- Apply updates on staging first, then run key user journeys.
- Keep a simple change log of what was updated when, and by whom.
- Regularly review whether a plugin’s features are being used; if not, plan its removal.
If you prefer not to manage this yourself, hassle free WordPress maintenance services typically include managed updates, staging tests and rollback if something goes wrong.
Where good hosting and network‑level protection reduce the need for extra plugins
A well‑chosen hosting platform can replace several heavy plugins at once. For example, robust web hosting performance features usually cover page caching, asset compression and sometimes object caching, making many optimisation plugins unnecessary.
Similarly, integrated services such as the G7 Acceleration Network handle CDN delivery, image optimisation to AVIF/WebP and bot filtering at the edge. By dealing with bad bots and abusive crawlers before they reach PHP or MySQL, they reduce the need for multiple security and performance plugins and help keep your plugin list lean over time.
When It Might Be Time to Move Host Instead of Adding Yet More Plugins
Signs you have outgrown cheap shared hosting
No amount of plugin slimming can compensate for inadequate resources. You may have outgrown basic shared hosting if:
- Your site slows down dramatically during modest traffic spikes, despite a lean plugin stack.
- Your host regularly asks you to upgrade because of CPU or I/O limits, even after optimisation.
- Database queries and PHP workers are obviously saturated at peak times.
- You rely on multiple “fix it” plugins to patch around missing server‑level features.
How managed WordPress hosting can replace some heavy plugins
Good managed WordPress hosting for UK businesses will normally include:
- Built‑in caching and performance tuning appropriate to WordPress.
- Automatic backups and easy restores, replacing backup plugins.
- Integrated security measures and bot protection, reducing the need for multiple firewalls or login protection plugins.
- CDN, image optimisation and compression features, making many front‑end optimisation plugins redundant.
For busy WooCommerce and membership sites, moving to a platform that provides these out of the box often simplifies your plugin stack, improves uptime and cuts the amount of hands‑on maintenance you need to do.
Summary: A Repeatable Process for Lean, Fast WordPress Sites
To keep your WordPress or WooCommerce site fast, stable and secure without constant firefighting:
- Prepare with reliable backups, a staging site and basic monitoring.
- Inventory every plugin and classify it by business importance.
- Identify heavy, overlapping and high‑risk plugins through tools and observable symptoms.
- Decide what to keep, consolidate, replace or remove using a simple decision matrix.
- Deactivate and remove safely, testing user journeys after each change.
- Re‑test performance and server load to confirm the benefits.
- Prevent future bloat with a clear plugin policy and safe update routine.
If you are spending too much time wrestling with plugins, it may be worth exploring managed WordPress hosting and the G7 Acceleration Network so that caching, image optimisation, bot filtering and security headers are handled for you. That leaves your plugin list focused on what really matters to your business, instead of patching gaps in the hosting platform.