
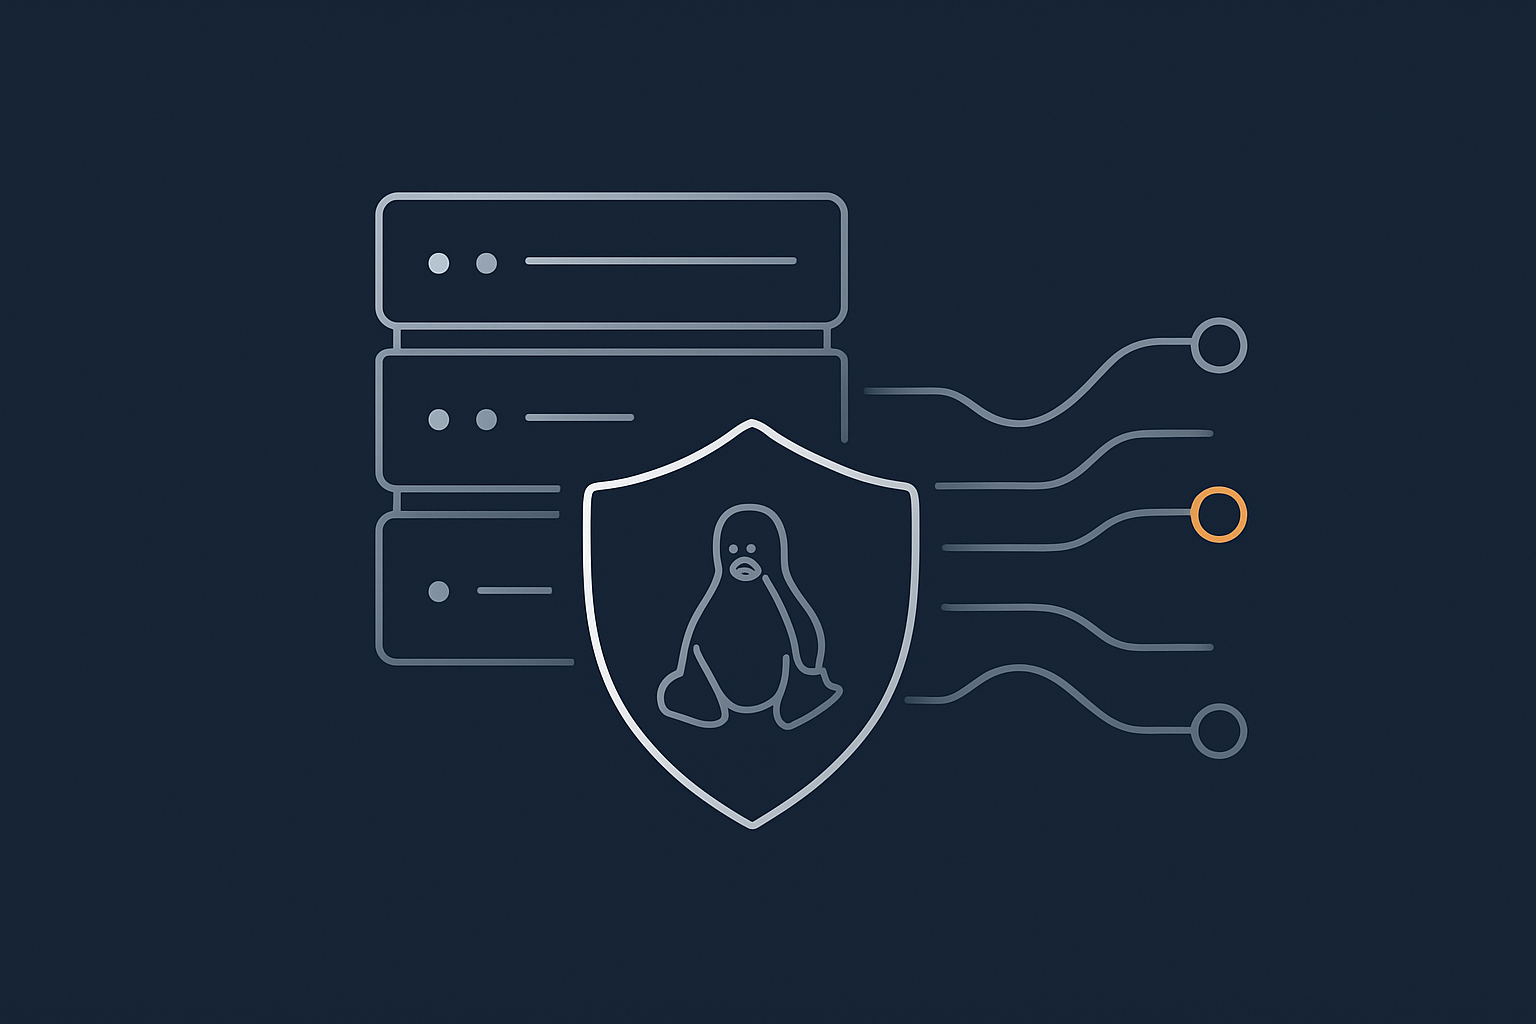
Why Your VPS or Dedicated Server Needs a Firewall
What a firewall actually does in plain English
A Linux firewall is simply a set of rules that decides which network connections are allowed to reach your server and which are quietly dropped.
Every connection to your VPS or virtual dedicated server travels to an IP address and a port number. For example:
- SSH usually uses port
22 - HTTP (web traffic) uses port
80 - HTTPS (encrypted web traffic) uses port
443 - MySQL or MariaDB often uses port
3306
Without a firewall, anything on the internet can try to connect to any open port on your server. With a firewall, you can decide things like:
- “Allow SSH from my office IP, but not from the rest of the world”
- “Allow HTTP and HTTPS from anywhere so my site is reachable”
- “Block access to the database port from the internet entirely”
It does not replace good passwords, updates or safe code, but it reduces how much of your server is visible to the world.
How a firewall fits into your hosting stack (SSH, web server, WordPress, database)
On a typical Linux web server, the flow looks like this:
- A visitor’s browser connects from the internet to your server IP.
- Network filtering at the hosting provider may block obvious bad traffic.
- The Linux firewall on your VPS or VDS decides which ports are allowed.
- The request reaches your web server (for example Nginx or Apache).
- PHP and your application (for example WordPress or WooCommerce) handle the request.
- Your database (MySQL or MariaDB) responds behind the scenes.
The host firewall sits in the middle of this chain. It cannot fix insecure PHP code or a weak WordPress admin password, but it can stop traffic that should never reach your application or database in the first place.
For WordPress in particular:
- Limiting access to SSH and control panels makes it harder for automated scripts to target server management tools.
- Blocking external access to database ports reduces the chance of someone probing the database directly instead of going through WordPress.
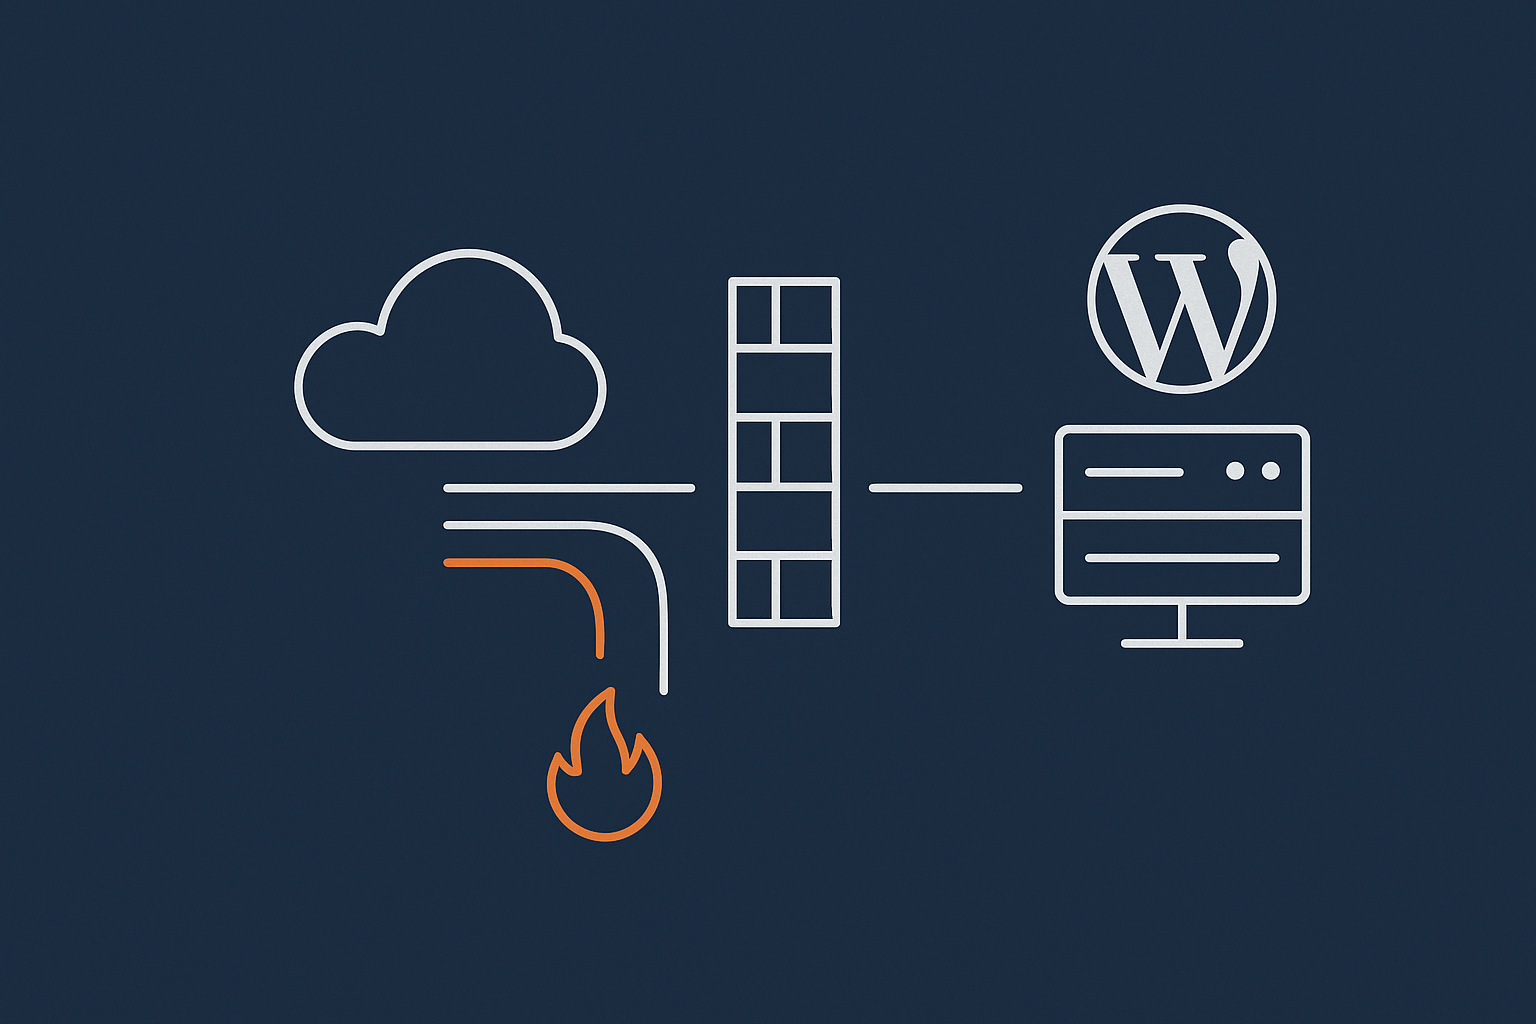
Firewall vs web application firewall vs network filtering
Several layers are often described as “firewalls”, which can be confusing:
- Host firewall: The Linux firewall rules on your VPS or VDS. This is what we are focusing on in this article.
- Network firewall: Filtering that happens before traffic even reaches your server, typically at the hosting provider or data centre level. It can block entire IP ranges, countries or attack patterns.
- Web application firewall (WAF): A layer that sits in front of your web server and inspects HTTP and HTTPS requests in detail. It looks for suspicious patterns in URLs, headers and request bodies.
For example, the G7 Acceleration Network includes a WAF and bot protection that filters abusive or non human traffic before it hits PHP or the database. This reduces wasted server load and helps keep WordPress and WooCommerce sites more stable under traffic.
When a simple host firewall is enough, and when you need more
For many small servers, a basic host firewall with a few clear rules is enough to start with. Typical examples:
- A single WordPress site
- A basic company site and blog
- A small API used by a known set of clients
In these cases, you can often:
- Allow SSH on a single port
- Allow HTTP and HTTPS
- Block everything else
You may want more advanced layers when:
- You host multiple customer sites and need ongoing protection and monitoring.
- Your business depends heavily on the site, and downtime or compromise would be very costly.
- You need DDoS protection, advanced WAF rules or detailed bot filtering.
At that point you might look at a managed platform or virtual dedicated servers with managed security features, instead of running everything yourself.
Before You Touch the Firewall: Safety First
Make sure you have console or out‑of‑band access
The biggest practical risk when changing firewall rules is locking yourself out of SSH. You can reduce this risk by ensuring you have a fallback method of access.
Most VPS or VDS control panels provide a web based console or “serial” access that connects directly to the virtual machine, even if the network is misconfigured. This is sometimes called out-of-band access.
Before making firewall changes:
- Log into your hosting panel and locate the console feature.
- Test that you can open a console session and log in as root or a sudo user.
If you are using G7Cloud virtual dedicated servers, you can use the built in console if SSH stops working temporarily.
Check how you currently connect (SSH port, control panel ports)
Next, confirm which ports you rely on so you can be sure not to block them.
- If you use SSH, confirm whether it is on the default port
22or a custom port. - If you use a control panel such as cPanel or Plesk, note those ports as well.
You can see which ports are listening with:
sudo ss -tulnThis command lists TCP and UDP ports that are open on your server. Look for lines like:
LISTEN 0 128 *:22 *:*
LISTEN 0 128 *:80 *:*
LISTEN 0 128 *:443 *:*
These show that SSH, HTTP and HTTPS are listening on all interfaces. If you see :2222 instead of :22, then your SSH port is 2222 and your firewall rules must reflect that.
To undo any confusion, you can simply run the command again and compare before and after you change services or ports.
Create or confirm a working SSH key login
It is a good habit to use SSH keys instead of passwords. Keys are stronger, and many automated attacks assume password authentication.
If you have not set this up yet, see our guide How to Connect to a Linux Server Securely Using SSH.
Before changing firewall rules, confirm that you can:
- Log in with your SSH key from your main workstation
- Optionally log in from a second device, in case the first is unavailable later
Once you are confident in your SSH setup, you can safely allow SSH through the firewall for the IPs you use.
Backups and change windows: avoiding middle‑of‑the‑day surprises
A firewall change usually does not affect your data, but it can affect connectivity. It is wise to:
- Schedule firewall changes in a low traffic period, not in the middle of a busy workday.
- Take a VPS snapshot or backup before major changes, especially on production servers.
- Keep a simple log of what commands you run and when.
These habits are just as important for other tasks such as patching. If you have not already, you may find How to Safely Update and Patch a Linux Server a useful companion to this article.
Firewall Basics on Linux: iptables, nftables, ufw and firewalld
The low level engines: iptables and nftables
Linux has built in firewall engines in the kernel. You rarely manipulate these directly in day to day work, but it helps to know the names:
- iptables: The traditional firewall framework, used for many years.
- nftables: The newer framework designed to replace iptables over time.
Both are powerful and flexible, but their raw syntax is quite detailed. It is easy to make mistakes when editing large rule sets by hand.
For that reason, most distributions provide a higher level tool that manages iptables or nftables for you.
Why beginner friendly tools exist: ufw and firewalld
The two most common higher level tools are:
- ufw (Uncomplicated Firewall) on Debian and Ubuntu
- firewalld on CentOS, AlmaLinux and Rocky Linux
They both:
- Offer simple commands for adding rules like “allow SSH” or “allow HTTP”.
- Apply sensible default policies such as “deny incoming, allow outgoing”.
- Survive reboots without you having to reapply everything manually.
Using ufw or firewalld is recommended for most VPS owners, especially if you are primarily focused on running applications like WordPress rather than becoming a firewall specialist.
How to see what your distribution uses by default
To check which tool your server uses, you can:
- Identify your distribution:
cat /etc/os-releaseYou will see lines such as NAME="Ubuntu" or NAME="AlmaLinux".
- Check for ufw:
sudo ufw statusIf ufw is installed, you will see its status. If not, you will usually see a “command not found” message.
- Check for firewalld:
sudo systemctl status firewalldIf firewalld is installed, you will see whether it is active. If not, your distribution may be using raw iptables rules or another tool.
You can safely run these commands on a production server. They are read only and will not change anything.
Choosing a Simple Approach: ufw on Debian and Ubuntu Servers
Install and check ufw status
On Debian and Ubuntu, ufw is often installed but not enabled by default.
First, install it (if needed) and check its status:
sudo apt update
sudo apt install ufw
sudo ufw status verbose
This sequence does the following:
apt updaterefreshes your package list.apt install ufwinstalls the ufw package if it is not already present.ufw status verboseshows whether ufw is active and what the default policies are.
Typical output if ufw is not yet enabled:
Status: inactiveNothing is changed until you actually run sudo ufw enable, which we will delay until rules are in place.
Design a basic rule set for a web server
Before typing commands, it helps to define your intended policy in plain language. For a simple web server, a common starting point is:
- Allow SSH from anywhere to begin with (tighten later when you are confident).
- Allow HTTP (80/tcp) and HTTPS (443/tcp) from anywhere.
- Deny all other incoming connections.
- Allow all outgoing connections, so your server can fetch updates and send emails.
You can then refine this later to:
- Limit SSH to certain IPs or rate limit it.
- Restrict database ports, if any are bound to public interfaces.
Step by step: allow SSH, HTTP and HTTPS safely
Run these commands on Ubuntu or Debian:
sudo ufw default deny incoming
sudo ufw default allow outgoing

sudo ufw allow OpenSSH
sudo ufw allow http
sudo ufw allow https
Explanation:
default deny incomingmeans new incoming connections are blocked unless a rule allows them.default allow outgoingkeeps all outgoing connections permitted, which is fine for most servers.allow OpenSSHtells ufw to allow SSH using the service definition from/etc/services.allow httpandallow httpsopen ports 80 and 443 respectively.
To check your rules:
sudo ufw status numberedYou should see something like:
Status: inactive

To                         Action      From
--                         ------      ----
22/tcp (OpenSSH)           ALLOW       Anywhere
80/tcp (Apache)            ALLOW       Anywhere
443/tcp                    ALLOW       Anywhere
22/tcp (v6)                ALLOW       Anywhere (v6)
80/tcp (v6)                ALLOW       Anywhere (v6)
443/tcp (v6)               ALLOW       Anywhere (v6)
Note that ufw is still “inactive” at this point, so the rules are prepared but not yet enforced.
If your SSH port is non‑standard, for example 2222, use:
sudo ufw allow 2222/tcpYou can later remove the OpenSSH rule if it is not needed.
Enabling ufw without locking yourself out
Once you have rules that allow your SSH port, you can enable ufw:
sudo ufw enableufw will warn you that this may disrupt existing SSH connections if you have not allowed SSH. If you followed the previous step, your SSH port is open, so you should be fine.
Good practice:
- Keep your current SSH session open.
- Open a second SSH session and confirm that you can still connect after enabling ufw.
- If something goes wrong, use your hosting console access to adjust or disable ufw:
sudo ufw disableThis command turns ufw off but leaves the rules stored, so you can re‑enable it after correcting them.
Viewing, modifying and deleting ufw rules
To see your active rules with numbers:
sudo ufw status numberedIf you want to delete a specific rule, use its number from the list. For example, to delete rule 3:
sudo ufw delete 3ufw will show you which rule is being removed and ask for confirmation.
You can also adjust rules more explicitly. To allow SSH only from a specific IP:
sudo ufw delete allow OpenSSH
sudo ufw allow from 203.0.113.10 to any port 22 proto tcp
This removes the general SSH rule and adds a more specific one. Note that restricting SSH to one IP can cause access issues if your IP changes, so consider starting with wider rules and tightening gradually.
Using firewalld on CentOS, AlmaLinux and Rocky Linux

firewalld concepts: zones and services
firewalld uses two main ideas:
- Zones: Collections of rules for different network contexts, such as
public,internalortrusted. - Services: Named sets of ports and protocols, such as
ssh,httpandhttps.
Each network interface (for example eth0) is assigned to a zone. Rules are then applied per zone instead of per-interface or global only. For a typical VPS with one public interface, you will usually work only with the public zone.
Check if firewalld is running and install if needed
On CentOS, AlmaLinux and Rocky Linux, firewalld is normally installed by default.
sudo systemctl status firewalldIf it is running, you will see “active (running)”. If not, you can install and start it:
sudo dnf install firewalld
sudo systemctl enable --now firewalld
This will:
- Install the firewalld package.
- Enable it to start automatically on boot.
- Start the service immediately.
firewalld starts with relatively permissive defaults on some distributions, so do not assume everything is blocked. We will now define explicit rules.
Basic web server setup: allow SSH, HTTP and HTTPS
First, confirm which zone is active for your main interface:
sudo firewall-cmd --get-active-zonesYou may see something like:
public
  interfaces: eth0
This means the public zone is used for interface eth0, which is typical on a VPS.
Next, allow the key services in the public zone:
sudo firewall-cmd --zone=public --add-service=ssh
sudo firewall-cmd --zone=public --add-service=http
sudo firewall-cmd --zone=public --add-service=https
These commands add rules to the runtime configuration, which means they apply immediately but are not yet permanent across reboots.
To make them permanent:
sudo firewall-cmd --zone=public --permanent --add-service=ssh
sudo firewall-cmd --zone=public --permanent --add-service=http
sudo firewall-cmd --zone=public --permanent --add-service=https
You can then reload firewalld to apply permanent rules to the running configuration:
sudo firewall-cmd --reloadThis reload is safe and does not drop established connections in normal use.
Permanent vs runtime rules and reloading safely
firewalld separates runtime and permanent configurations:
- Runtime: Applied immediately, lost on restart.
- Permanent: Saved configuration that is loaded on start.
You can work in different ways:
- Add rules without
--permanent, test them, then add the successful ones again with--permanent. - Or add with
--permanentand run--reloadto apply them.
A common pattern for safe changes:
- Add and test runtime rules first:
sudo firewall-cmd --zone=public --add-service=http- Confirm access from your browser or a test machine.
- When satisfied, save permanently and reload:
sudo firewall-cmd --zone=public --permanent --add-service=http
sudo firewall-cmd --reload
Listing and cleaning up firewalld rules
To see active services and ports in the public zone:
sudo firewall-cmd --zone=public --list-allTypical output:
public (active)
  interfaces: eth0
  services: ssh http https
  ports:
  protocols:
  forward: no
  ...
If you want to remove a service from the zone:
sudo firewall-cmd --zone=public --remove-service=http
sudo firewall-cmd --zone=public --permanent --remove-service=http
sudo firewall-cmd --reload
Always pair runtime changes with permanent ones and reload, or you may be surprised after a reboot.
Practical Examples: Common Ports and Simple Policies
Minimal rules for a WordPress or WooCommerce server
A typical single site WordPress or WooCommerce server usually needs only:
- SSH for administration
- HTTP and HTTPS for visitors
- Outgoing connections for package updates, external APIs and payment gateways
On ufw, a minimal configuration might be:
sudo ufw default deny incoming
sudo ufw default allow outgoing

sudo ufw allow OpenSSH
sudo ufw allow http
sudo ufw allow https
On firewalld, an equivalent would be:
sudo firewall-cmd --zone=public --permanent --add-service=ssh
sudo firewall-cmd --zone=public --permanent --add-service=http
sudo firewall-cmd --zone=public --permanent --add-service=https
sudo firewall-cmd --reload
For higher traffic or more complex setups, a network edge solution such as the G7 Acceleration Network can offload some of the work. It optimises images into AVIF and WebP on the fly and filters bad bots before they reach PHP, which keeps resource usage more predictable.
Restricting database ports to internal or trusted IPs only
It is a common best practice to avoid exposing database ports (for example 3306 for MySQL/MariaDB) to the public internet.
If your database only serves applications on the same server, bind it to 127.0.0.1 in its config and there is nothing for the firewall to do. If you must accept connections from another server or management host, restrict it carefully.
With ufw:
sudo ufw allow from 198.51.100.20 to any port 3306 proto tcpThis allows MySQL connections only from 198.51.100.20. To later remove it:
sudo ufw status numbered
sudo ufw delete <rule-number>
With firewalld:
sudo firewall-cmd --zone=public --permanent \
  --add-rich-rule='rule family="ipv4" source address="198.51.100.20" port protocol="tcp" port="3306" accept'
sudo firewall-cmd --reload
Rich rules allow more precise conditions. To remove it, use --remove-rich-rule with the exact same rule text.
Allowing SSH from specific IPs (and the risks)
Restricting SSH to specific IPs significantly cuts down on automated login attempts, but there are trade‑offs. If your IP changes (for example on home broadband), you may lose access.
With ufw, to allow SSH only from a known IP:
sudo ufw delete allow OpenSSH
sudo ufw allow from 203.0.113.10 to any port 22 proto tcp
With firewalld:
sudo firewall-cmd --zone=public --permanent \
  --remove-service=ssh
sudo firewall-cmd --zone=public --permanent \
  --add-rich-rule='rule family="ipv4" source address="203.0.113.10" service name="ssh" accept'
sudo firewall-cmd --reload
Always test new restrictions in a second SSH session and keep console access ready in case your IP is not what you expect.
Rate limiting SSH to reduce brute force attacks
Rate limiting controls how many new connections are allowed in a short period, which reduces brute force attempts without fully closing SSH.
With ufw, one option is the built in “limit” rule:
sudo ufw delete allow OpenSSH
sudo ufw limit OpenSSH
limit allows normal connections but slows repeated attempts from the same IP. You can read details in man ufw on your server.
With firewalld, you can use rich rules with rate limiting, or combine firewalld with tools like fail2ban. For example, fail2ban watches log files and adds temporary firewall bans for repeated failures. The official documentation at fail2ban.org explains this in more depth.
Testing Your Firewall Changes Without Guesswork
Using a second SSH session as a safety net
When you apply firewall changes that affect SSH, always:
- Keep your existing SSH session open.
- Open a second SSH session after making the change.
If the second session connects successfully, the rules are likely correct. If not, do not close your first session. Instead, undo the recent change from that session.
For example, if enabling ufw caused problems, you can run:
sudo ufw disableThis stops ufw and restores full network access while you adjust the configuration.
Checking open ports with ss and netstat
To see which ports your services are using, use:
sudo ss -tulnThis shows listening ports regardless of firewall rules. It helps you check whether a service is actually running before blaming the firewall.
Some older documentation mentions netstat, but ss is its modern replacement and is installed by default on most systems. For more background on basic commands, see Essential Linux Commands Every VPS Owner Should Know.
Testing access from outside with nmap or online port scanners
Testing from outside your server confirms how the world sees your firewall, not just what the local configuration says.
- If you have another Linux or macOS machine, you can use
nmap:
nmap -Pn your.server.ip.addressThis lists open ports that respond on the target IP.
- If you do not, you can use a reputable online port scanner from your browser. Avoid tools that encourage intrusive scans or exploitation; you just need a basic port list.
Match the results against your intended policy. If a port appears open that you did not expect, review both your service configuration and firewall rules.
Common Mistakes and How To Recover From Them
Locking yourself out of SSH
This usually happens when a rule set is activated without allowing your SSH port first, or when SSH is later restricted to the wrong IP addresses.
Recovery steps:
- Use your hosting provider’s console or out-of-band access.
- Log in as root or a sudo user.
- Disable or relax the firewall:
sudo ufw disableor
sudo systemctl stop firewalldThen correct the rules, ensuring SSH access is allowed before re-enabling the firewall service.
Conflicts with control panels and managed stacks
Hosting control panels such as cPanel, Plesk or proprietary stacks sometimes expect certain ports to be open. They may also install their own firewall tools.
Conflicts can occur when:
- You enable ufw while the panel manages iptables directly.
- You block ports required for panel access or background services.
To avoid this:
- Check your panel’s documentation for recommended firewall settings.
- Prefer the panel’s built in firewall tools when they exist.
- On managed platforms, ask support which firewall layer you are responsible for.
On G7Cloud managed environments, much of this is handled for you under our web hosting security features, so you can focus more on the application.
Forgetting IPv6 rules
If your server has IPv6 enabled, it usually has a second IP such as 2001:db8::1234. Many firewall tools manage IPv4 and IPv6 separately.
ufw by default adds IPv6 rules if IPV6=yes is set in /etc/default/ufw. Check that file if you are not sure.
firewalld manages IPv4 and IPv6 together through services and rich rules. When testing externally, scan both the IPv4 and IPv6 addresses of your server if they are in use.
Relying only on a firewall for security
A host firewall is an important layer, but it is only one part of a broader security picture. Other essential parts include:
- Keeping the OS and packages updated.
- Using strong, unique passwords and SSH keys.
- Securing file permissions and application configuration.
- Monitoring logs and unusual activity.
- Planning for backups and recovery.
For a deeper look at the balance between prevention and mitigation, see Security Incidents in Web Hosting: Getting the Balance Right Between Prevention and Mitigation.
When to Hand Firewall Management to Your Hosting Provider
Signs that a managed VDS or managed WordPress platform is safer
Managing your own firewall is realistic if:
- You have time to learn and maintain a basic rule set.
- Your sites are important but can tolerate the occasional learning mistake while you gain experience.
It may be better to use a managed platform or managed virtual dedicated servers when:
- Your business relies heavily on uptime and you cannot afford configuration errors.
- You host many customer sites and need consistent, audited security practices.
- You would rather focus on website content or applications than network and OS details.
For one or two business WordPress or WooCommerce sites, Managed WordPress hosting can offload most of this work, including firewalls, updates and performance tuning.
What a good provider should handle for you (network and host firewalls, WAF, bad bot filtering)
A capable managed hosting provider should look after more than just iptables rules. Typical responsibilities include:
- Network level firewalls and DDoS protection at the data centre edge.
- Standard host firewall configuration on each VPS or VDS according to best practice.
- A web application firewall in front of sites, tuned for common attacks.
- Bad bot filtering and rate limiting to preserve resources for real visitors.
- Monitoring and alerting when unusual traffic patterns appear.
For example, the G7 Acceleration Network combines WAF, caching and bot filtering to reduce repeated hits to PHP and the database, which supports both security and performance.
How basic firewalling fits into wider security and uptime planning
Whether you run your own server or use a managed platform, it helps to think in layers:
- Foundation: OS hardening, updates, basic firewall rules.
- Application: WordPress / WooCommerce updates, plugin and theme choices, user permissions.
- Perimeter: Network firewalls, WAF, CDN and caching layers.
- Operations: Backups, monitoring, incident response plans.
The basic Linux firewall is an important part of the foundation, but it becomes much more effective when combined with these other layers.
Summary: A Simple Checklist for Basic Linux Firewall Setup
You can use this checklist when setting up or reviewing a VPS or dedicated server:
- Confirm console / out-of-band access so you can recover from mistakes.
- Document how you connect: SSH port, control panel ports, any custom services.
- Ensure SSH key login is working from your main workstation.
- Take a snapshot or backup before significant firewall changes.
- On Debian/Ubuntu, install and configure ufw:
sudo ufw default deny incomingsudo ufw default allow outgoingsudo ufw allow OpenSSH(or your custom SSH port)sudo ufw allow httpandsudo ufw allow httpssudo ufw enable
- On CentOS/AlmaLinux/Rocky, use firewalld:
- Check
sudo firewall-cmd --get-active-zones - Add
ssh,http,httpsto the public zone with--permanent sudo firewall-cmd --reload
- Check
- Restrict database and other sensitive ports to local or trusted IPs.
- Consider rate limiting SSH or using tools like fail2ban.
- Test from a second SSH session and from outside using
nmapor an online scanner. - Review rules periodically, and keep notes of what you changed and why.
If you find yourself spending more time on firewall rules and security layers than on your actual sites or applications, it may be worth exploring G7Cloud virtual dedicated servers or Managed WordPress hosting, so you can choose how much of this work you want to keep in house.