
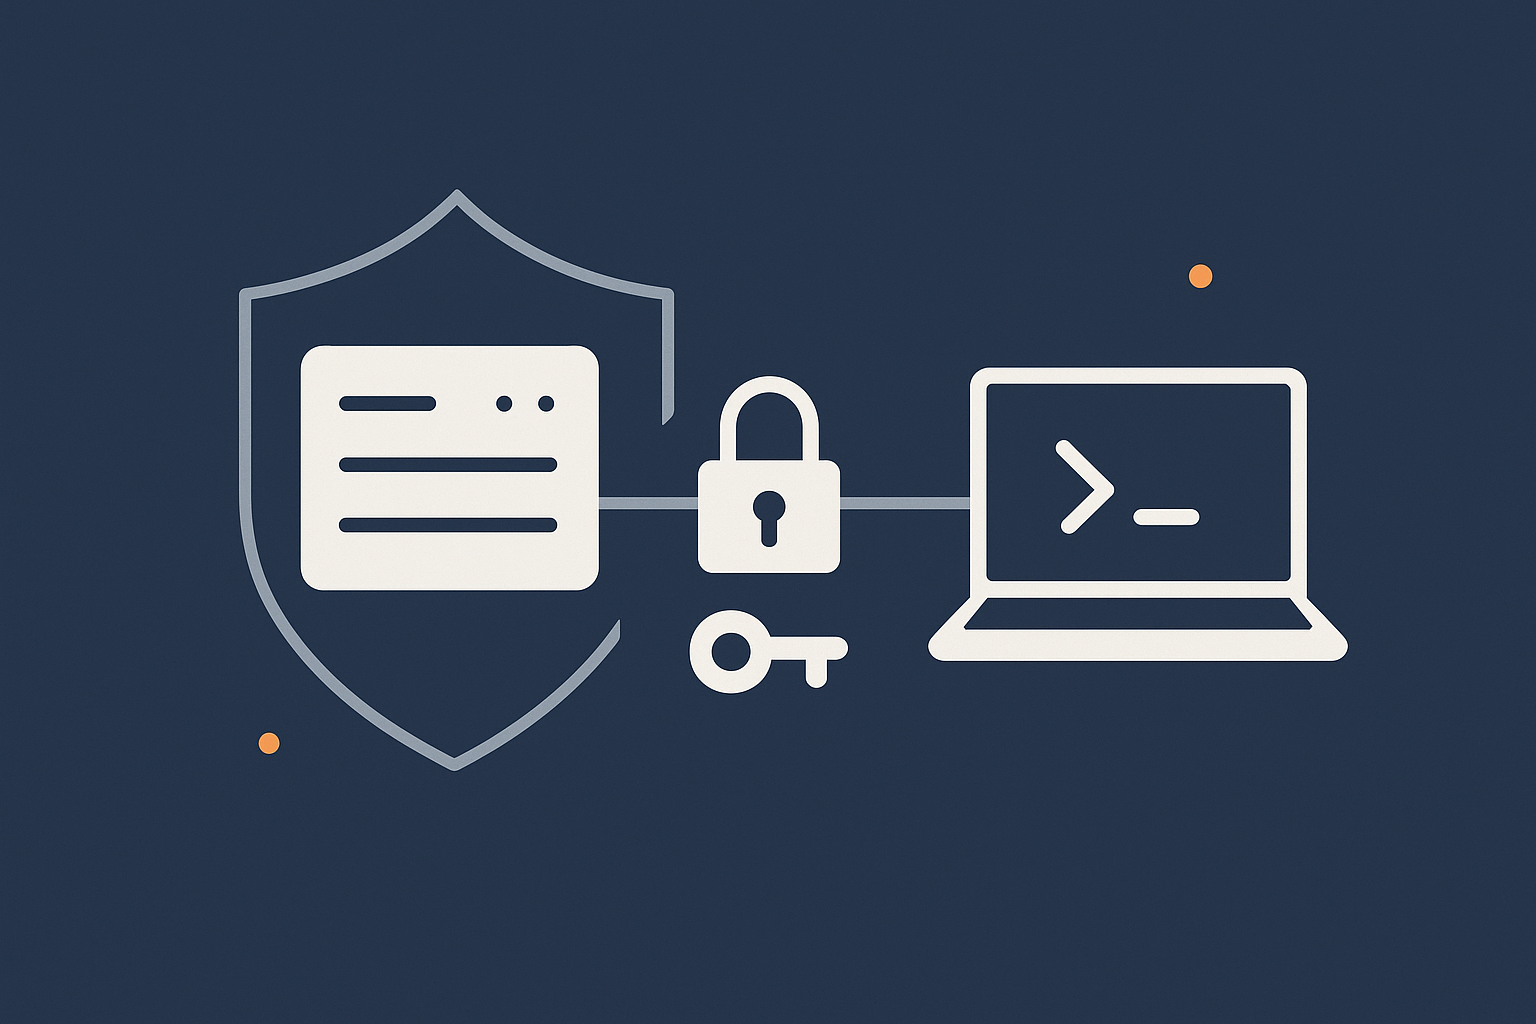
SSH is usually the first door into your Linux server. Securing it properly protects everything that runs on top, including websites, databases and WordPress or WooCommerce stores.
This guide focuses on practical, low risk steps you can follow on a VPS or virtual dedicated server, even if you are new to Linux.
Who This SSH Security Guide Is For
Typical situations where SSH security suddenly matters
You will find this guide useful if any of the following sound familiar:
- You have just ordered a new VPS or VDS and received an IP address, SSH port and root password.
- You are moving from shared or managed hosting to your own server for the first time.
- You run a WordPress or WooCommerce site and have heard you “should use SSH keys” but are not sure how.
- Your server logs are full of failed SSH login attempts from strange IPs and you want to reduce that noise.
- You have been asked about “PCI”, “hardening” or “SSH policies” by an auditor or a security conscious client.
If you are brand new to SSH itself, the separate guide SSH Access for Beginners: Safe First Login and Day‑to‑Day Use on Your VPS is a good gentle starting point. You can then return here for the security side.
What you will be able to do by the end
By the end of this article you will be able to:
- Create and use SSH key pairs instead of passwords.
- Set up a non‑root user with sudo access for day‑to‑day work.
- Harden
sshd_configso that password logins and unsafe root access are disabled. - Install and configure Fail2ban to block repeated failed logins automatically.
- Avoid common mistakes that can cause unnecessary downtime or lockouts.
You will also understand where SSH hardening sits alongside firewalls, PCI responsibilities and when a managed and unmanaged virtual dedicated servers arrangement might make sense.
Why SSH Security Matters So Much on a VPS or VDS
What SSH actually is in plain language
SSH (Secure Shell) is a secure way to open a remote terminal on your server. In day‑to‑day terms:
- Your laptop runs an SSH client (for example, PuTTY or the
sshcommand). - The server runs an SSH daemon called
sshd. - You connect to the server’s IP, prove who you are and then get a shell prompt.
Once connected, you can do almost anything: install packages, edit configuration, restart services, take backups and more. That is why SSH access is so sensitive. Anyone with SSH and sufficient privileges can control the whole system.
How attackers really try to break in to SSH
If your server has SSH open to the internet, it will receive automated login attempts within hours or even minutes. This is normal background noise on the internet.
Most attempts are not “targeted” at you personally. They are scripts scanning many servers looking for:
- Weak passwords for common usernames such as
root,adminortest. - Servers that still allow password logins when they could be using keys.
- Known vulnerabilities in outdated SSH software.
SSH hardening is about reducing the chance that one of these generic attempts succeeds, and making your logs easier to read when something unusual happens.
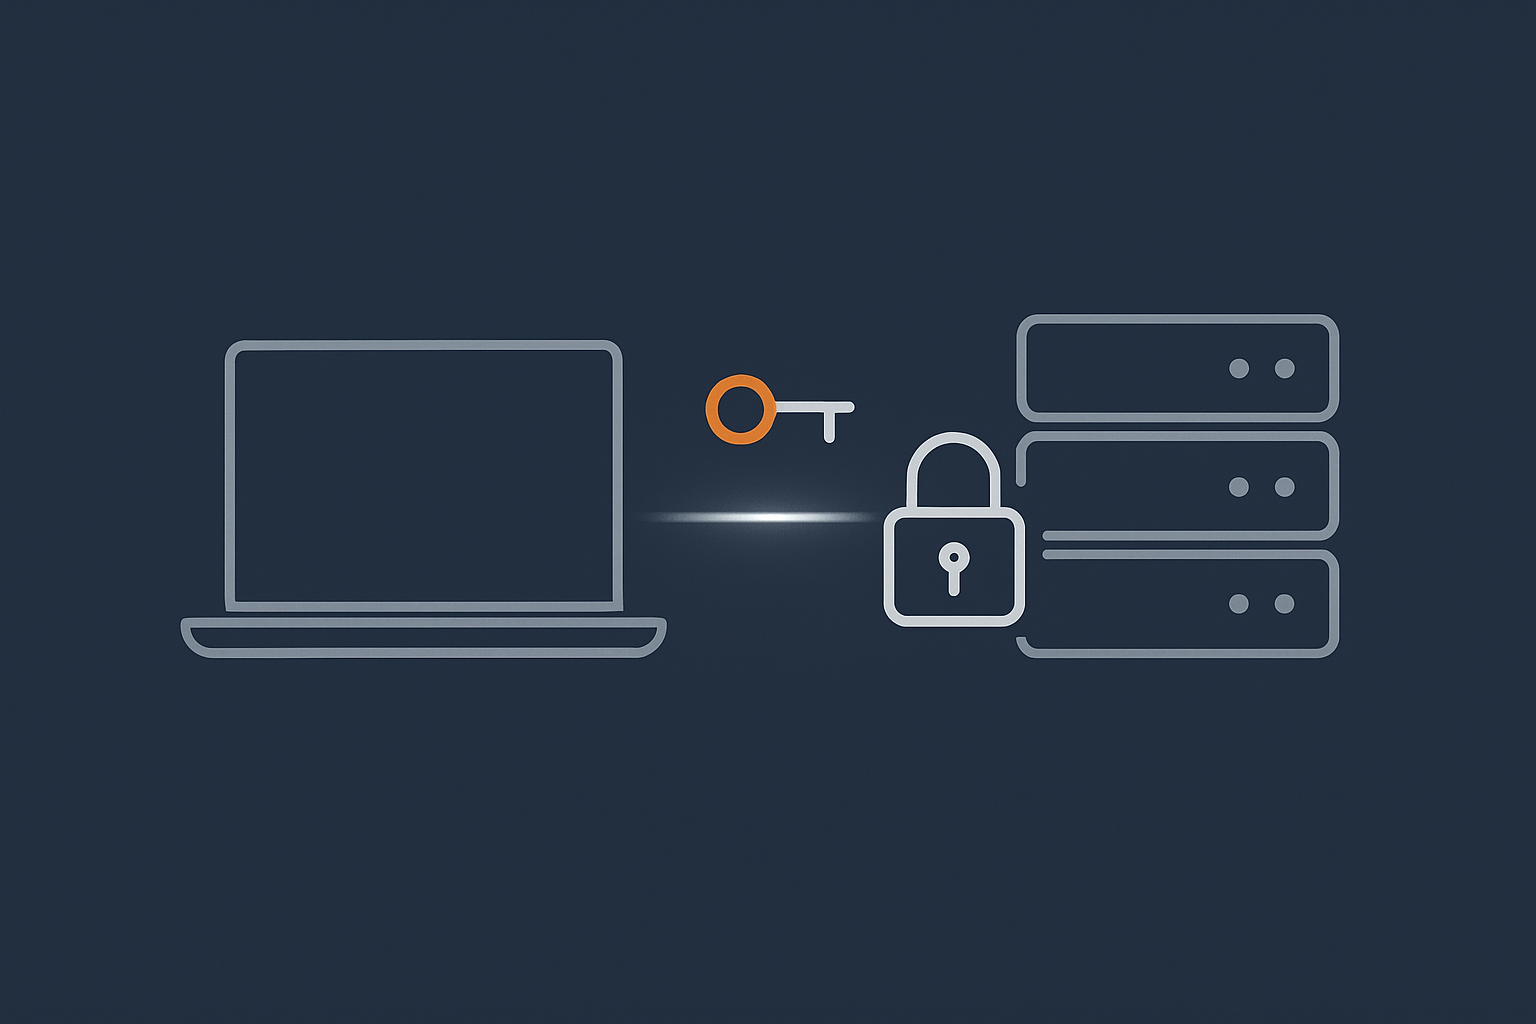
Passwords vs SSH keys: why keys are safer
SSH supports two main ways to log in:
- Passwords: you type a secret string each time.
- SSH keys: your client uses a cryptographic key pair to prove your identity.
Passwords have several weaknesses:
- They can be guessed through brute force if they are short or reused.
- You might feel pressured to share them with colleagues or contractors.
- They can be captured if you ever type them into an untrusted machine.
SSH keys are much harder to attack:
- The private key stays on your device and is never sent to the server.
- The public key can be shared freely and is safe to put on many servers.
- Modern default key sizes are effectively impossible to brute‑force today.
For WordPress or WooCommerce hosting, using keys means that even if an attacker guesses an admin password for the site, they still cannot easily log in over SSH to reach the underlying server, database or other clients’ data.
Safety First: Do Not Lock Yourself Out
Check your current SSH access and users
Before changing anything about SSH, confirm that your current access works and that you have at least one working user.
From your local machine, test a login and then list users with home directories:
ssh root@your.server.ip

# once logged in:
ls /home
What this does:
- The
sshcommand checks you can still log in using your current method (often root + password for a new VPS). ls /homeshows existing non‑root users that may already exist.
If you see names like ubuntu, debian or centos, your provider image may already have a regular user. You can choose to use that account instead of creating a new one later.
Understand your provider’s console / emergency access
Most VPS or VDS platforms offer an out‑of‑band console in their control panel. This is separate from SSH and connects directly to the virtual machine console.
Before you start:
- Log into your hosting control panel.
- Locate the “console”, “serial console” or “emergency console” feature.
- Open it and check that you can see a login prompt.
If you make a mistake in sshd_config and cannot log in over SSH, this console is how you will fix it without needing to rebuild the server.
General safety rules before changing SSH settings
Adopt a few simple habits whenever you change SSH or other critical services:
- Take a snapshot or backup of the VPS beforehand where your provider allows it.
- Keep an SSH session open while you test changes in a second window.
- Record what you change in a text file or ticket so you can retrace your steps later.
- Test on a non‑production server if you can, before applying to a live environment.
On a busy production system, many businesses opt to have SSH policies and monitoring handled by a managed team. If you do not want to be responsible for this yourself day to day, a managed option within managed and unmanaged virtual dedicated servers can offload much of that operational work.
Step 1: Create and Use SSH Key Authentication
Generating an SSH key pair on your laptop (Windows, macOS, Linux)
The key pair consists of a private key (stays on your device) and a public key (goes to the server).
On macOS and most Linux desktops, open Terminal and run:
ssh-keygen -t ed25519 -C "your.email@example.com"
On modern Windows 10/11, you can use “Windows Terminal” or “PowerShell” and run the same command. If that is not available, PuTTYgen provides a graphical way to generate keys.
What this does:
-t ed25519selects a modern, strong key type.-Cadds a comment so you can recognise the key later.
You will be prompted for:
- File location (press Enter to accept
~/.ssh/id_ed25519). - A passphrase (recommended), which encrypts your private key at rest.
After completion, list your .ssh directory:
ls ~/.ssh
You should see files like id_ed25519 (private) and id_ed25519.pub (public).
Copying your public key to the server the safe way
Next, you need to place your public key on the server so sshd can recognise you.
If your local machine has the ssh-copy-id utility (common on Linux and macOS), use:
ssh-copy-id -i ~/.ssh/id_ed25519.pub root@your.server.ip
What this does:
- Connects over SSH using your current method (usually a password).
- Appends your public key to
~/.ssh/authorized_keyson the server for that user.
If ssh-copy-id is not available (for example, on Windows without WSL), you can copy the key manually:
- Show the content of your public key:
cat ~/.ssh/id_ed25519.pub
- Copy the full line starting with
ssh-ed25519. - SSH into the server and create the
.sshdirectory if needed:
mkdir -p ~/.ssh
chmod 700 ~/.ssh
- Edit or create
~/.ssh/authorized_keysand paste the line:
nano ~/.ssh/authorized_keys
Paste the line, save and exit, then:
chmod 600 ~/.ssh/authorized_keys
Be careful: if you accidentally remove other keys in authorized_keys, you may lock out other legitimate users. If you are unsure, append the line instead of replacing the file.
Checking permissions on ~/.ssh and authorised_keys
OpenSSH is strict about directory and file permissions. If they are too open, it will refuse to use your keys.
On the server, run:
ls -ld ~/.ssh
ls -l ~/.ssh/authorized_keys
You want to see something like:
drwx------for~/.ssh.-rw-------forauthorized_keys.
If not, set them:
chmod 700 ~/.ssh
chmod 600 ~/.ssh/authorized_keys
This restricts access so only the user can read or write the directory and file.
Testing key login before changing anything else
Now confirm that your key is actually used.
From your local machine, open a new terminal and run:
ssh -i ~/.ssh/id_ed25519 root@your.server.ip
If you set a passphrase, you will be asked for it locally. You should then log in without typing the server password.
You can also increase verbosity to see what is happening:
ssh -v -i ~/.ssh/id_ed25519 root@your.server.ip
Look for lines mentioning “Offering public key” and “Authentication succeeded”. Once you are comfortable that key login works reliably, you are ready to reduce reliance on passwords.
Step 2: Create a Non‑Root User with Sudo Access
Why logging in as root directly is risky
The root account can do anything on the server. That is useful, but it also means:
- Any mistake (such as a misplaced
rm -rf) can be immediately destructive. - Root logins are an attractive target for automated attacks.
- Audit trails are weaker because many people may share the same root account.
A common pattern is:
- Log in as a regular user over SSH.
- Use
sudoto run individual commands as root.
This encourages more deliberate privilege use and creates clearer logs.
Creating a new sudo user and adding your SSH key
The exact commands vary slightly by distribution. Here are examples for Ubuntu/Debian and CentOS/Rocky/AlmaLinux.
On Ubuntu / Debian:
# still as root
adduser deploy
usermod -aG sudo deploy
On CentOS / Rocky / AlmaLinux:
# still as root
adduser deploy
passwd deploy
usermod -aG wheel deploy
What this does:
adduser deploycreates a new user calleddeploywith a home directory.usermod -aG sudo deployorwheeladds that user to a group that is allowed to runsudo.
Next, copy your public key to the new user. A straightforward way is from within the root account:
mkdir -p /home/deploy/.ssh
cp ~/.ssh/authorized_keys /home/deploy/.ssh/
chown -R deploy:deploy /home/deploy/.ssh
chmod 700 /home/deploy/.ssh
chmod 600 /home/deploy/.ssh/authorized_keys
Be careful: This copies root’s authorized_keys to the new user. If root had keys that do not belong to you, you are also granting them access to the deploy user. On a fresh server, this is usually fine, but on an older system you may prefer to add only your own key.
Testing sudo access safely
Log out, then attempt to log in as the new user:
ssh deploy@your.server.ip
If key‑based authentication is set correctly, you will log in without a password (unless your distribution requires a password for the new user until you disable it later).
Now test sudo with a safe command:
sudo whoami
You should see:
root
This confirms that:
- Your non‑root user can log in with an SSH key.
sudois configured correctly.
At this point you can start using this user for daily work instead of root. Keep your original root session open while you change SSH settings in the next step.
Step 3: Harden sshd_config Without Getting Locked Out
Locate and back up your sshd_config file
The main SSH server configuration file is usually at /etc/ssh/sshd_config.
First, make a backup:
sudo cp /etc/ssh/sshd_config /etc/ssh/sshd_config.backup-$(date +%F)
What this does:
- Creates a dated backup copy that you can restore quickly if needed.
If something goes wrong, you can revert with:
sudo cp /etc/ssh/sshd_config.backup-YYYY-MM-DD /etc/ssh/sshd_config
sudo systemctl restart sshd
Replace YYYY-MM-DD with the actual date used in your backup.
Disable password authentication (after keys are confirmed)
Once you are confident that key‑based login works for your users, you can stop SSH from accepting passwords entirely. This is one of the single most effective hardening steps.
Edit sshd_config with your preferred editor:
sudo nano /etc/ssh/sshd_config
Find the lines containing PasswordAuthentication. If they are commented out or set to yes, change them so you have:
PasswordAuthentication no
ChallengeResponseAuthentication no
UsePAM yes
What this does:
PasswordAuthentication noprevents password logins over SSH.ChallengeResponseAuthentication nodisables some other password‑like methods.UsePAM yesis commonly left enabled for logging and account controls.
Be careful: Do this only after you have tested key access for all users who need SSH. Keep an existing root or sudo session open while you restart SSH so you can revert if necessary.
Disable direct root login or restrict it to keys only
Stopping direct root logins reduces noise and forces people to use named accounts.
In /etc/ssh/sshd_config, find the PermitRootLogin line.
Recommended options:
PermitRootLogin prohibit-password(root allowed only with keys).PermitRootLogin no(no SSH logins as root at all).
A common pattern is:
PermitRootLogin prohibit-password
or, once you are fully comfortable using your deploy user with sudo:
PermitRootLogin no
If you ever need a root shell, you can still use:
sudo -i
from your non‑root user.
Optional tweaks: SSH port, login grace time and max auth tries
There are a few additional adjustments that can reduce noise and slow down brute‑force attempts. They are not a substitute for keys, but can be helpful.
- LoginGraceTime: how long SSH waits for you to authenticate.
- MaxAuthTries: how many authentication attempts per connection.
- Port: the TCP port that SSH listens on (default 22).
Examples to consider in sshd_config:
LoginGraceTime 30
MaxAuthTries 3
Reducing these values means an attacker gets fewer guesses and connections time out faster. You may need slightly higher values if you use complex multi‑factor setups or jump hosts.
Changing the SSH port (sometimes called “security by obscurity”) mainly reduces log noise rather than providing strong security. If you choose to change it:
Port 2222
Important: Before restarting SSH after a port change:
- Update any host firewall rules to allow the new port (see the G7Cloud article Basic Linux Firewall Setup for VPS and Dedicated Servers).
- Ensure any monitoring tools or configuration management are aware of the new port.
Reloading SSH safely and keeping an existing session open
After editing sshd_config, check the syntax before applying changes:
sudo sshd -t
If it returns nothing, the configuration is syntactically valid. If there is an error, it will show a line number to fix.
To apply changes, use reload or restart depending on your distribution:
sudo systemctl reload sshd
# or on some systems:
sudo systemctl reload ssh
Alternatively, if reload is not supported:
sudo systemctl restart sshd
Safe practice:
- Keep your original SSH session open.
- Open a new terminal and test logging in as your non‑root user using keys only.
- Only close the original session once you are satisfied that everything works.
If something goes wrong and new logins fail, switch to your provider’s console, restore the backup file and restart the service as described earlier.
Step 4: Protect SSH from Brute‑Force Attacks with Fail2ban
What Fail2ban does in simple terms
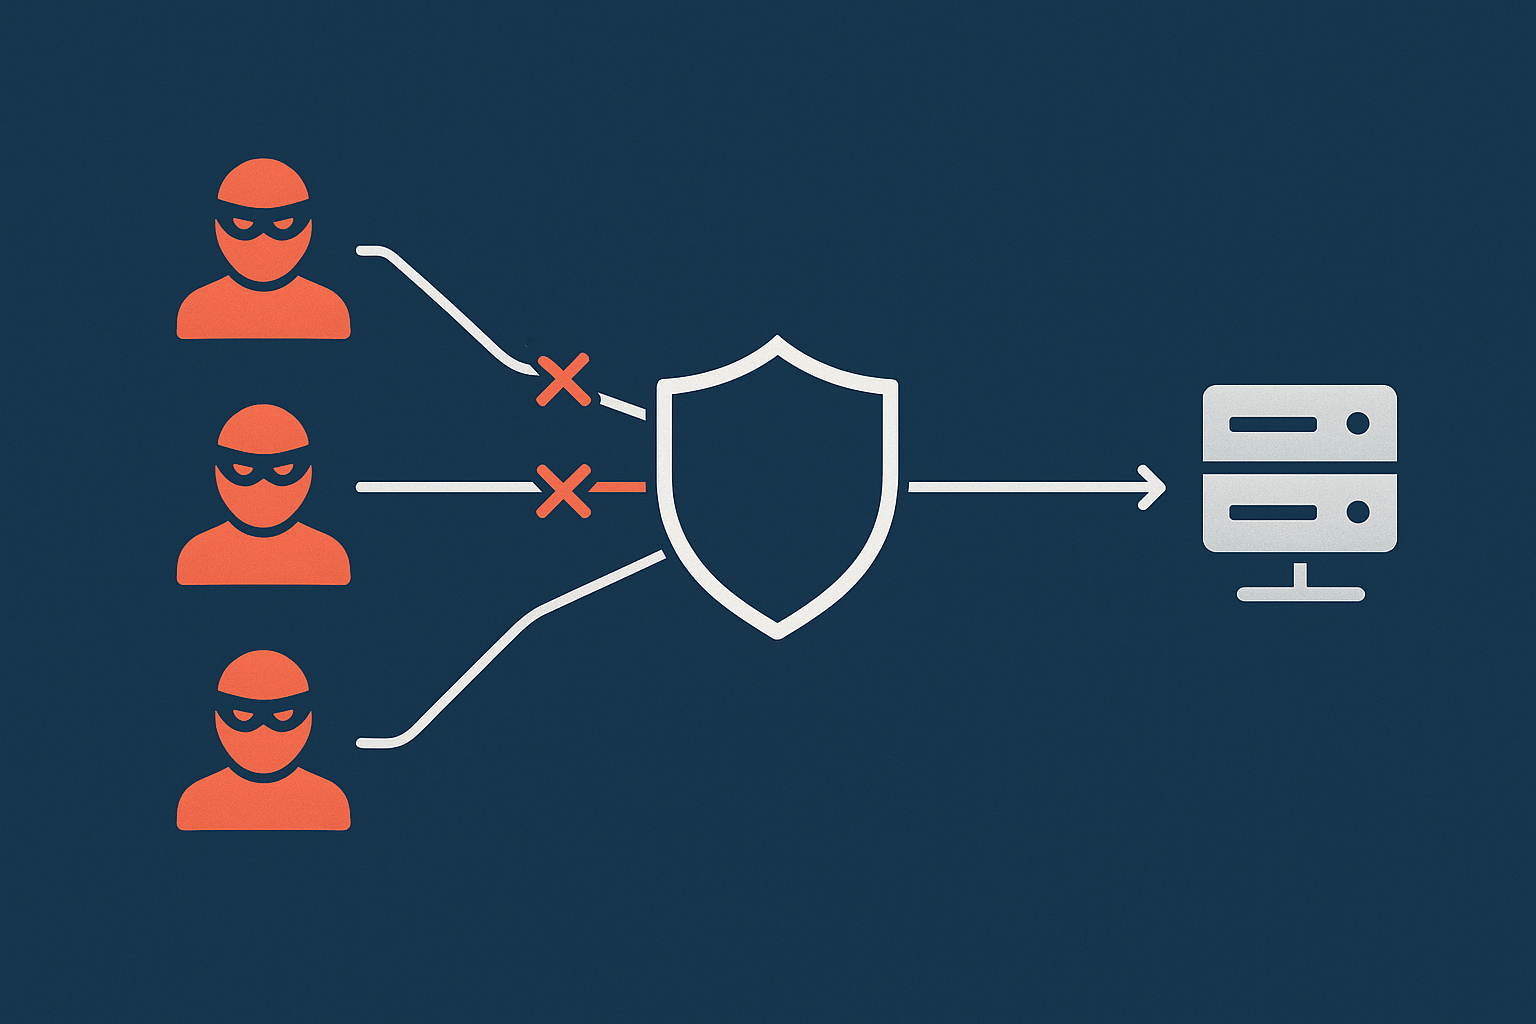
Fail2ban is a small service that watches log files for repeated failed logins. When it sees too many failures from the same IP within a short time, it temporarily blocks that IP using firewall rules.
For SSH, this means automated scripts that keep guessing passwords or keys are quickly slowed or stopped. This also reduces clutter in your logs.
Installing Fail2ban on common distributions
On Ubuntu / Debian:
sudo apt update
sudo apt install fail2ban
On CentOS 7 / Rocky / AlmaLinux:
sudo yum install epel-release
sudo yum install fail2ban
or on newer releases with dnf:
sudo dnf install epel-release
sudo dnf install fail2ban
Enable and start the service:
sudo systemctl enable --now fail2ban
What this does:
- Installs Fail2ban and its default configuration.
- Starts the Fail2ban service and enables it on boot.
Creating a basic jail.local for SSH protection
Fail2ban uses “jails” to define what to monitor and how to respond. The safe way to configure it is to keep the main jail.conf file untouched and put your changes in /etc/fail2ban/jail.local.
Create or edit this file:
sudo nano /etc/fail2ban/jail.local
Add a simple SSH jail configuration:
[sshd]
enabled  = true
port     = ssh
filter   = sshd
logpath  = /var/log/auth.log
maxretry = 5
bantime  = 600
findtime = 600
On CentOS‑like systems, the log path is usually /var/log/secure instead:
logpath = /var/log/secure
What these settings mean:
enabled: turns the jail on.port: SSH port or service name (uses value fromsshd_configor/etc/services).maxretry: number of allowed failures withinfindtime.bantime: how long (in seconds) the IP is banned.findtime: the window (in seconds) during which failures are counted.
Restart Fail2ban to apply:
sudo systemctl restart fail2ban
If you have changed your SSH port, update port = ssh to use the new port number, for example port = 2222.
Checking Fail2ban status and unbanning yourself if needed
To ensure the SSH jail is active:
sudo fail2ban-client status
You should see a list of jails including sshd. For more detail:
sudo fail2ban-client status sshd
This shows currently banned IP addresses and recent activity.
If you accidentally trigger the ban yourself (for example, by repeatedly entering a wrong passphrase), you can unban your IP. From another IP or via the provider console, run:
sudo fail2ban-client set sshd unbanip your.ip.address
Tip: You can whitelist IPs that should never be banned (for example, a secure office IP) using the ignoreip setting in jail.local. Be cautious with this on dynamic IPs or personal broadband where addresses can change.
Fail2ban and firewalls: how they work together
Fail2ban does not replace a firewall. Instead, it usually adds rules to an existing firewall such as iptables, nftables or firewalld.
A typical setup is:
- Host firewall defines which ports are open at all (for example, only 22 and 80/443).
- Fail2ban temporary blocks specific IPs at the firewall level when they misbehave.
For a clear walkthrough of setting up basic firewall rules on a VPS, see Basic Linux Firewall Setup for VPS and Dedicated Servers.
Common SSH Security Mistakes to Avoid
Changing the SSH port without fixing firewalls and monitoring
Changing the SSH port can reduce automated noise, but it also introduces a few pitfalls:
- Forgetting to allow the new port in the host firewall, locking yourself out.
- Leaving old monitoring or backup tools still trying to reach port 22.
- Documenting the change poorly, so team members are unsure how to connect.
If you change the port, update:
- Host firewall rules.
- Security groups or network ACLs at your provider level, if any.
- Internal documentation and connection profiles (for example, in PuTTY).
Relying only on WordPress security plugins while SSH is open
For WordPress and WooCommerce sites, it is common to install several security plugins and feel reasonably safe at the application level. However, those plugins operate inside PHP and only protect web requests.
SSH is separate. If it is:
- Open to the world.
- Using passwords instead of keys.
- Allowing direct root logins.
then an attacker who reaches SSH can bypass all WordPress protections and control the whole server.
Securing SSH is therefore a core part of running WordPress safely on a VPS. For more context on the difference between plugin‑level and server‑level security, see WordPress Security Plugins vs Server‑Level Protection.
Copying random hardening snippets without understanding them
Searching for SSH hardening tips often leads to long lists of configuration options. Copying them blindly can cause problems such as:
- Disabling key types you rely on without adding new ones first.
- Setting very short timeouts that make legitimate administration frustrating.
- Enabling complex options (such as forced commands or TCP forwarding rules) without understanding the impact.
A safer pattern is:
- Change one or two settings at a time.
- Record what you changed and why.
- Test thoroughly with at least two separate SSH sessions or users.
If you find yourself needing more advanced controls such as multi‑factor SSH, bastion hosts or centralised SSH logging, that is a natural point to consider either a managed environment or specialist consultancy.
How This Fits with Firewalls, PCI and Managed Hosting
SSH hardening vs network‑level protection
SSH configuration and tools like Fail2ban work on the server itself. Network‑level protection such as provider firewalls, DDoS mitigation and WAFs operate before traffic even reaches your VPS.
A sensible layered approach is:
- Restrict SSH exposure at the network level where possible (for example, VPN‑only access or IP allowlisting).
- Use keys instead of passwords, disable root logins and minimise listening services.
- Use Fail2ban or similar to react to repeated failures when SSH is intentionally reachable from the wider internet.
On a busy WordPress or WooCommerce site, it is also common to use a performance and security layer in front of the origin. For example, the web hosting security features on G7Cloud include network‑level protections that sit alongside your own SSH hardening choices.
Why card‑taking WooCommerce sites need disciplined SSH access
If your WooCommerce site takes card payments, you are likely subject to PCI‑DSS requirements either directly or through your payment provider’s terms.
While using hosted payment pages can reduce scope, PCI expectations still typically include:
- Strong authentication for administrative access.
- Controlled use of privileged accounts such as root.
- Auditability of changes and access.
Practical steps from this guide that help with that include:
- Using unique SSH keys per administrator rather than shared passwords.
- Disabling direct root logins and using sudo from named accounts instead.
- Keeping logs that show who connected when and from where.
If you are working towards formal PCI compliance, a platform that understands these requirements can reduce the amount you need to solve alone. G7Cloud’s PCI conscious hosting information explains how responsibilities are typically shared.
When to consider a managed VDS so you are not on your own
Running SSH securely is not a one‑off task. Over time you will need to:
- Apply OS and OpenSSH updates promptly.
- Review who has SSH access and remove old keys or accounts.
- Monitor logs for unusual login patterns.
- Adapt to new compliance or internal policy requirements.
If you are comfortable learning and taking responsibility for these areas, an unmanaged VPS or VDS can be very effective. The article How to Safely Update and Patch a Linux Server (Without Breaking Your Sites) complements this guide for the patching side.
If, on the other hand, your main goal is to run one or two business sites without taking on ongoing server administration, then a managed option may fit better. G7Cloud’s managed and unmanaged virtual dedicated servers and Managed WordPress hosting are both ways to offload a significant share of day‑to‑day SSH and system hardening work while you stay in control of your applications.
Next Steps and Further Reading
Other Linux security basics to handle early
Securing SSH is a strong foundation, but there are a few other basics you should handle early in your server’s life:
- Regular updates of the OS and key services, including OpenSSH.
- Firewall configuration to permit only necessary ports.
- Backups tested for restore, not just taken.
- Least privilege for other services and databases.
The checklist in First 48 Hours on a New Linux VPS: A Safe Setup Checklist for Beginners helps place SSH hardening in that wider context.
Where to go next in the G7Cloud Knowledge Base
You can continue building your skills and confidence with these related articles:
- SSH Access for Beginners: Safe First Login and Day‑to‑Day Use on Your VPS
- Basic Linux Firewall Setup for VPS and Dedicated Servers
- How to Safely Update and Patch a Linux Server (Without Breaking Your Sites)
- What ‘Managed’ Really Covers: A Plain‑English RACI for Hosting, Security and Compliance
If, after reading, you feel you would rather focus on your sites and let a team look after SSH and server‑level hardening, it is worth exploring a managed virtual dedicated server or a Managed WordPress plan. Both options can give you a more predictable, lower‑maintenance path while still benefiting from the control and performance of your own server.
Whichever route you choose, building a solid understanding of SSH and these core protections will serve you well across any Linux environment.