
Who This WooCommerce Migration Guide Is For (And What You Will Avoid)
Typical situations where you need to move host
This guide is for UK businesses running WooCommerce that need to change hosting without disrupting trading. Typical triggers include:
- Slow page loads or regular timeouts during busy periods.
- Unreliable uptime, especially around promotions and campaigns.
- Security concerns or poor support from your current provider.
- Outgrowing basic shared hosting and needing more predictable performance.
- Wanting a specialist managed WooCommerce hosting platform rather than doing everything yourself.
If you are still deciding whether you actually need to move, you may find it useful to read your options first in this guide on moving off shared hosting.
The specific risks for WooCommerce: live orders, customers and stock
Moving WooCommerce is different to moving a simple brochure site. Your store is constantly changing:
- New orders and customers are created.
- Stock levels change with each purchase or refund.
- Coupons, subscriptions and membership access may be updated.
If you simply take a backup on Monday and restore it on Tuesday while the old site still takes orders, anything that happened in between risks being lost or duplicated. The main risks are:
- Lost orders and missing customer accounts.
- Incorrect stock levels leading to overselling.
- Split orders where some order emails come from the old server and some from the new.
What you will have at the end of this guide
Worked through carefully, this guide gives you:
- A practical migration plan that protects orders and stock.
- A clear, short “order freeze” window and a way to explain it to customers.
- A repeatable pattern for future moves or major upgrades.
If you decide you would rather have someone else handle the risk, some providers, including G7Cloud, offer free WordPress and WooCommerce migration help which follows a similar pattern.
Key Principles: How to Move a Live Shop Without Losing Data
Database vs files: what actually holds your orders and stock
WooCommerce has two main pieces:
- Files: WordPress core, plugins, themes and uploads live in
wp-content. Product images sit underwp-content/uploads. - Database: Orders, customers, stock levels, coupon usage, settings and most plugin data live in MySQL or MariaDB.
Orders and stock levels are purely database data. If you only copy files, your products may appear but there will be no orders. If you copy a stale database, you will lose any activity since that backup.
Why a straight “full backup then restore” is not enough for WooCommerce
A single backup and restore can work for static sites, but a live shop keeps changing:
- If customers place orders while you are copying, those new orders will be missing on the new host.
- If DNS is pointing partly to the old and partly to the new host, different customers may see different versions of your shop.
That is why WooCommerce migrations need a controlled sequence, including a short period where new orders are paused while you take a final database copy.
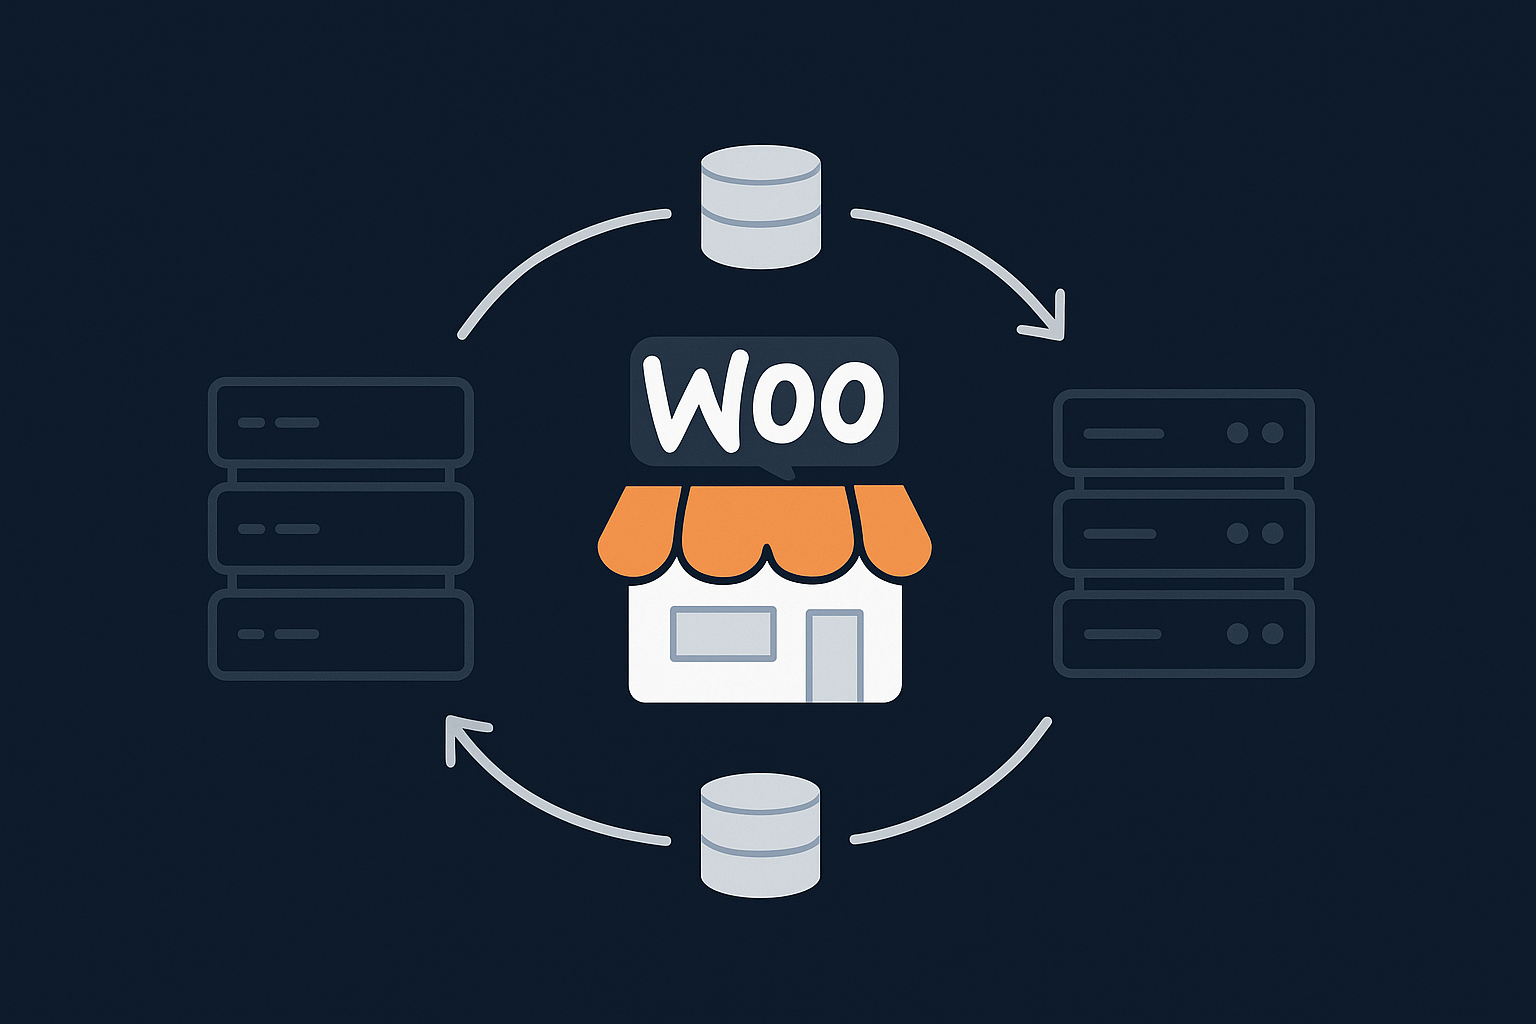
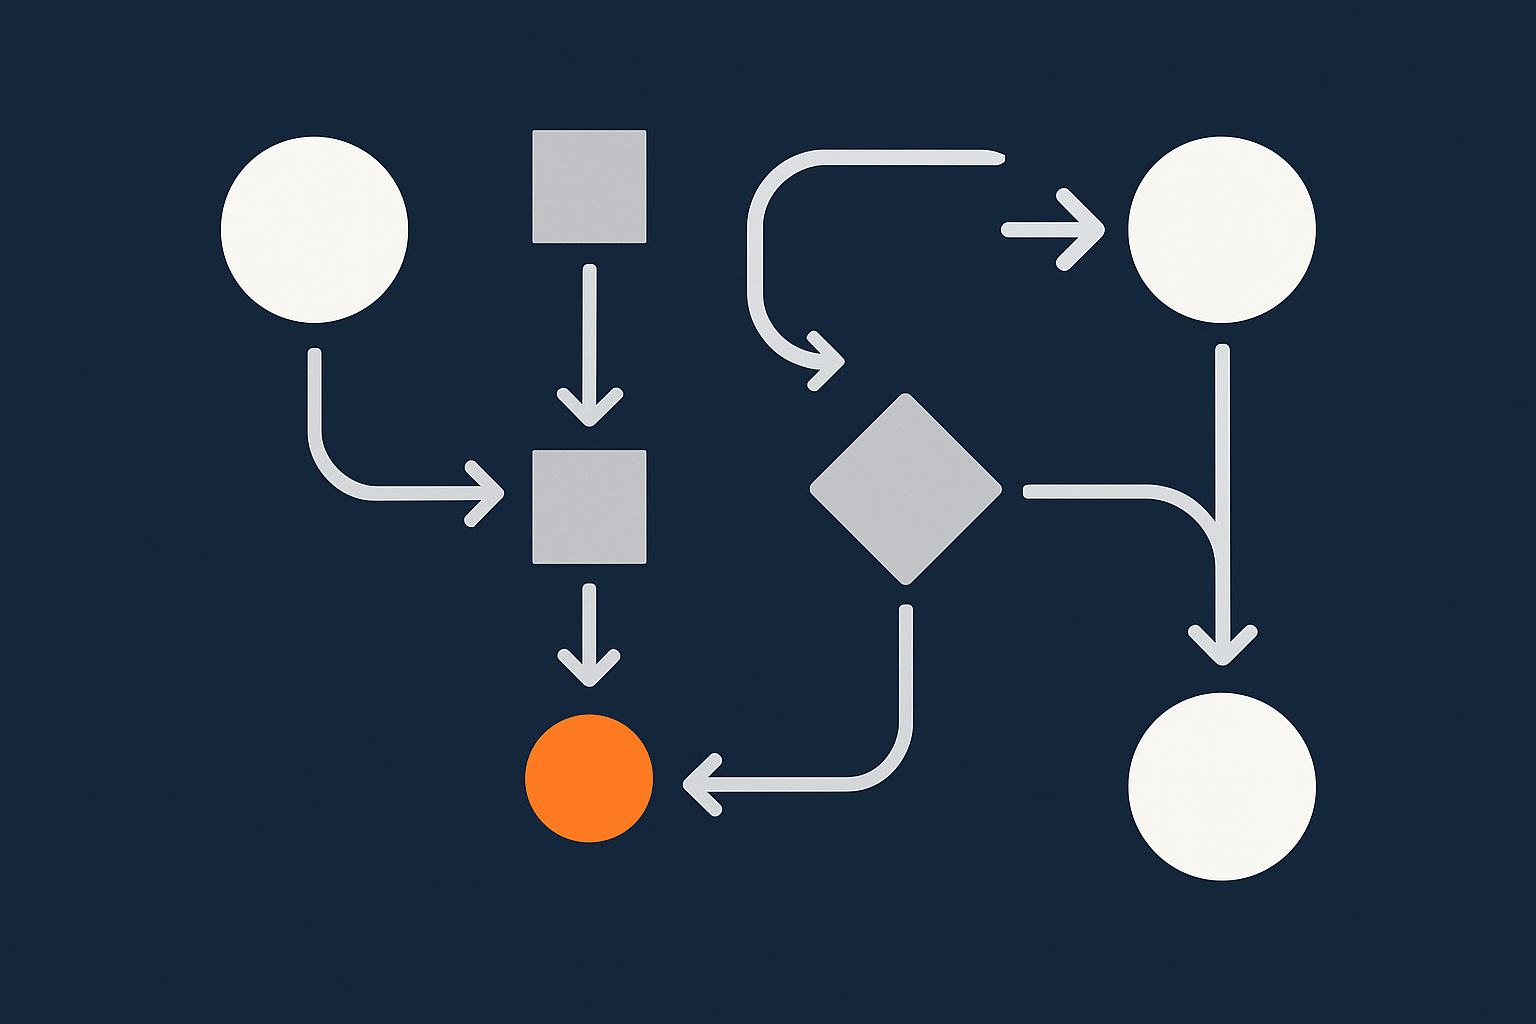
The safe pattern: initial copy, short freeze window, final sync, cutover
The pattern we will follow is:
- Prepare the new hosting environment.
- Take an initial copy of files and database to the new host.
- Put the old store into maintenance mode that blocks checkout but leaves the catalogue visible.
- Take a final database dump and import it into the new host.
- Switch DNS so the domain points to the new host.
- Run verification tests and monitor closely.
This minimises the “frozen” window while keeping orders and stock consistent across the move.
Pre‑Migration Checklist: Clean Information, Good Backups, Clear Window
Confirm what you have now: versions, plugins, payments and shipping
Before touching anything, note:
- WordPress and WooCommerce versions.
- Active plugins, themes and any custom code (mu‑plugins, snippets).
- Payment gateways (e.g. Stripe, PayPal, Klarna) and how they are configured.
- Shipping zones, methods and any integrations with fulfilment providers.
Take screenshots of key settings such as payment gateway configuration, tax settings and shipping zones. This helps if anything looks different on the new host.
Backups you must have before touching anything
Make sure you have:
- A full database backup (using
mysqldump, phpMyAdmin, WP‑CLI or a backup plugin). - A complete copy of
wp-contentincluding uploads and any custom directories. - Ideally, an additional backup from your host’s control panel.
For larger or higher risk moves, it is worth planning a more formal backup and restore strategy, including RPO/RTO. The article on designing a backup and restore strategy explains this in plain English.
Pick a low‑traffic migration window and plan for a brief maintenance mode
Look at your analytics and pick a low‑traffic window, for example late evening or early morning UK time. Plan a short maintenance window where checkout is disabled, usually 15 to 60 minutes depending on size.
Prepare a simple maintenance message along the lines of:
“We are performing a scheduled upgrade to improve speed and reliability. Checkout will be unavailable from 23:00 to 23:30 UK time. Browsing is still available. Thank you for your patience.”
Access you will need from old and new hosts
You will need on both hosts:
- File access: SFTP or SSH.
- Database access: phpMyAdmin, Adminer or SSH / MySQL client.
- Control panel access for DNS or at least registrar login.
Confirm ahead of time how you will set up SSL on the new host and whether they provide a temporary hostname for testing.
Prepare the New Hosting Environment for WooCommerce

Choose suitable hosting resources for WooCommerce
PHP version, MySQL/MariaDB, and typical resource needs
For most modern WooCommerce stores you should aim for:
- PHP 8.1 or 8.2, with the standard WordPress extensions enabled.
- MySQL 8 or a recent MariaDB version.
- At least 1–2 GB RAM and decent CPU for small shops; more if you have heavy traffic or lots of plugins.
Managed platforms like managed WooCommerce hosting with G7Cloud typically size this for you and tune PHP workers and database configuration to cope with spikes during promotions.
TLS/HTTPS and basic security hardening
Set up HTTPS with a valid certificate (Let’s Encrypt is fine) before switching DNS. Also:
- Enforce HTTPS via redirects.
- Disable public access to non‑web directories.
- Ensure file permissions are sensible and avoid running everything as root.
Some managed platforms include security headers and bot filtering at the edge via a network such as the G7 Acceleration Network, which means common attacks are blocked before hitting WordPress.
Create the new WordPress + WooCommerce install (or empty target database)
You have two options:
- Create a fresh WordPress + WooCommerce install on the new host, then overwrite its database and
wp-contentwith your existing site. - Or, create only an empty database and upload your existing codebase and database into it.
The first approach is slightly smoother for less technical users because it ensures required PHP extensions and basic configuration are already correct.
Match critical PHP, memory and upload settings
On the new host, match or improve:
memory_limit(usually at least 256M, sometimes 512M for larger shops).max_execution_time(e.g. 120 seconds during migration; you can tighten later).upload_max_filesizeandpost_max_sizeto suit your largest product images or import files.
These can usually be set in php.ini, a custom .user.ini, control panel settings, or via host‑level configuration.
Set up a temporary domain or hosts‑file preview
To test safely before cutover, either:
- Use a temporary URL provided by the new host.
- Or edit your local
hostsfile so your own computer points the live domain to the new server IP while DNS remains unchanged for everyone else.
The hosts‑file approach gives you the most realistic test, since URLs remain identical to production.
Step 1: Take an Initial Copy of Files and Database
Copying wp‑content and uploads safely
Use SFTP or rsync over SSH to copy the entire wp-content directory to the new host. Pay attention to:
wp-content/pluginswp-content/themeswp-content/uploads- Any custom paths your developer may have used.
For very large media libraries, consider copying uploads first in bulk, then syncing only the most recent year or two again later to catch any changes.
Export the database from the old host
Export the database using:
mysqldump --single-transaction --quickfor InnoDB tables over SSH; or- phpMyAdmin’s Export feature with “Custom” settings and gzip compression.
For large sites, command line exports are usually more reliable than browser‑based tools.
Importing into the new host and handling database prefixes
On the new host, create a database and user, then import the dump via command line or phpMyAdmin. Ensure that the database table prefix in wp-config.php (e.g. $table_prefix = 'wp_';) matches the tables in your dump.
If you change the prefix, you must update it in wp-config.php and be sure all tables and options using the prefix are consistent.
Dealing with serialised data when search‑replacing URLs
Most WooCommerce stores need a URL search‑replace during migration (for example from a temporary URL to the live domain). Many options and plugin settings contain serialised data, which breaks if you use a naive text find‑and‑replace.
Use a tool that understands WordPress serialisation, such as WP‑CLI’s wp search-replace command, or a trusted migration tool that supports serialised data. Test a few complex settings afterwards, such as widget configurations and plugin options, to confirm they are intact.
Step 2: Put the Old Store into Controlled Maintenance Mode
Why you need a short “order freeze” window
Once you have done the initial copy, the old and new databases start to diverge as customers place orders. To avoid losing orders, you need a short period where checkout is paused, a fresh database dump is taken, and then imported into the new host just before DNS cutover.
How to block new orders but keep the catalogue visible
For the maintenance window you usually want:
- Product browsing and search still available.
- Cart and checkout disabled so no new orders can be started or paid.
You can achieve this by:
- Temporarily disabling all payment gateways and clearly explaining why at checkout; and/or
- Using a maintenance plugin that allows read‑only mode but blocks checkout; or
- Adding a small code snippet that hooks into WooCommerce to prevent checkout processing.
Check that any external checkouts (e.g. PayPal Express, Buy Now buttons) are also disabled during the window.
Communicating the maintenance window to customers
Make it visible and simple:
- Banner at the top of the site explaining the timeframe.
- Updated opening hours or status on your contact page.
- Posts on key social channels if you have regular online customers.
Set the status back as soon as verification is complete on the new host.
Step 3: Final Database Sync So Orders and Stock Stay Correct
Take a fresh database dump from the old host
With checkout disabled and no new orders being taken, create a fresh database dump using the same method as before. This dump should be quick because data volume has not changed much since the initial copy.
Import just before cutover and confirm the latest orders exist
On the new host, import this final dump over the existing database. After import, log in to wp‑admin on the new host (using your temporary domain or hosts‑file) and check:
- The last few orders match those on the old host.
- The total order count is the same.
- Recent customers and coupon redemptions look correct.
Check stock levels and order counts match between old and new
Pick several products that sold recently and compare their stock levels on both hosts. If you have low‑stock or critical items, check those specifically. If anything is off, resolve it before proceeding with DNS changes.
Step 4: Switch DNS and Point Your Domain to the New Host
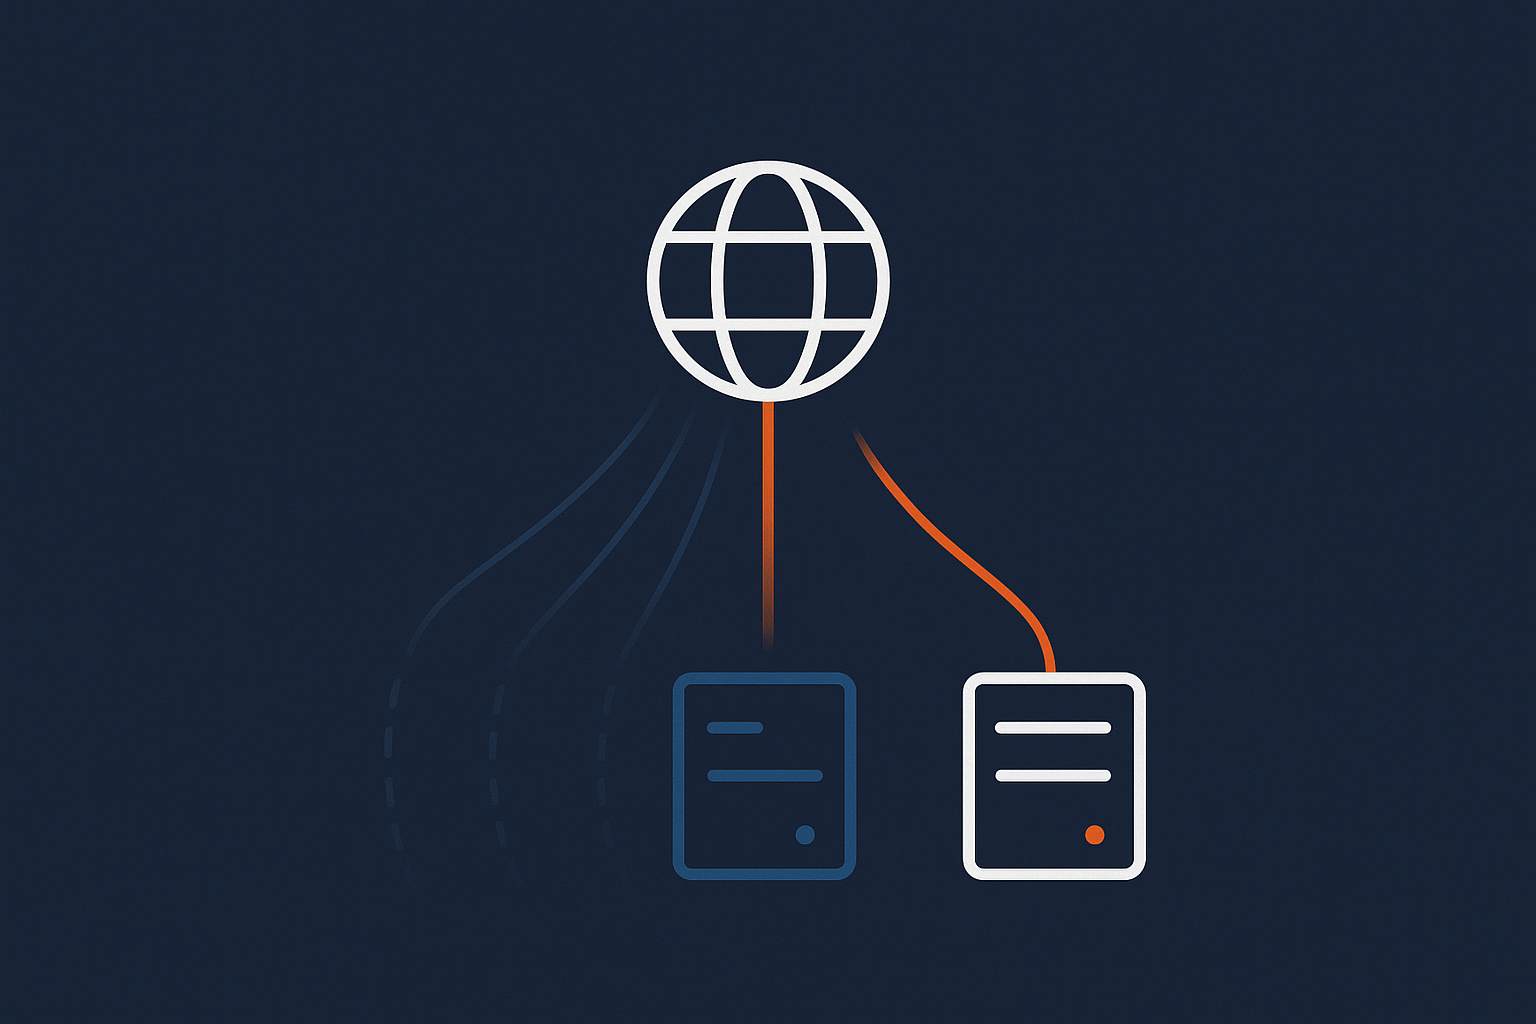
Reduce DNS TTL ahead of time to speed up the switch
24 to 48 hours before the migration window, reduce the TTL (time to live) on your DNS records to something short, for example 300 seconds. This means that when you change the records, most users will switch to the new host within a few minutes rather than hours.
Update nameservers or A records safely
Depending on your setup you will either:
- Change A and AAAA records at your current DNS provider to point to the new server IP; or
- Change nameservers at your domain registrar so DNS is handled by the new host.
In either case, have both old and new servers ready to respond with valid SSL certificates and identical content during the propagation window.
Handling the DNS propagation window and avoiding split traffic
Even with a low TTL, some users, ISPs and corporate networks will cache DNS longer than you would like. This can lead to a short period where some customers still see the site on the old host.
To avoid split orders, keep checkout disabled on the old server until you are confident virtually all traffic has moved. Watch access logs and analytics to see when requests to the old server drop to near zero before decommissioning it.
Step 5: Verification Checklist After Cutover
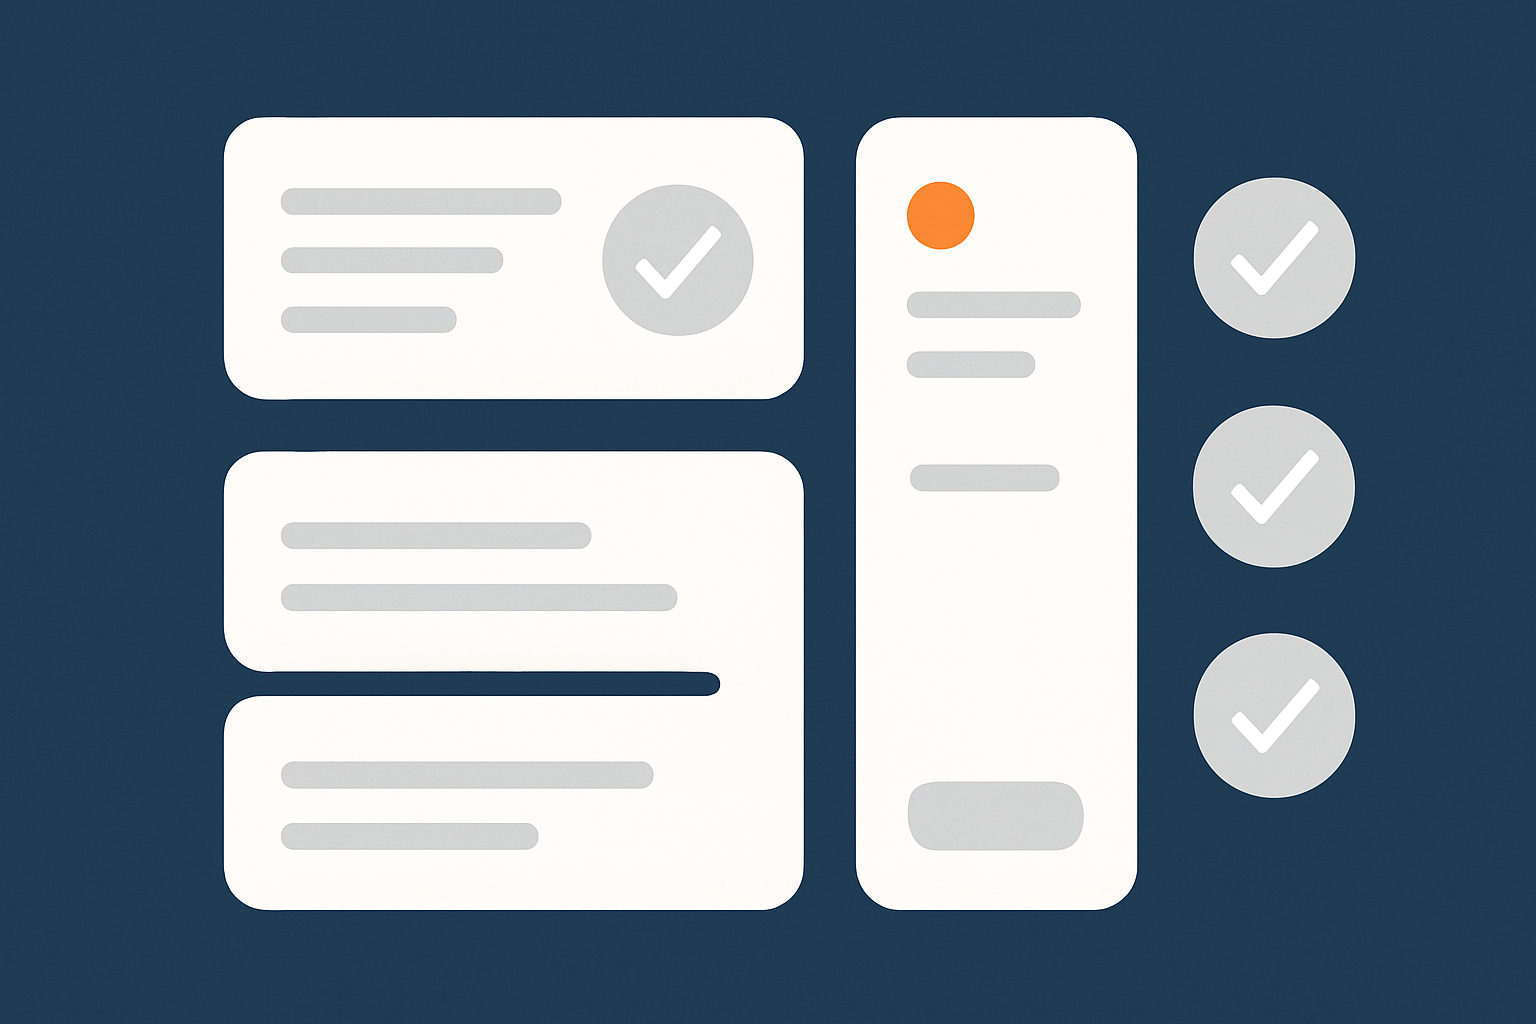
Basic front‑end checks: browsing, add to cart, coupons
Soon after the DNS change, test:
- Homepage, category pages and product pages load correctly.
- Adding items to cart, updating quantities and removing items works.
- Coupon codes work as expected, including percentage and fixed discounts.
Critical checkout checks: payments, taxes, shipping, emails
Place at least one real test order using each live payment method (refund yourself afterwards):
- Check that tax amounts match expected rates for your region.
- Verify that shipping options and prices appear correctly for common postcodes.
- Confirm you receive all order emails: customer confirmation, admin notification and any integration emails (e.g. fulfilment provider).
If you rely heavily on email, it is worth reviewing the separate guide on WooCommerce email deliverability, especially after DNS or SPF changes.
Admin checks: order list, refunds, reports and scheduled tasks
In wp‑admin, check:
- Orders list loads quickly and filters work.
- You can process a refund through your payment gateway test order.
- Reports (sales, stock, customers) show expected data.
- Scheduled tasks (WooCommerce and other plugins) are running via WP‑Cron or system cron.
Many issues after a move come from misconfigured cron. The article on WordPress cron jobs for WooCommerce explains how to ensure background jobs still run reliably.
Monitoring errors, logs and performance in the first 24–48 hours
For the first couple of days:
- Enable logging in WooCommerce and check for recurring errors.
- Watch PHP error logs on the new host.
- Monitor performance during your usual peaks.
If you see sudden spikes in resource use, check whether they are genuine customers or bots. Platforms that include bot filtering, such as G7Cloud’s G7 Acceleration Network, can block abusive and non‑human traffic before it reaches PHP or MySQL, which helps keep response times stable during busy periods.
Handling Caching, Bot Traffic and Email on the New Host
Configuring WooCommerce‑safe caching without breaking carts
Caching is essential for speed, but WooCommerce needs careful rules so logged‑in users, carts and dynamic pricing work correctly. In general:
- Cache pages for guests but not for logged‑in users or cart / checkout pages.
- Exclude certain cookies and query parameters from cache.
- Use object caching where available for database queries.
There is a dedicated guide to WooCommerce caching without breaking carts that goes into configuration examples for popular plugins and proxies. Network‑level solutions such as the G7 Acceleration Network can also cache static assets and some pages safely, while respecting WooCommerce’s no‑cache signals.
Filtering bad bots so your new server is not overloaded on day one
After a migration it is common to see search engines and other crawlers re‑index the site. Some of this is legitimate, but aggressive bots can eat CPU and slow things down just when you are trying to verify stability.
Use server‑level or network‑level rules to block obvious bad bots, rate‑limit requests and protect against login brute force attacks. G7Cloud’s bot protection inside the G7 Acceleration Network filters abusive and non‑human traffic before it reaches PHP or the database, which reduces wasted server load and helps avoid downtime during busy periods.
Making sure order and password reset emails are delivered
After changing hosts or DNS you should:
- Verify SPF, DKIM and DMARC records are still valid for your sending service.
- Consider using a dedicated transactional email provider (like SendGrid or Amazon SES) rather than relying on basic PHP mail.
- Send test emails from WooCommerce and password reset forms and check both inbox and spam folders.
When to Use a Professional Migration Service Instead
Risk factors: size, custom code, payment complexity and PCI duties
You may want a professional to handle the move if:
- Your store has heavy custom code or bespoke integrations.
- You run subscriptions, complex tax logic or multiple payment gateways with saved cards.
- You have specific PCI obligations and audit requirements.
- Your database is very large or the site is mission‑critical with no acceptable downtime.
What a good WooCommerce migration service should actually handle
A competent migration service should:
- Plan and agree a migration window with you.
- Handle all file and database copies, including serialised data.
- Set up a staging or preview environment and run test orders.
- Manage DNS changes and SSL certificates.
- Be present during and after cutover to fix any issues.
Questions to ask a potential new host about their migration process
Useful questions include:
- “How do you ensure no orders or stock changes are lost during migration?”
- “Do you provide a staging environment and temporary domain?”
- “Who is available during the migration window and how do I contact them?”
- “Is your migration service free, and what exactly does it cover?”
If you want less hands‑on work, it is worth exploring free WordPress and WooCommerce migration help and managed WordPress maintenance service options, which bundle migration with ongoing updates and checks.
After the Move: Housekeeping and Performance Tuning
Remove old plugins, test cron jobs and review backups on the new host
Once everything is stable:
- Remove unused plugins and themes to reduce attack surface and maintenance effort.
- Confirm WordPress cron is running reliably and offload it to server cron if possible.
- Review your new host’s backup schedule and test a small restore so you know it works.
Check Core Web Vitals and page weight, especially on product and checkout pages
Run PageSpeed Insights or similar on product, category and checkout pages. Look for:
- Large images, especially on product galleries and banners.
- Unnecessary scripts or tracking tags.
- Third‑party widgets that slow down key pages.
Image optimisation is often the quickest win. Converting product images to modern formats and resizing them appropriately can significantly reduce page weight. On G7Cloud, the G7 Acceleration Network automatically converts images to AVIF and WebP on the fly, typically cutting file sizes by over 60 percent without visible quality loss, and it works for every hosted site without extra plugins or changes in WordPress.
Set up ongoing maintenance so you do not repeat the same pain
To keep things smooth after the move:
- Apply updates regularly, ideally first on a staging copy.
- Schedule periodic performance reviews, especially before big campaigns.
- Document your migration steps so next time is quicker and less stressful.
If you would like to hand off routine work such as updates, checks and minor fixes, a managed WordPress maintenance service tied to managed WooCommerce hosting can reduce the day‑to‑day load on your team.
Summary: A Reusable Migration Pattern for Future Moves
Short recap of the safe WooCommerce migration sequence
The core pattern is:
- Prepare a suitable new hosting environment and test it.
- Take an initial copy of files and database.
- Enter a short, well‑communicated “order freeze” with checkout disabled.
- Take a final database copy and import it into the new host.
- Switch DNS and keep checkout disabled on the old host until traffic moves.
- Verify front‑end, checkout, admin and email behaviour, then monitor closely.
How this approach reduces downtime, data loss and stress next time
Following this sequence separates the risky parts, gives you clear checkpoints and keeps customer data consistent across the move. Once you have done it once and written down your own version, it becomes a reliable process you can re‑use for future moves, major upgrades or even disaster recovery tests.
If you would rather focus on running the business than on hosting details, it may be worth exploring managed WooCommerce hosting and the G7 Acceleration Network, so the next migration, scaling step or security update is largely handled for you.