
Why Front‑End Optimisation Matters Most on WooCommerce Checkouts
How slow images, scripts and fonts quietly kill conversions
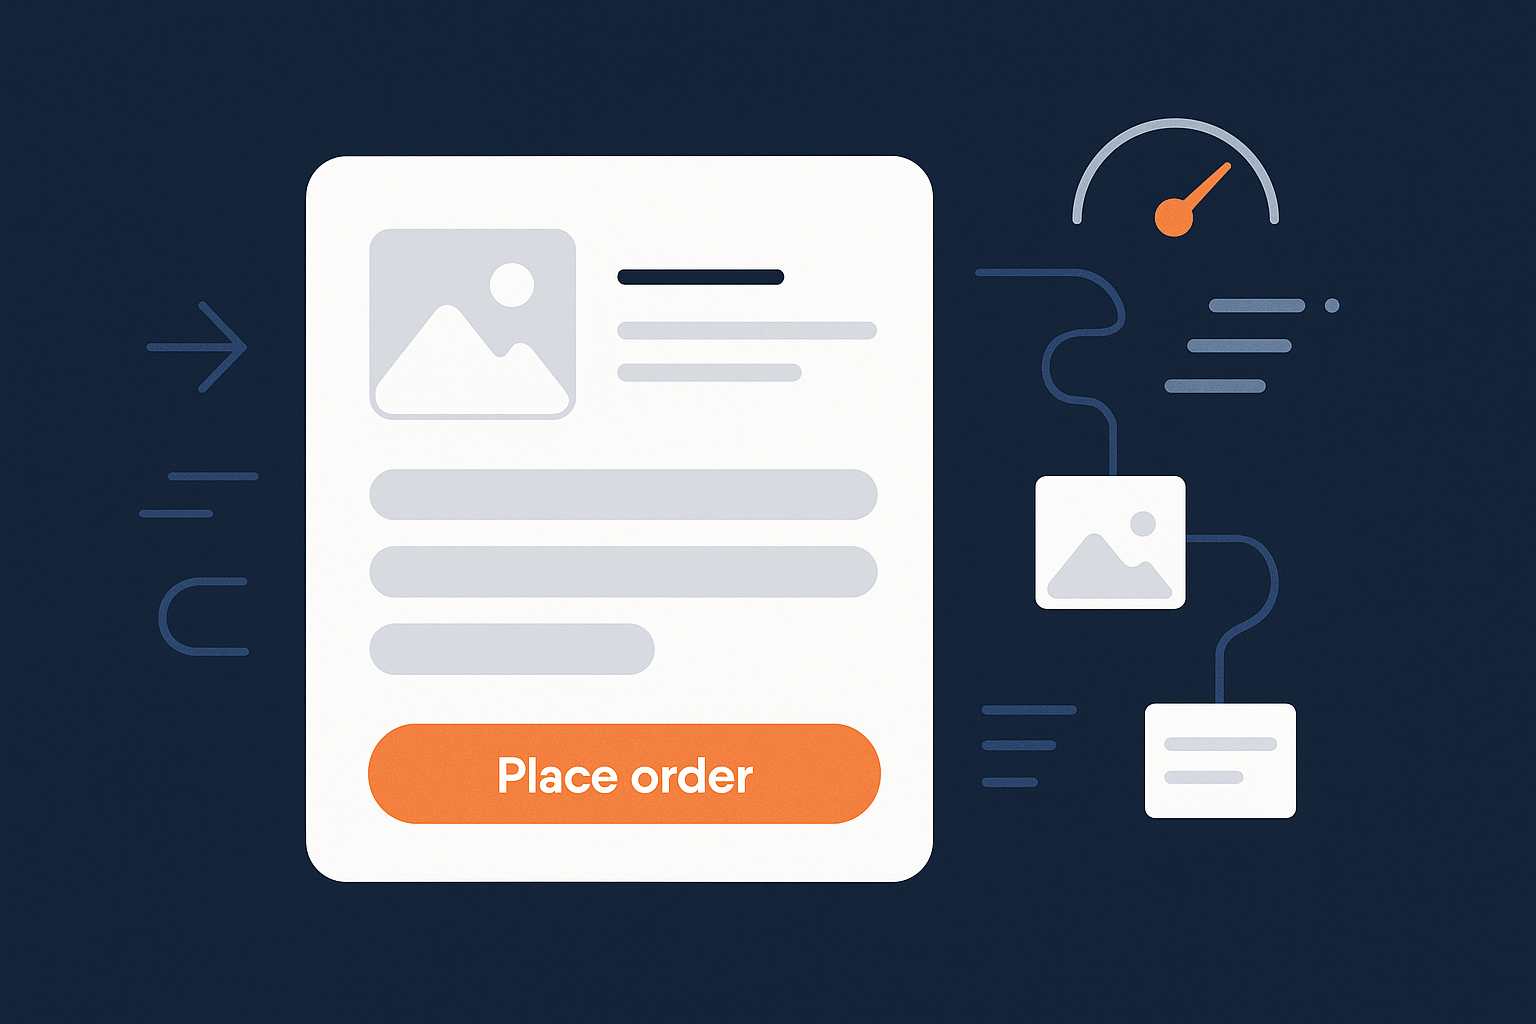
On a WooCommerce store, the pages that matter most are your product page, cart and checkout. If these feel slow, people abandon baskets, especially on mobile and under real‑world 4G or public Wi‑Fi.
The usual culprits are:
- Oversized images loading above the fold.
- Heavy JavaScript from page builders, marketing tags, chat widgets and popups.
- Multiple webfonts and weights that block text from appearing.
Each of these adds delay before the shopper can see prices, change quantities or press “Place order”. Even a one or two second delay on checkout can be the difference between a completed sale and yet another “abandoned” in your analytics.
Core Web Vitals that matter for carts and checkouts (LCP, FID/INP, CLS) in plain English
Google’s Core Web Vitals are useful here, not for SEO first, but because they match how real customers feel your site:
- LCP (Largest Contentful Paint): how quickly the main thing on the screen appears. On product pages, this is often the main product image or hero banner. On checkout, it might be the billing form or cart summary. Slow images and heavy fonts hurt this.
- FID/INP (interaction delay): how quickly the page responds after the user clicks or types. On checkout, this means how long it takes for shipping totals to update or the next field to accept input. Bloated JavaScript and third‑party scripts are usually to blame.
- CLS (Cumulative Layout Shift): how much things jump around after first paint. This is common when fonts swap in late, or when images do not have set dimensions so text moves as they load.
If you want a deeper dive into these metrics in non‑technical language, the G7Cloud guide on practical Core Web Vitals for WordPress is a useful companion to this article.
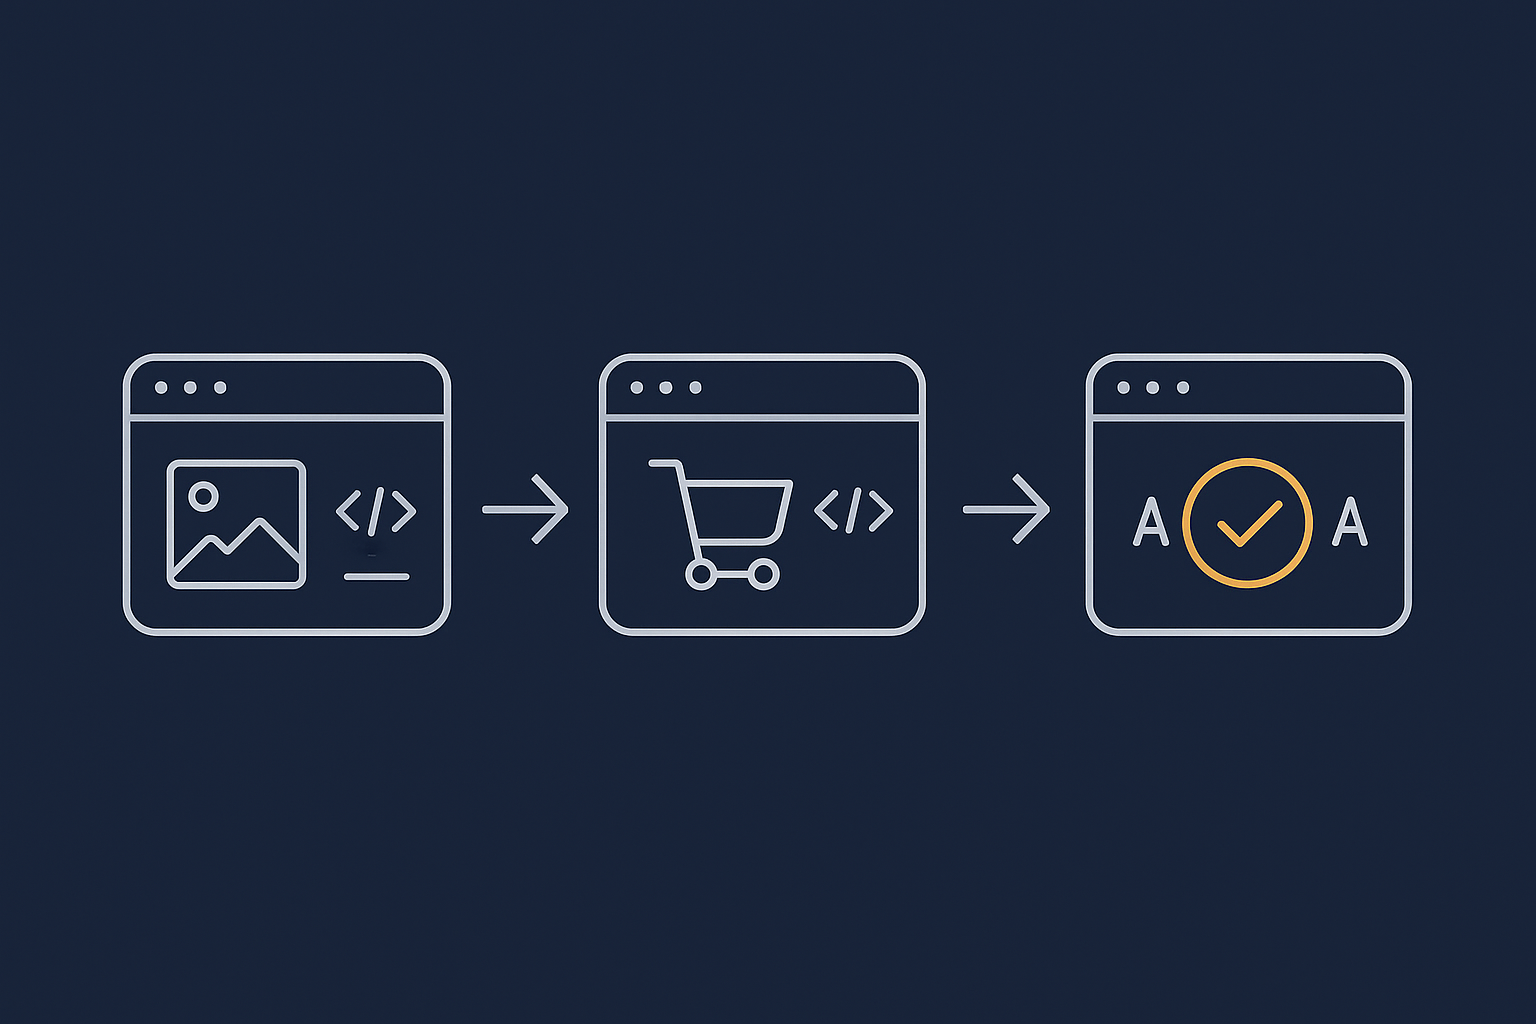
Where to focus first: product pages vs cart vs checkout
You will get the most impact if you approach templates in this order:
- Product pages: where most visitors land from search or ads. Fixing images and scripts here improves perceived speed and LCP for the majority of traffic.
- Cart: still semi‑browsing, but users are closer to purchase. Clean up unnecessary media, chat, and promotional widgets.
- Checkout: the most sensitive page. Here the goal is not “pretty + clever” but “fast + reliable”. Anything not essential to taking payment should be questioned.
The rest of this guide walks through images, scripts and fonts with that sequence in mind.
Measure Before You Tweak: Understanding What Is Really Slowing Things Down

Using PageSpeed Insights and Lighthouse for key templates (product, cart, checkout)
Before you start changing plugins or settings, you need to see what is slow today.
A practical way to do this:
- Open PageSpeed Insights.
- Test:
- One representative product page.
- The cart page with a product in the basket.
- The checkout page filled out as far as possible without paying.
- Note:
- LCP, interaction delay (INP) and CLS scores.
- “Opportunities” mentioning images, render‑blocking resources or fonts.
Repeat with Lighthouse in Chrome DevTools for a more detailed breakdown. This gives you a clear baseline so you can later confirm whether your changes help or cause regressions.
How to read the waterfall: separating images, scripts and fonts
The network “waterfall” in Chrome DevTools is one of the most useful, yet underused, tools:
- Open your product page in Chrome.
- Right‑click > Inspect > Network.
- Reload the page with “Disable cache” ticked.
Look at:
- Images: Filter by “Img”. Note the largest files and whether they are JPEG/PNG or WebP/AVIF.
- Scripts: Filter by “JS”. Look for big files and those marked as “blocking” (especially without
deferorasync). - Fonts: Filter by “Font”. Check how many different fonts and weights load.
The aim is to identify the handful of assets that dominate load time, not to micro‑optimise every byte.
Deciding what belongs on checkout and what should be removed completely
Once you see what loads on checkout, ask for each script and large asset:
- Does this help the user pay? (payment gateway, address lookup, fraud checks: yes.)
- Does it directly support trust? (basic badges, security logos: maybe, but keep them lightweight.)
- Is it purely promotional or marketing? (exit popups, discount wheels, heavy A/B testing: usually no.)
If the answer is no, remove it entirely from checkout rather than only trying to “optimise” it. Many WordPress plugins let you disable features per page; if not, consider a plugin manager that can unload specific scripts on particular URLs.
WooCommerce Image Optimisation That Actually Helps Checkouts
Start with the basics: dimensions, compression and sensible file formats
Choosing JPEG/PNG vs WebP/AVIF for product images
For WooCommerce, a simple rule set works well:
- Product photos and lifestyle images: start with JPEG or WebP. They handle gradients and colours well at small file sizes.
- Logos and simple icons: PNG or SVG if available. They keep sharp edges.
Modern formats like WebP and AVIF usually compress product photos dramatically. If you are using managed WordPress hosting with G7 Acceleration Network for caching and image optimisation, images are automatically converted to AVIF and WebP on the fly, typically cutting file sizes by more than 60 percent while maintaining real‑world quality, with no extra plugins or dashboard changes.
Setting realistic image dimensions for product and cart thumbnails
Many sites serve 2500 px wide images into 300 px wide boxes. This wastes bandwidth, especially on mobile.
In WooCommerce → Settings → Products → Display (or your theme’s customiser), check:
- Main product image: set the width to roughly the maximum display size on desktop (for many themes, 800–1200 px).
- Thumbnail / gallery: 300–600 px is often enough.
- Cart / mini cart images: 100–200 px is usually fine.
After adjusting, regenerate thumbnails with a trusted plugin so old oversized versions are not still used. This alone can reduce page weight significantly.
Serving modern formats automatically (WebP and AVIF) without breaking older browsers
Why multiple formats matter and common plugin pitfalls
The safest pattern is:
- Store a high‑quality original (usually JPEG).
- Serve AVIF or WebP to supported browsers.
- Fall back to JPEG/PNG where needed.
Common pitfalls with some WordPress image plugins include:
- Converting everything to WebP then breaking older Safari or email images.
- Generating too many variants, filling disk space.
- Serving WebP via query strings that caching layers do not understand.
How the G7 Acceleration Network handles AVIF/WebP conversion on the fly
On infrastructure that supports it, such as the G7 Acceleration Network, the edge automatically inspects the visitor’s browser and delivers AVIF or WebP where supported, falling back to JPEG/PNG when not. The conversion is done on the fly and cached at the edge, so you avoid plugin complexity and disk bloat while still getting 60 percent plus file size reductions.
Lazy loading images safely on WooCommerce
Which images should never be lazy loaded (logo, main product image, key checkout icons)
Lazy loading is helpful on long product listings, but it can slow first impressions if applied blindly.
As a rule, do not lazy load:
- Site logo in the header.
- The main product image above the fold.
- Key trust icons on the checkout (payment logos, security badges) that appear without scrolling.
These should load immediately to keep LCP low and avoid awkward blank spaces while the page “settles”. Configure your optimisation plugin to exclude these selectors or specific image URLs from lazy loading.
Checking for double lazy loading from themes and plugins
Many themes now come with native lazy loading, and WordPress adds loading="lazy" automatically to many images. Adding yet another lazy load plugin on top can:
- Wrap images in extra markup that confuses the layout.
- Delay images twice over.
- Cause broken product image zoom or gallery navigation.
Inspect your HTML: if you see multiple wrappers or both loading="lazy" and JavaScript‑based lazy classes, consider turning off lazy loading in your optimisation plugin and relying on the theme/WordPress defaults, or vice versa. Test on product and checkout pages after each change.
Cleaning up heavy media on product and cart pages
Taming sliders, galleries and 360° views
Interactive galleries and 360° spins can be effective on hero products, but they are costly:
- Several high‑resolution images or sprite strips.
- Custom JavaScript to control transitions.
Practical compromises:
- Use 360° views only where they genuinely improve understanding, not on every SKU.
- Limit the number of gallery thumbnails and file sizes.
- Ensure only the first key image loads immediately and others lazy load as the user scrolls or interacts.
Handling embedded video (YouTube, Vimeo) with placeholders
Raw YouTube or Vimeo embeds pull in several requests, scripts and iframes before a user even presses play. On product pages this can hurt both LCP and interaction responsiveness.
A better pattern is:
- Show a static placeholder image (poster frame) with a play button.
- Load the actual video iframe only after the user clicks.
Many lightweight video embed plugins follow this approach. On checkout, avoid embedded videos altogether unless absolutely essential.
Script Optimisation: Stopping Unnecessary JavaScript From Choking Checkout
Why WooCommerce checkouts are sensitive to JavaScript changes
How scripts control validation, shipping, payments and totals
The WooCommerce checkout relies heavily on JavaScript to:
- Validate form fields in real time.
- Recalculate shipping and taxes when addresses change.
- Render payment gateways such as Stripe, PayPal and Klarna.
- Apply coupons and update order totals.
If you delay, defer or combine the wrong scripts, you can produce inconsistent totals, broken payment buttons, or orders without record of the payment token.
Real risks of over‑aggressive minify/combine settings
Performance plugins often offer “combine JS” or “minify and defer everything” options. These can yield impressive synthetic scores but come with real risks:
- Changing script loading order and breaking dependencies.
- Combining external gateway scripts with your own, which some providers disallow.
- Masking errors until a busy promotion reveals a subtle bug in the checkout flow.
The right balance is to be conservative on cart and checkout pages and more aggressive on content and blog pages.
Identifying which scripts actually run on checkout
Using your browser dev tools to see large and blocking scripts
To understand what is really happening on checkout:
- Open the checkout page in Chrome and open DevTools.
- On the Network tab, filter by “JS” and reload with cache disabled.
- Sort by size and then by “Waterfall” start time.
Note:
- Any script over ~100 KB compressed.
- Scripts loading from third‑party domains (analytics, chat, ads).
- Assets marked as blocking before the first paint.
Repeat on product pages; you will often see builders, sliders and marketing tools dominating there, while checkout has payment gateways and validation scripts.
Typical culprits: marketing tags, popups, chat widgets, page builders
On checkout, watch out for:
- Tag managers loading multiple advertising scripts.
- Exit intent popups and discount overlays.
- Chat widgets with heavy bundles, especially if they auto‑open.
- Full page builders used to design the checkout, which can be substantially heavier than native WooCommerce templates.
Most of these can either be disabled completely on checkout, or loaded only after the user interacts (for example, clicks a “Need help?” link for chat).
Safe wins: deferring and delaying non‑critical JavaScript
What can be deferred on product pages but not on checkout
On product pages, you can usually:
- Defer non‑essential animation and slider scripts.
- Load reviews widgets after the main content.
- Delay third‑party analytics until after first paint.
On checkout pages, treat these more carefully, but you can still:
- Defer scripts used only for visual flair.
- Disable on‑page builders and use a simple template instead.
- Limit experimentation tools to server‑side or minimal client‑side logic.
Use your optimisation plugin to set URL‑based rules, for example “Do not apply JS combination or defer rules on URLs containing /checkout/ or /cart/”, while keeping them on category and blog pages.
Delaying third‑party scripts until user interaction
A useful pattern for chat and some marketing scripts is “delay until interaction”:
- Load a small inline script that listens for scroll, click or keypress.
- Only then load the full third‑party bundle.
Some optimisation tools offer “delay JavaScript execution” options that achieve this without custom code. On checkout, set clear exceptions for payment gateways and validation scripts so they are never delayed.
What to avoid touching on checkout pages
Payment gateway scripts (Stripe, PayPal, Klarna and others)
Payment providers almost always specify that their scripts must:
- Load from their own CDN.
- Not be combined or modified.
- Load in a particular order relative to your checkout markup.
Do not:
- Minify, inline or combine gateway scripts with your own.
- Defer or delay them.
- Lazy load them behind user interactions not supported by the gateway.
Break these rules and you can see intermittent payment failures and chargeback headaches.
Core WooCommerce scripts and how to whitelist them in optimisation plugins
Key WooCommerce scripts include wc-cart-fragments, wc-checkout and others used by your theme. In most optimisation tools you can whitelist these handles or file paths, instructing the plugin:
- Do not combine.
- Do not defer.
- Do not move them to the footer.
Check your plugin’s documentation for “exclude scripts” or “script management” and add the WooCommerce core and payment gateway filenames or handles there. Always retest the full checkout after each change.
Font Optimisation: Faster Text Without Ugly Fallbacks
Why fonts are often overlooked but expensive
How font files affect LCP and layout shifts
Webfonts are just static files, but many WooCommerce themes load several hundred kilobytes of them before text is displayed. This affects:
- LCP: the largest element often contains text (headings, prices). If the font is blocked, everything waits.
- CLS: if default system fonts render first, then swap to a different width webfont, text can jump, moving buttons and form fields.
The problem with loading several weights and families on every page
It is common to see:
- Two or three different font families.
- Four or more weights per family (300, 400, 500, 700, 900).
- Separate italics for each.
This quickly multiplies into a dozen large font files, all requested before your user can read the checkout form. Simplifying your font choices is one of the easiest performance wins.
Practical font hygiene for WooCommerce themes
Reducing the number of fonts and weights
Work with your designer or theme options to:
- Choose one primary font family for body and headings, and optionally a second for accents.
- Limit to two or three weights (for example, 400, 600 and 700) and use CSS to style them consistently.
- Avoid loading italics if they are rarely used.
Audit your CSS for font-weight values that you do not actually have files for (such as 500 when only 400 and 700 exist) and standardise them.
Self‑hosting Google Fonts instead of multiple external requests
By default, many themes load Google Fonts directly from fonts.googleapis.com, which adds extra DNS lookups and can be blocked by some privacy tools.
A cleaner pattern is to:
- Download only the required font files from Google Fonts.
- Serve them from your own domain with proper caching headers.
Several WordPress plugins automate this, or your developer can add them manually. This avoids an extra external dependency on your checkout’s critical path.
Using font‑display and preloading correctly
Choosing the right font‑display mode to balance speed and aesthetics
The font-display setting controls how text behaves while fonts load:
swap: shows system font immediately, then swaps to webfont when ready. Fast, but may cause a small visual change.fallback: similar to swap, but allows a short block period first.optional: may never load the webfont on slow connections.block: keeps text invisible while waiting. Often bad for UX.
For checkouts, swap or fallback are usually the best compromise between speed and consistency.
When and how to preload your primary webfont
If you use a single main webfont, you can <link rel="preload" as="font"> for that file in your <head> to signal its importance to the browser. Use this carefully:
- Preload only the most used style (for example, regular 400).
- Ensure the preload URL matches the file later referenced in CSS.
- Do not preload every variant; that defeats the purpose.
Check the impact with Lighthouse; if font preloads appear under “Preload key requests” and improve LCP, you have configured them correctly.
Keeping Optimisation Safe: Testing, Staging and Rollback
Always test checkout changes on a staging site first
Basic checkout test plan after any performance tweak
Because small changes can have big impact, always:
- Clone your site to a staging environment from your host.
- Apply optimisation changes there first.
- Run a simple test script:
- Add products to cart from desktop and mobile.
- Apply a coupon.
- Change shipping address and verify totals update.
- Complete test payments using all active gateways.
- Only then push to production.
Hosts that provide one‑click staging, such as those offering WooCommerce hosting designed for stable, fast checkouts, make this workflow much easier and reduce risk for non‑technical teams.
Using real‑user monitoring and analytics to spot issues
Tracking abandonment and error spikes after changes
After deploying optimisation changes:
- Watch checkout abandonment rate in your analytics over the next few days.
- Monitor payment failure and refund tickets in your support system.
- If you use real‑user monitoring (RUM), track INP and LCP specifically on the checkout URL.
If you see a sudden rise in abandonment or specific error messages “Payment failed” without gateway logs, roll back the latest performance tweaks and retest.
Knowing when the problem is hosting, not front‑end bloat
Front‑end optimisation cannot compensate for inadequate servers. Indicators that your infrastructure is the bottleneck include:
- Slow “Time to first byte” even on very simple pages.
- Spikes in CPU or memory usage during normal traffic.
- Checkout delays that appear only under modest concurrent use.
In such cases you may need better web hosting performance features: more CPU, RAM, tuned PHP workers and database resources that are aware of WooCommerce patterns. For very busy stores, solutions like enterprise WordPress hosting for high traffic stores can provide the headroom checkouts need on peak days.
How Caching, Bot Filtering and Image Offload Support a Fast Checkout
Why you cannot cache the whole checkout, but can still benefit from smart caching
Cachable vs uncachable parts of a WooCommerce store
Caching is vital for WooCommerce performance, but you must apply it carefully:
- Good candidates for full page cache: home page, category listings, product pages (for guests), blog posts and content pages.
- Usually excluded from full page cache: cart, checkout, account pages and any personalised sections (mini cart, “My orders”).
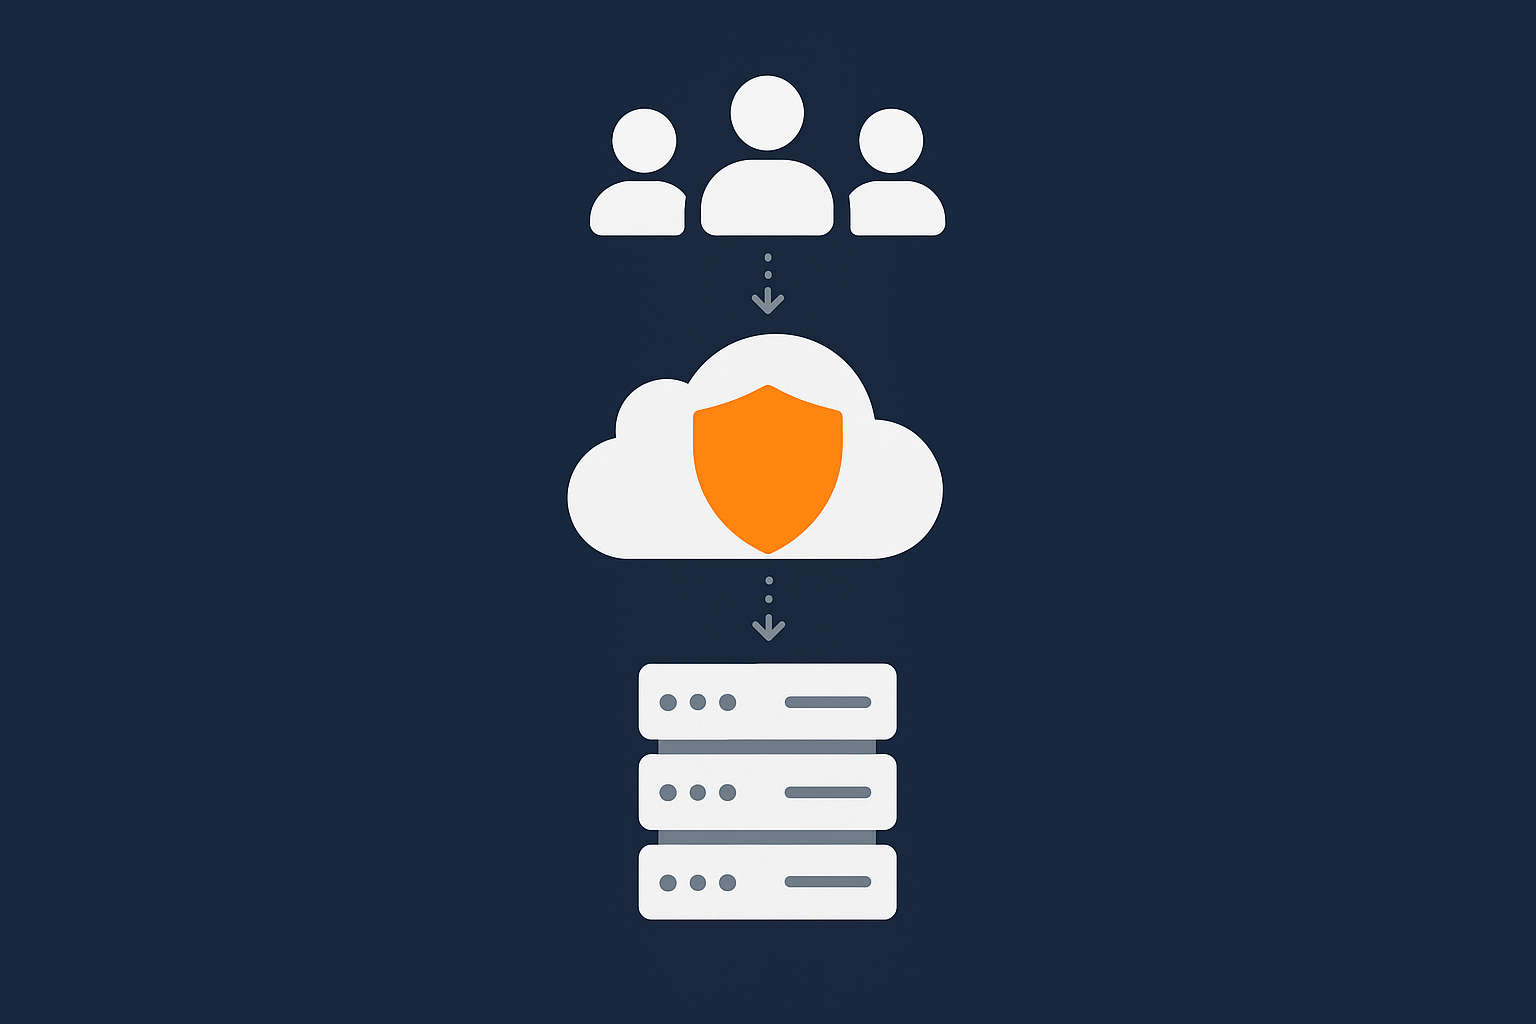
Even though checkout itself is mostly uncached, offloading images, scripts and fonts through a caching layer still reduces origin load and speeds delivery. A managed edge layer such as the G7 Acceleration Network can handle static asset caching and image optimisation while leaving dynamic checkout logic untouched.
Protecting server resources from bad bots and useless crawlers
How abusive traffic can slow legitimate checkouts
Many WooCommerce stores see a surprising amount of automated traffic:
- Bots scraping prices and stock data.
- Brute force login attempts on
/wp-login.phpand/xmlrpc.php. - Over‑aggressive crawlers hammering cart and checkout URLs.
Even if this traffic never completes checkout, it consumes PHP workers and database resources that your real customers need, leading to slower responses or timeouts under load.
How G7Cloud’s bot protection and G7 Acceleration Network reduce load before PHP
Bot filtering at the edge is one of the most effective ways to protect WooCommerce. G7Cloud’s bot protection within the G7 Acceleration Network inspects traffic before it reaches PHP or MySQL, filtering abusive and clearly non‑human requests. This cuts wasted load, keeps response times more stable and reduces the risk of avoidable downtime when legitimate customers are trying to check out.
Letting infrastructure handle the heavy lifting
Automatic image optimisation, caching and security headers as a baseline
Managing all performance details manually across images, caching and security headers is time‑consuming. Infrastructure that bakes these in by default is easier to live with.
For example, the G7 Acceleration Network automatically converts images to AVIF and WebP on the fly, applies smart caching for static assets and sets sensible security headers. This reduces plugin sprawl and makes it easier for smaller teams to maintain a fast, secure checkout without specialist in‑house skills.
When to consider a move to WooCommerce‑optimised hosting
If, after sensible front‑end improvements, you still see:
- Slow or inconsistent checkout performance under light to moderate load.
- Frequent 502/504 errors during sales or campaigns.
- Support responses from your host pointing only to “optimise your site” without offering infrastructure insight.
it may be time to look at WooCommerce hosting designed for stable, fast checkouts. A platform that understands WooCommerce caching rules, PHP worker limits, database tuning and edge optimisation can free you to focus on product and marketing rather than firefighting performance issues.
A Simple, Repeatable Checklist for Faster WooCommerce Checkouts
Quick wins you can complete in a week
- Audit product, cart and checkout with PageSpeed Insights and Lighthouse; record LCP, INP and CLS.
- Set sensible image dimensions for product, thumbnail and cart images; regenerate thumbnails.
- Enable AVIF/WebP delivery via a reliable layer such as the G7 Acceleration Network or a trusted plugin.
- Disable lazy loading for logo, primary product images and above‑the‑fold checkout icons.
- Remove non‑essential scripts from checkout: popups, heavy chat widgets, aggressive A/B testing.
- Whitelist WooCommerce and payment gateway scripts from combine/defer rules.
- Reduce fonts to one or two families and a small set of weights; configure
font-display: swaporfallback. - Test full checkout flow on a staging site and then on live for both desktop and mobile.
Longer term improvements to schedule with your developer or host
- Refine theme templates for product and checkout to reduce markup and script dependencies.
- Implement script loading strategies: deferring non‑critical JS on product pages and delaying third‑party tools until interaction.
- Move to self‑hosted fonts, with careful preload of the primary webfont only.
- Set up real‑user monitoring for key checkout URLs and monitor performance during campaigns.
- Work with your host to tune PHP workers, database performance and caching rules, or explore managed WordPress hosting with G7Cloud and the G7 Acceleration Network if you need a more WooCommerce‑aware platform.
- Schedule a quarterly technical review, using a broader guide such as Simple Guide to Optimising WooCommerce Performance as a checklist.
You do not have to implement everything at once. Start with measurement, tackle the most obvious image and script issues, and iterate carefully. With a calmer, more systematic approach to images, scripts and fonts, your WooCommerce checkout can be both fast and reliable, without becoming a full‑time job.