
Who This Guide Is For (And What You Will Be Able To Do)
Typical situations: slow, cluttered and slightly fragile WordPress sites
This guide is for UK businesses running WordPress or WooCommerce who recognise some of the following:
- The site feels slower than it used to, especially in wp-admin.
- There are dozens of plugins, many installed “just to try” and never removed.
- Multiple themes are installed, but only one is actually used.
- Updates feel risky because things have broken in the past.
- Your developer or agency has changed over time and nobody is quite sure what is safe to remove.
If that sounds familiar, you likely have bloat. Not a disaster, but enough clutter to drag on speed, stability and your team’s time.
What “WordPress bloat” actually means in practice
“Bloat” is an unhelpful word on its own. In practice it usually means:
- Unused plugins and themes that still load code or add database entries.
- Old data such as logs, options, transients and custom tables left behind by removed plugins.
- Out of control media libraries with thousands of large images, duplicates and unused files.
- Hidden background tasks and settings that run on every page load.
The problem is not simply “too many plugins”. It is about what they do, how they are configured and what remains when you stop using them. If you want a deeper look at plugin impact, there is a separate guide, The Truth About WordPress Plugins: How Many Is Too Many?, which pairs well with this article.
What you will be able to do by the end
By the end of this guide you should confidently be able to:
- Prepare a safe environment for clean up (backups and staging).
- Audit plugins and themes, categorise them and decide what can go.
- Remove unused plugins and themes without losing important data.
- Clean up leftover database entries and scheduled tasks sensibly.
- Tidy content and media while avoiding layout breakage.
- Introduce a simple maintenance routine so bloat does not quietly return.
The approach is aimed at site owners, non-technical marketers and agencies who want a structured, low-drama process rather than a risky “spring clean”.
Before You Touch Anything: Backups, Staging and a Simple Safety Net
Why clean ups break sites when you skip preparation
Most horror stories about “I deleted a plugin and everything broke” boil down to one thing: no safety net. Problems typically appear when:
- A plugin handled something critical (checkout, membership, redirects) that nobody realised.
- Data stored by the plugin was removed without export or backup.
- A theme or child theme contained custom code that other parts of the site depended on.
Cleaning up is much less stressful when you know you can roll back fully, quickly and reliably.
Essential backups: files, database and restore test
You need both:
- File backup (WordPress core, plugins, themes, uploads).
- Database backup (content, settings, WooCommerce orders, users and plugin data).
Confirm that your hosting or backup plugin covers:
wp-contentfolder (especiallyuploads,plugins,themes).- The full MySQL/MariaDB database, not just selected tables.
The crucial step is a test restore. If you have never restored your site, you are trusting a backup you have not seen in action. Many UK businesses discover problems only when they really need it.
For a deeper walk through, see What Every WordPress Owner Should Know About Backups and Restores. It covers practical restore tests in more detail.
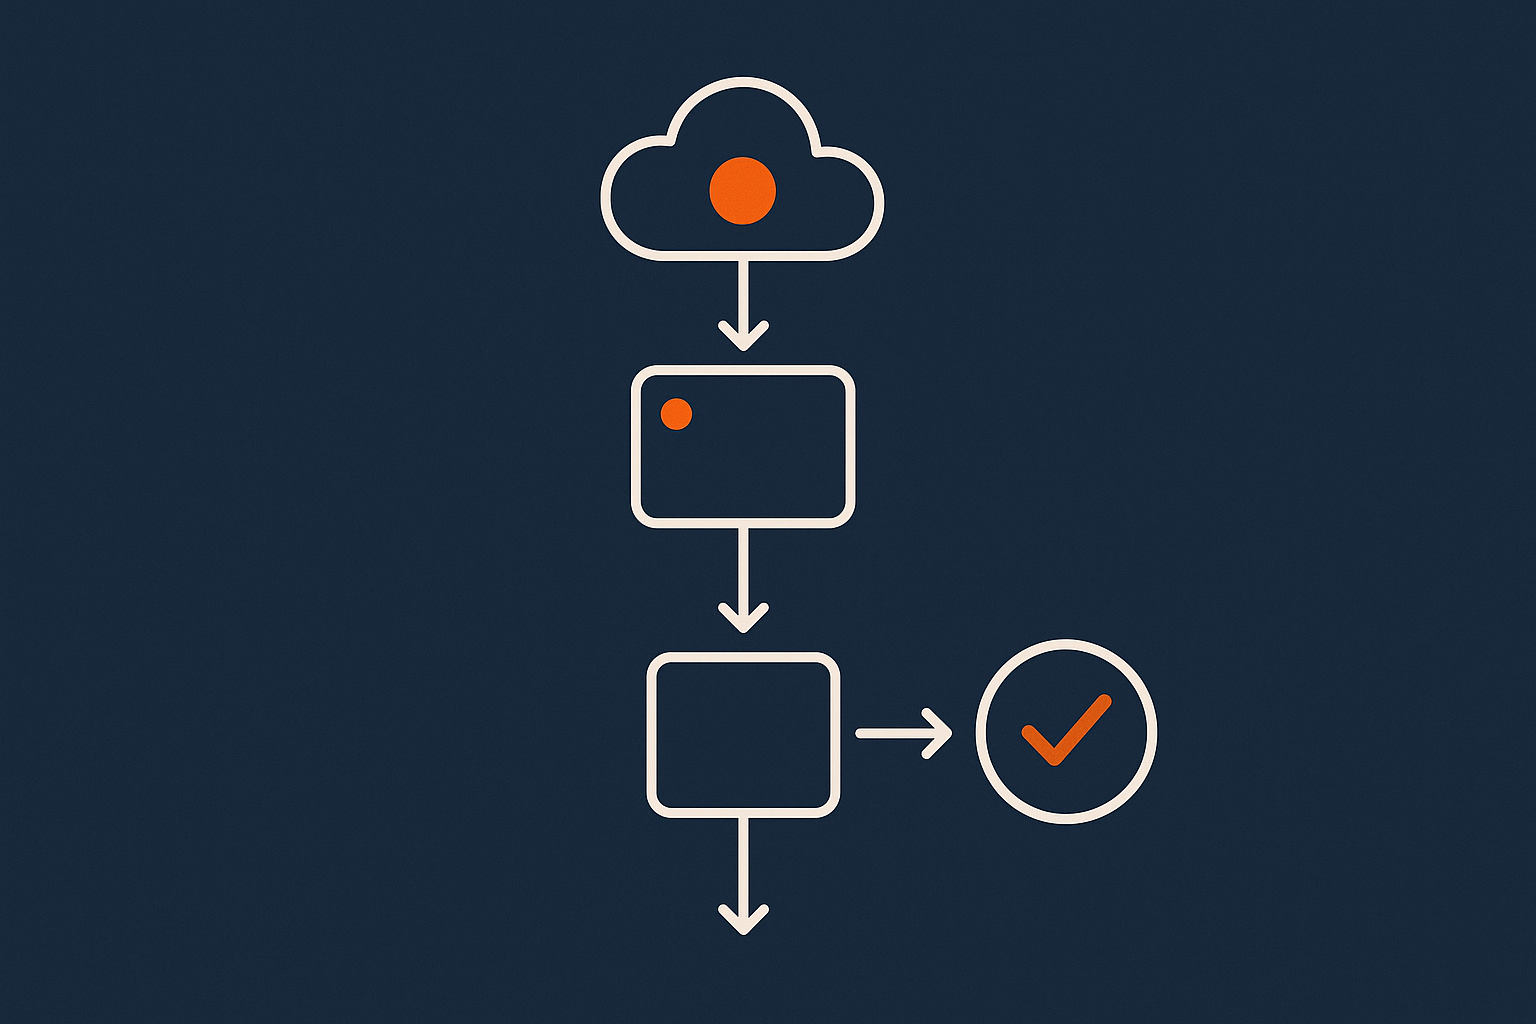
Using a staging site to test your clean up first
A staging site is a copy of your live site where you can safely experiment. Many managed WordPress hosting platforms include one-click staging. If yours does not, you can often create one via a subdomain and a cloned copy of the site.
On staging you can:
- Deactivate and delete plugins to see what actually breaks.
- Test checkout, forms, logins and membership flows.
- Try database clean up tools without risking real orders or user data.
If you are new to staging environments, A Practical Guide to WordPress Staging Sites for UK Businesses explains how to use them in day to day maintenance, including bloat clean up.
Quick checklist: what to have in place before you start
- Full site backup (files + database) from within the last 24 hours.
- Confirmation that you can restore within a reasonable time window.
- A staging copy of the site, or at minimum, a clear restore plan.
- Administrator access to WordPress and hosting control panel.
- Agreement within your team on a quiet time window for any live changes.
Understanding Where WordPress Bloat Comes From
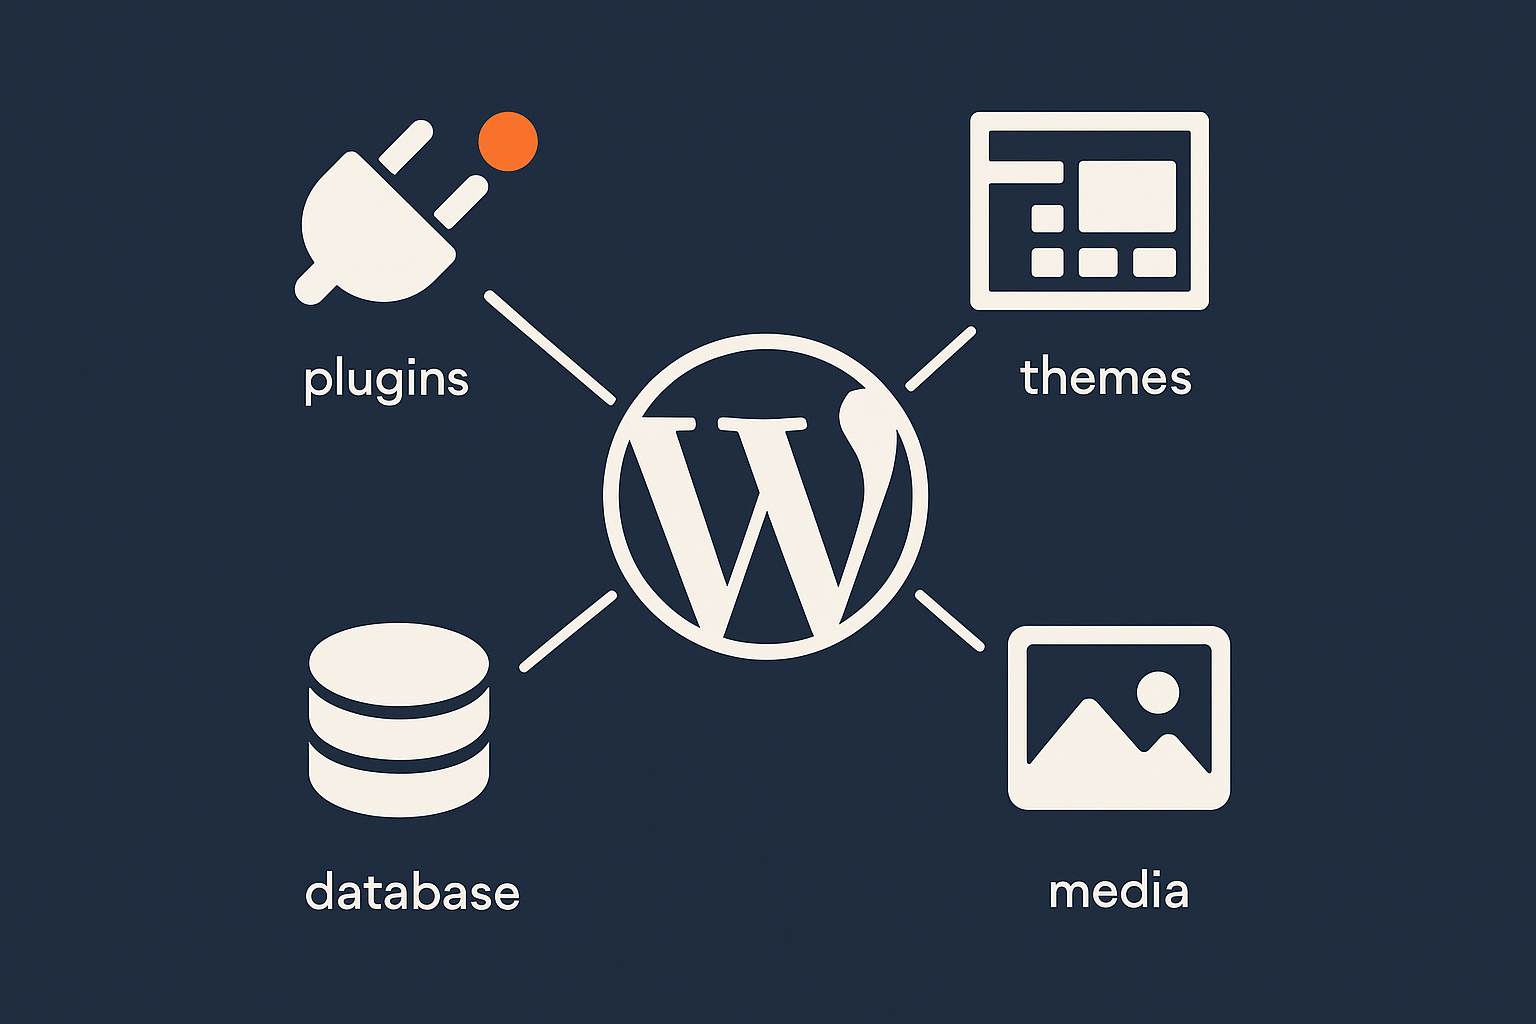
Plugins and themes you no longer use (or never really used)
The most visible source of bloat is installed plugins and themes that no longer serve a purpose. Common examples:
- Multiple SEO plugins from past experiments.
- Abandoned page builders from old designs.
- “Try it once” plugins for popups, countdowns, sliders and social feeds.
- Old themes used by previous designs, plus their child themes.
Even inactive plugins can add autoloaded options, custom tables and scheduled tasks. Themes often ship with bundled plugins and demo content, which may remain even after a redesign.
Leftover data in the database: options, transients, tables and logs
Removing a plugin rarely removes all of its data. Leftovers typically include:
- Custom tables, such as
wp_pluginname_logsorwp_pluginname_stats. - Options in
wp_optionscontrolling settings and feature flags. - Transients, which are temporary caches that may stick around.
- Logs and analytics data saved into the database rather than an external service.
Over time this can bloat both the database size and the amount of data loaded on every page request.
Media and uploads you do not need any more
The wp-content/uploads folder quietly grows over time:
- Old hero images from previous designs.
- Product photos for items you no longer sell.
- Media inserted into draft posts that were never published.
- Multiple resized versions of the same image generated by themes and plugins.
This increases storage use and backup times. It also encourages poor front end performance when oversized images get re-used on new pages. Image clean up needs care though, which we will cover later.
“Hidden” bloat: autoloaded options, cron jobs and security plugins
Some bloat is not obvious from the plugin list:
- Autoloaded options: settings loaded on every request, even if rarely used.
- Cron jobs: background tasks that run on page loads, sometimes very frequently.
- Heavy all in one security or optimisation plugins that duplicate work already handled by your hosting platform or other tools.
This is where WordPress admin speed often suffers. A busy WooCommerce or membership site with large autoloaded options and frequent cron tasks can feel sluggish even on decent hosting.
How bloat actually affects speed, stability and admin performance
Bloat affects your site in several ways:
- Front end speed: more code and database queries slow initial page generation time.
- Admin speed: every extra plugin and option can add work to dashboards, list pages and editors.
- Stability: overlapping plugins increase the chance of conflicts and update issues.
- Maintenance effort: more moving parts mean more updates to test and more potential points of failure.
If your hosting provider also has to handle large volumes of bad bot traffic, that extra PHP work from bloat makes slowdowns and outages more likely. Services with built in bot protection, such as the G7 Acceleration Network, can filter abusive and non human traffic before it reaches PHP or the database, which keeps performance more stable under load.
Create a Clean Up Plan: What To Remove, Keep or Replace
Inventory your plugins and themes (and who uses what)
Before deleting anything, create an inventory:
- Export or copy your full plugin list, including inactive ones.
- Export or copy your installed themes, including child themes.
- Note version numbers and whether they are active or inactive.
For each plugin or theme, note:
- What it does in plain language.
- Who relies on it (marketing, content editors, operations, a specific integration).
- What would break if it stopped working.
This can be as simple as a spreadsheet with columns for “Role”, “Owner” and “Impact if removed”. It quickly shows you which items are core to revenue or operations, and which only power a small feature nobody uses.
Categorise items: critical, important, nice to have, safe to remove
Once you understand what each plugin and theme does, categorise them:
- Critical: checkout, payment gateways, shipping, membership access, SSO, key integrations.
- Important: SEO, core contact forms, caching, backups, main page builder.
- Nice to have: popups, sliders, social feeds, minor analytics, optional design flourishes.
- Safe to remove: clearly unused, replaced by another tool, or for one-off tasks.
Focus your clean up on the “nice to have” and “safe to remove” categories first. Critical and important plugins may still be candidates for replacement or consolidation, but treat them carefully and test on staging.
Spotting duplicates and overlaps: SEO, caching, security and backup plugins
Bloat often appears as overlapping tools:
- SEO: running Yoast, Rank Math and another SEO plugin together.
- Caching: having two page caching plugins plus caching at the server or CDN level.
- Security: multiple “all in one” security plugins, each scanning and logging aggressively.
- Backups: several backup plugins, plus hosting level backups, all running their own schedules.
These overlaps rarely add value and often cause conflicts. If your host already offers strong WordPress performance features and security at platform level, you can usually remove some “all in one optimisation” plugins without losing protection.
If you are unsure about caching in particular, the guide Understanding WordPress Caching Layers: What Really Speeds Up Your Site can help you see what your host should handle versus what plugins should do.
Special cases: WooCommerce, page builders and multilingual plugins
Some plugin types deserve extra caution:
- WooCommerce: many addons store orders, subscriptions, invoices and licences in custom tables. Removal may affect historical reporting or licence checks.
- Page builders (Elementor, Beaver Builder, WPBakery): old builders may still control content on older pages or landing pages you forgot about.
- Multilingual plugins (WPML, Polylang, Weglot): deep integration with URLs, menus and content. Removing or replacing them can be a project in itself.
Flag these as “handle with care” in your inventory and plan to review them on staging before any changes on the live site.
How To Safely Remove Unused Plugins
Step 1: Identify inactive and clearly unused plugins
Start with the low risk wins:
- Inactive plugins that you are certain are not needed any more.
- Plugins marked as deprecated or abandoned by the author.
- “One off” tools clearly no longer required (e.g. migration assistants).
In wp-admin:
- Go to Plugins → Installed Plugins.
- Filter to Inactive.
- Cross check each against your inventory notes.
Leave anything uncertain in place for now. The aim is not to hit an arbitrary plugin count, but to remove what you understand to be unnecessary.
Step 2: Deactivate first, then test key user journeys
For plugins that might still matter, take this approach, ideally on staging first:
- Deactivate the plugin but do not delete it yet.
- Test key flows:
- Homepage, key landing pages, contact forms.
- Search, filters, menus and any custom functionality.
- For WooCommerce: browse, add to basket, checkout, account area.
- Ask relevant team members (e.g. marketing) to verify features they own.
If everything works as expected after a few days, the plugin is likely safe to remove. If a problem appears, reactivate and note the dependency in your inventory.
Step 3: Delete plugins you are sure you do not need
Once you are comfortable a plugin is no longer needed:
- Confirm you have a recent backup.
- Ensure the plugin is deactivated.
- Click Delete in the plugin list.
Most modern plugins will ask whether to remove all data on deletion. If the plugin stores business critical data (orders, leads), double check that this data is already exported or will be kept elsewhere before agreeing.
Handling plugins that store important data (forms, SEO, memberships)
Some plugins are primarily data stores:
- Form plugins with submission logs and lead data.
- SEO plugins with title and meta description settings.
- Membership and LMS plugins with enrolments and access rules.
Before removal, consider:
- Exporting form entries and storing them securely elsewhere.
- Migrating SEO metadata to the new SEO plugin using built in import/export tools.
- Confirming that historical membership data is retained or archived appropriately.
Check the plugin’s documentation for a “safe uninstall” or migration guide. Many popular tools include wizards or CLI commands to handle data moves.
When you should not remove a plugin even if it looks unused
Occasionally a plugin appears unused but provides a hidden critical function. You should pause removal if:
- The plugin relates to tax, compliance or legal obligations.
- It is a payment gateway or fraud tool, even if you think it is unused.
- It integrates with a third party service such as a warehouse, CRM or SSO provider.
Check with finance, operations or your technical contact before removing anything connected to external systems or regulatory requirements.
How To Safely Remove Unused Themes
Why having dozens of themes installed is unnecessary
WordPress only needs one active theme plus perhaps one or two spares. Extra themes:
- Increase update overhead.
- Expand the attack surface if a theme has a security issue.
- Can add clutter in the database and file system.
Clearing out old themes is usually simpler and safer than plugin removal, as themes rarely store large amounts of data themselves.
Which themes you should always keep
In most cases you should keep:
- Your current active parent theme (if you use a child theme).
- Your active child theme that contains customisations.
- One default WordPress theme as a fallback (such as Twenty Twenty-Four).
This provides a safe theme to switch to if you need to troubleshoot or if your main theme has an issue after an update.
How to delete unused themes from wp-admin and via hosting
From wp-admin:
- Go to Appearance → Themes.
- Click on an unused theme thumbnail, then click Theme Details.
- Click Delete in the bottom-right corner.
From hosting (useful if a theme is corrupted):
- Connect via SFTP or use the file manager in your hosting control panel.
- Navigate to
wp-content/themes. - Delete the folders of themes you no longer need.
Always leave your active theme and at least one default theme intact.
Child themes and custom code: extra checks before removal
Child themes often contain custom functions, templates or CSS. Before deleting a child theme:
- Confirm that it is not active on the live site or any staging environment you still use.
- Check
functions.phpand any template overrides for important custom work. - Archive a copy of the theme folder in case you need to restore a specific custom function later.
If your active theme is actually a child theme, do not remove its parent theme, as the child depends on it.
Cleaning Up Leftover Plugin and Theme Data
What gets left behind when you delete a plugin or theme
Deletion from wp-admin does not guarantee a clean slate. Leftover items might include:
- Database tables such as
wp_pluginname_*. - Rows in
wp_optionsandwp_usermeta. - Uploaded files in custom directories within
wp-content. - Scheduled cron tasks tied to deleted plugin hooks.
These leftovers do not always hurt performance, but heavy log tables or bloated wp_options can. A measured clean up helps keep things tidy without unnecessary risk.
Using plugins to remove orphaned tables and options safely
Several maintenance plugins can scan for “orphaned” tables and options. When using them:
- Run them on a staging site first.
- Take a fresh backup before running any destructive operations.
- Review each suggested item rather than deleting everything in one go.
Look for tools that show the size and origin of tables and options. This helps you prioritise the biggest wins and avoid touching core or mission-critical data.
Manual clean up for technical users: database tables and wp_options
If you are comfortable with SQL and phpMyAdmin or similar tools, you can:
- List all tables with
SHOW TABLES LIKE 'wp\_%';and identify plugin-specific tables. - Sort tables by size to find unusually large ones using the “Size” column in phpMyAdmin.
- Query
wp_optionsfor keys related to removed plugins, for example:
SELECT option_name, autoload FROM wp_options WHERE option_name LIKE '%pluginname%';
Only delete data if you are confident of what it belongs to and that you have a current backup. When in doubt, leave it alone or consult a developer.
Transients and scheduled tasks that never got cleared
Transients are temporary caches stored in wp_options, usually with an expiry. However, some plugins forget to clear old ones, or they get stuck if cron fails.
You can:
- Use a maintenance plugin to safely clear expired transients.
- Review scheduled tasks in tools like WP Crontrol to spot jobs linked to removed plugins.
Be careful with cron tasks related to WooCommerce or subscriptions. These often control renewals, emails and clean ups that you do not want to interrupt.
How far to go: tidy vs risky “deep clean”
There is a spectrum:
- Tidy: remove clearly unused plugins/themes, trim obvious orphan tables/logs, and clear expired transients.
- Deep clean: aggressively delete options, tables and cron entries for performance gains.
For most business sites, the tidy approach gives a good balance of benefit and safety. Leave deep cleaning of low-level database internals to experienced developers who can script and test their changes properly.
Tidy Up Content and Media Without Breaking Layouts
Removing unused images: why this is trickier than it looks
Images are often re-used in ways that simple tools cannot see. Common pitfalls include:
- Images used in page builder templates or theme options rather than posts.
- Logos and icons referenced in custom CSS or hard coded templates.
- Images used in emails generated by WooCommerce or membership plugins.
Automatically deleting “unused” media based purely on post references can break layouts and branding, so treat these tools as aids, not definitive judges.
Safely finding unreferenced media (and where tools can get it wrong)
Media cleaner plugins and scripts can help you:
- Identify media not attached to any post or page.
- Spot very old uploads that are unlikely to be in active use.
- Bulk move suspected-unused files to a temporary holding area.
Use them carefully:
- Run on staging first.
- Turn on any “trash first, delete later” setting so you can restore misidentified assets.
- After clean up, browse key templates, landing pages and product categories to catch missing images.
Cleaning up old revisions, drafts and trash
WordPress stores revisions and keeps items in trash until you empty it. Over time this adds up:
- Old post/page revisions you will never roll back to.
- Drafts abandoned years ago.
- Trashed posts, pages, products and media.
You can:
- Use plugins to prune old revisions (for example, keep last 5 per post).
- Manually empty trash areas in Posts, Pages, Products and Media.
- Adjust the
WP_POST_REVISIONSconstant inwp-config.phpto limit future revision growth.
This is a relatively low risk clean up step that can shrink your database size and simplify queries.
How smarter image handling improves speed more than deleting everything
From a performance perspective, single large hero images and product photos often matter more than total image count. Smart handling includes:
- Serving appropriately sized images for each layout.
- Using modern formats like WebP and AVIF.
- Lazy loading images below the fold.
On some platforms, this can be handled at the edge. For instance, the G7 Acceleration Network automatically converts images to modern AVIF and WebP formats on the fly, typically cutting file sizes by more than 60 percent while keeping production quality, and it does this for every hosted site without extra plugins or WordPress changes.
Combined with selective media clean up rather than aggressive deletion, this gives you a leaner library and faster pages without risking broken layouts.
Reducing “Hidden” Bloat: Autoloaded Options, Cron and Expensive Plugins
Autoloaded options: what they are and when they become a problem
Autoloaded options are settings in wp_options that WordPress loads on every request. They are intended for configuration needed on most pages, but some plugins overuse them.
Signs of trouble include:
- A very large
wp_optionstable. - Slow TTFB (time to first byte) even on cached pages.
- Slow wp-admin pages that do many option lookups.
You can inspect autoloaded options using database tools or specialist plugins. The goal is not to trim every option but to identify clear outliers, such as large logs or caches stored as autoloaded options.
Housekeeping your WordPress cron jobs
WordPress cron runs when someone visits the site. If there are many scheduled tasks, they can slow page loads.
Housekeeping steps:
- Use a cron management plugin to list scheduled events.
- Identify tasks belonging to removed or rarely used plugins.
- Reduce frequency of non-critical tasks where possible.
- Consider offloading heavy jobs (e.g. large exports) to server or external cron if supported by your host.
On busy WooCommerce sites, sizing and scheduling cron correctly can make a significant difference to admin responsiveness and background reliability.
Heavy all in one security and optimisation plugins
Many sites install multiple “security suites” plus all in one optimisation plugins that promise instant speed fixes. These can:
- Duplicate features already handled by your host or a CDN.
- Add heavy real-time scans and logging to every request.
- Change .htaccess or Nginx rules in ways that are hard to track.
Rationalising down to a minimal, well configured set of tools usually improves stability. Where your hosting platform already includes a Web Application Firewall and rate limiting, such as the G7 Acceleration Network with its bot protection, it can filter abusive and non human traffic before it reaches PHP or MySQL, reducing the need for multiple overlapping security plugins.
Moving work from plugins to the hosting platform where it belongs
Some jobs are better done at the hosting layer rather than inside WordPress:
- Page caching and edge caching.
- Image compression and format conversion.
- Basic DDoS mitigation and bad bot filtering.
- Regular full-site backups.
Offloading these to managed WordPress hosting reduces plugin load, simplifies configuration and often improves consistency. It also makes your clean up efforts more durable, as fewer heavy plugins are needed to keep the site performant and secure.
Check Your Work: Testing After a Clean Up
Functional checks: what to click through before declaring success
After you have removed plugins/themes and run clean up routines, run through a simple test script:
- Homepage, main navigation, search and filters.
- Contact forms and any quote or enquiry forms.
- Login, registration and password reset flows.
- WooCommerce: product browse, cart, checkout, payment, order emails.
- Any integration points such as CRM sync or email marketing opt-ins.
Involve the relevant team members to check features they own. They often notice small changes or missing elements that automated tests would miss.
Basic performance checks: TTFB, admin speed and page weight
Measure performance before and after your clean up to confirm the impact. For a quick check:
- Use tools like WebPageTest or PageSpeed Insights to measure TTFB and page weight on key pages.
- Informally time admin tasks such as opening the post list, editing a product, or loading WooCommerce orders.
- Note changes in total requests and asset size after removing unused scripts and styles.
For a more structured approach, How to Diagnose Slow WordPress Performance Using Real Tools and Metrics walks through practical measurement techniques.
Watching resource graphs and logs for side effects
If your host provides resource graphs and logs, look for:
- Reduced average CPU and memory usage.
- Fewer PHP errors or warnings in logs.
- More consistent response times during busy periods.
If your traffic includes a lot of bots or scrapers, cleaning up bloat and combining it with upstream bot filtering, like that provided by the G7 Acceleration Network, can make peak-time performance smoother and reduce the risk of overload.
If something breaks: how to roll back calmly
If you spot breakage:
- Identify what changed most recently (plugin deletion, option clean up, theme removal).
- Undo the specific change if possible (restore plugin, re-enable theme, revert option).
- If the problem persists or is unclear, restore from your pre-clean up backup to staging first to investigate.
- Only restore the live site if needed, and then re-apply clean up steps in smaller, well tested batches.
The presence of tested backups and staging keeps this manageable rather than stressful.
Make It Routine: A Simple, Safe Bloat‑Control Schedule

Monthly and quarterly clean up habits
Instead of occasional drastic purges, build light maintenance into your routine.
Monthly:
- Review newly installed plugins; remove any “experiments” you have stopped using.
- Empty trash across posts, pages, products and media.
- Check backups and staging access still work as expected.
Quarterly:
- Review plugin and theme inventory; recategorise as needed.
- Trim old revisions and expired transients.
- Scan for large database tables and growth trends.
- Sample test of key site flows and performance.
For a broader routine that fits around a small team’s schedule, the guide Day‑to‑Day WordPress Maintenance for UK SMEs offers a practical checklist that pairs well with the bloat control steps here.
Who should own this work in a small team or agency
In a small organisation, clarity helps avoid neglected responsibilities:
- Assign a site owner responsible for sign off on plugin and theme changes.
- Identify a technical contact (internal or agency) to handle staging, backups and any database work.
- Involve marketing/content in reviewing front end features and layouts after changes.
Document decisions about removal and replacement so that future team members understand why certain tools were kept or discarded.
When it is time to pair clean up with a hosting upgrade or migration
Sometimes bloat is only part of the problem. Signs that an infrastructure change might be useful include:
- Performance improvements from clean up plateau quickly.
- You rely on many plugins to provide features that could sit at the hosting or CDN layer.
- Resource limits or slow disks on your current plan cause frequent slowdowns.
Cleaning up before a migration makes the move easier and less risky, as there are fewer moving parts. It also lets you take better advantage of features like server level caching, edge optimisation and integrated backups offered by modern platforms.
How managed WordPress hosting can take some of this off your hands
Good managed WordPress hosting can reduce the amount of bloat you need to manage within WordPress itself. Examples include:
- Platform level caching and performance tuning, so you need fewer optimisation plugins.
- Integrated backups and staging, making it easier to experiment safely.
- Security handled at the edge rather than via heavy in-site scanners.
Services such as the G7 Acceleration Network add further offloading by handling image optimisation, caching and bot filtering externally, which means fewer bulky plugins and configuration puzzles inside WordPress. If your team wants less day to day maintenance, it may be worth exploring options like this as part of your longer term plan.
Summary: A Leaner WordPress Site Without Unnecessary Risk
Cleaning up WordPress bloat does not need to be drastic or stressful. With current backups, a staging site and a clear plan, you can:
- Identify and remove genuinely unused plugins and themes.
- Clean up leftover data and scheduled tasks with care.
- Trim media and content sensibly without breaking layouts.
- Reduce hidden overhead from autoloaded options and overlapping tools.
- Embed light, regular maintenance into your normal workflow.
Over time, this gives you a site that is faster, more stable and easier to manage, without the surprises that come from guesswork or one-off “spring cleans”. If you would like some of the heavy lifting handled at platform level, exploring managed WordPress hosting and the G7 Acceleration Network can be a practical next step, especially if your team wants better performance and security with less day to day hassle.