
Why Moving WordPress from HTTP to HTTPS Matters
Security, trust and browser warnings in plain English
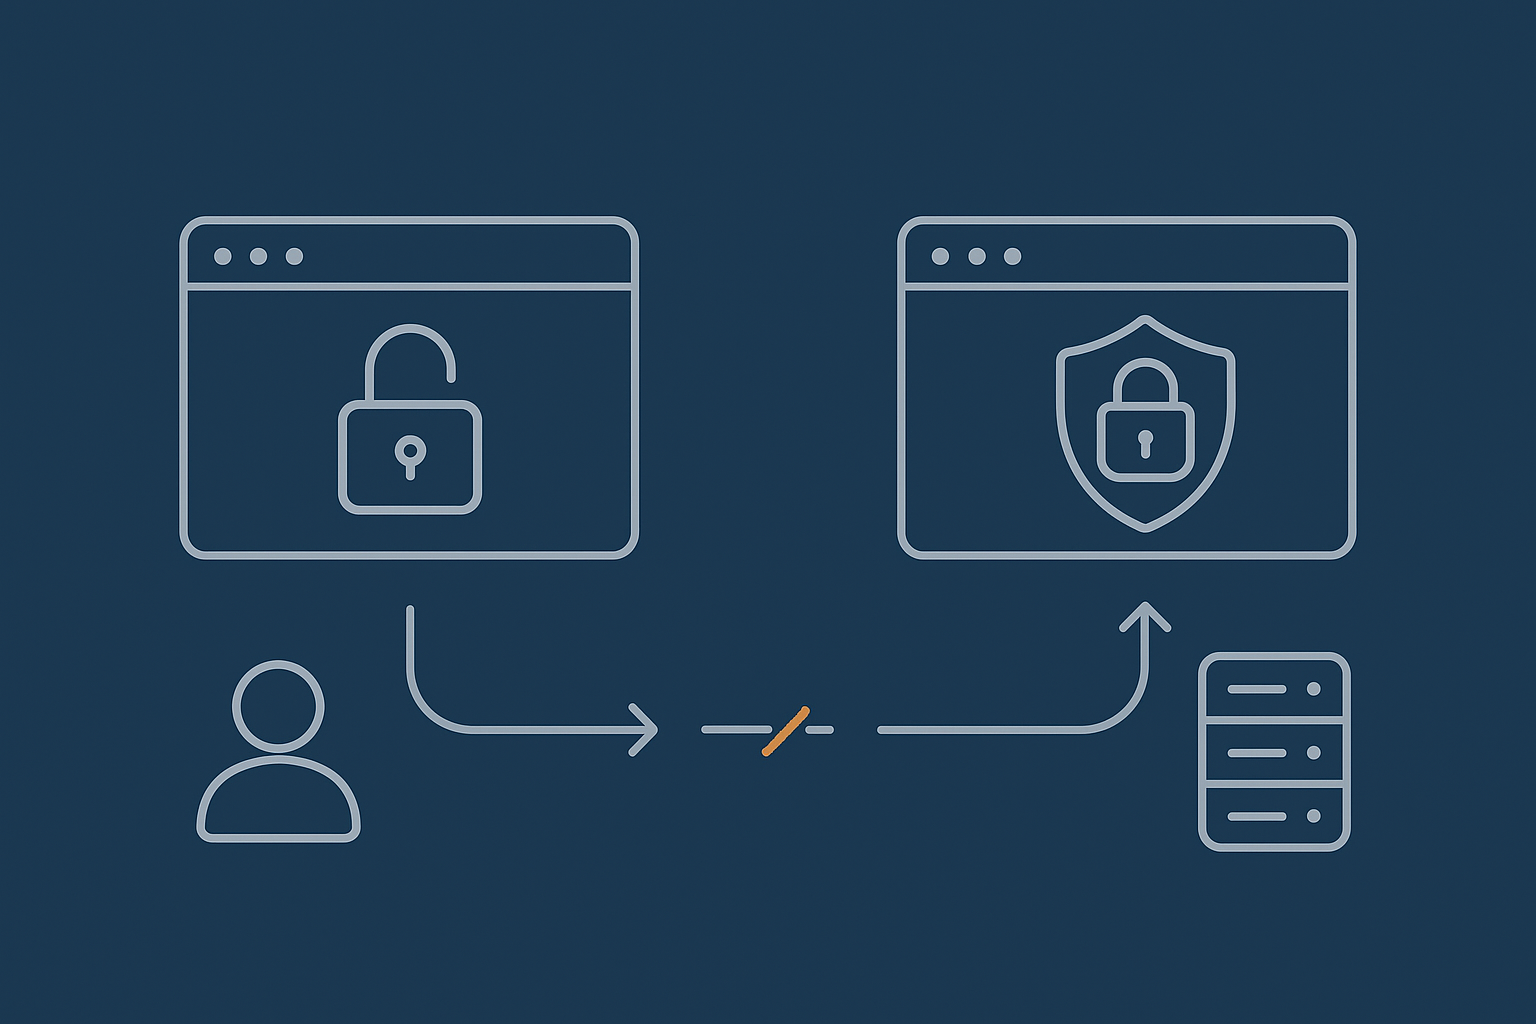
When your WordPress site still uses HTTP, everything between your visitor’s browser and your server is sent in plain text. That includes login details, personal data in forms and anything passed during checkout.
HTTPS adds encryption using SSL/TLS. The browser can then show the padlock icon and avoid “Not secure” warnings. Modern browsers take this seriously: a plain HTTP page with a contact form or login will often show a warning that makes visitors hesitate or abandon the page altogether.
For UK businesses handling enquiries, user accounts or payments, staying on HTTP is now hard to justify. HTTPS is not a nice to have, it is the basic level of trust most customers expect.
How HTTPS affects SEO and Google rankings
Google has confirmed that HTTPS is a lightweight ranking signal. On its own it will not catapult you to the top of page one, but running over HTTP can hold you back when competing with similar sites that are secure.
More importantly, a poor migration can harm SEO in other ways:
- Duplicate versions of every URL (HTTP and HTTPS) fighting each other
- Redirect chains that waste crawl budget and slow pages down
- Broken internal links and images that damage user experience
This guide focuses on avoiding those problems so search engines see a single, fast, secure version of every page.
What can go wrong if you rush the move
A rushed HTTP to HTTPS switch can cause:
- Endless redirect loops that lock you out of wp‑admin
- Mixed content warnings where some images, scripts or fonts still load over HTTP
- Checkout failures in WooCommerce when return URLs or webhooks are not updated
- Slower page loads if TLS is misconfigured or caching is broken by redirects
Handled carefully, you should not lose rankings or speed. The rest of this article walks through a controlled approach that UK WordPress and WooCommerce sites can follow with minimal disruption.
Before You Start: Check Hosting, Backups and Access
Confirm your hosting supports SSL and HTTP/2
Most modern hosting supports free SSL certificates and HTTP/2 as standard. If your host cannot provide this, it may be time to consider managed WordPress hosting that treats SSL as a baseline.
Check:
- SSL support for your domain (often via cPanel, Plesk or a custom panel)
- Support for HTTP/2 or HTTP/3, which offset the small TLS overhead
- Any limits on free certificates (number of domains/subdomains)
Take a full backup and note your current URLs
Before you change URLs or redirects, take a full backup of files and database. Test that you can restore it if needed. If you need a deeper walkthrough, the guide on what every WordPress owner should know about backups and restores is a useful reference.
Also note:
- Your site’s main URL (including www or non‑www)
- Any secondary domains or subdomains in use
- The current WordPress Address (URL) and Site Address (URL) from
Settings → General
List where your domain is used: CDN, payment gateways, APIs and hard coded links
HTTPS is not just a switch inside WordPress. Your domain is likely referenced in:
- CDNs (Cloudflare, StackPath, etc.)
- Payment gateways like Stripe, PayPal or Klarna
- API callbacks and webhooks from CRMs or marketing tools
- Hard coded links in theme files or custom plugins
Make a list so you can update them once HTTPS is live.
Step 1: Install and Test Your SSL Certificate
Options: free Let’s Encrypt vs paid certificates
For most WordPress sites, a free Let’s Encrypt certificate is entirely sufficient. Paid certificates may be appropriate if you need extended validation or specific corporate requirements, but browsers treat them the same in terms of encryption strength.
Discuss with your host if you are unsure. Many providers, including managed WordPress hosting with G7Cloud, install and renew Let’s Encrypt certificates automatically.
How to install SSL via your control panel or host
The exact steps vary, but usually involve:
- Log into your hosting control panel.
- Find the “SSL/TLS”, “Certificates” or “Security” section.
- Select your domain.
- Choose “Issue” or “Install” a certificate, often with a Let’s Encrypt option.
- Wait for issuance and confirmation.
If you are behind a reverse proxy or CDN that also offers SSL, agree which side will handle certificate termination to avoid conflicts.
Verify the certificate using your browser and SSL tools
Once installed, visit https://yourdomain.com directly:
- Check the padlock in the address bar.
- Click it to inspect certificate details and expiry date.
You can also run your domain through a tool such as SSL Labs’ SSL Server Test for a deeper configuration check.
Step 2: Update WordPress to Use HTTPS URLs
Change the WordPress and Site Address URLs
Next, tell WordPress that your main URLs now use HTTPS.
- Log in to
http://yourdomain.com/wp-adminor the HTTPS version if it already works. - Go to
Settings → General. - Change both “WordPress Address (URL)” and “Site Address (URL)” from
http://tohttps://. - Save changes.
If these fields are greyed out, they are being defined in wp-config.php, which can be more robust for some setups.
Update home URLs in wp-config.php safely (optional but robust)
To set your URLs via wp-config.php, add (or adjust) the following lines above the comment that says “That’s all, stop editing!”:
define( 'WP_HOME', 'https://yourdomain.com' );
define( 'WP_SITEURL', 'https://yourdomain.com' );
Replace yourdomain.com with your actual primary domain. Save the file and reload your admin dashboard to confirm it works.
Log in again and check for redirect loops or login issues
After updating the URLs, log out and log back in using the HTTPS login page. Watch for:
- Repeated redirects between HTTP and HTTPS
- Errors when trying to access wp‑admin
- Redirects that jump between www and non‑www in a loop
If you see loops at this stage, undo the changes in wp-config.php or the General settings, then review any existing redirects at server or CDN level before trying again.
Step 3: Force HTTPS with Correct Redirects
Why 301 redirects matter for SEO and analytics
Once HTTPS is working, you must ensure visitors and search engines are always sent to the secure version. 301 (permanent) redirects signal to Google and others that your URLs have moved and that link equity should be transferred.
Good redirects:
- Send every HTTP URL directly to its HTTPS equivalent
- Avoid chains such as HTTP → www HTTP → HTTPS → final URL
- Preserve paths and query strings where appropriate
Set up HTTP to HTTPS redirects in .htaccess or Nginx
On Apache, you usually do this in .htaccess in your site’s root directory:
<IfModule mod_rewrite.c>
RewriteEngine On
RewriteCond %{HTTPS} off
RewriteRule ^(.*)$ https://%{HTTP_HOST}/$1 [L,R=301]
</IfModule>
On Nginx, redirects go in the server block for port 80:
server {
    listen 80;
    server_name yourdomain.com www.yourdomain.com;
    return 301 https://yourdomain.com$request_uri;
}
Your HTTPS server block then handles actual content on port 443.
Redirect www vs non‑www consistently
Decide whether your canonical URLs use www or not, then redirect the other version to it consistently. For example, to force non‑www on Apache:
<IfModule mod_rewrite.c>
RewriteEngine On
RewriteCond %{HTTP_HOST} ^www\.(.+)$ [NC]
RewriteRule ^ https://%1%{REQUEST_URI} [L,R=301]
</IfModule>
On Nginx, adjust the server_name and return directives accordingly.
Avoid common redirect mistakes that slow the site
Watch out for:
- Multiple layers doing the same redirect (CDN, server, WordPress plugin)
- Rules that first redirect www to non‑www, then HTTP to HTTPS, rather than combining them
- Plugins that add JavaScript based redirects instead of proper server responses
Keep redirects as close to the edge as possible and avoid chaining. A performance‑aware edge layer such as the G7 Acceleration Network can handle canonical redirects before traffic hits PHP, which keeps response times tight.
Step 4: Fix Mixed Content and Hard Coded HTTP Links
What mixed content is and why browsers block it
Mixed content happens when your main page loads over HTTPS, but some assets on the page still load over HTTP. Browsers may:
- Block those assets completely (scripts, fonts, some images)
- Show a warning instead of a secure padlock
This is usually caused by hard coded http:// links in the database, theme, plugins or external services.
Search and replace old http URLs in the database
The safest way is to run a search and replace that understands serialised data, rather than a raw SQL replace. Popular approaches include:
- Using a safe migration script such as WP‑CLI’s
search-replacecommand - Using a respected search and replace plugin during the migration, then removing it once finished
The basic pattern is to replace:
http://yourdomain.comwithhttps://yourdomain.com- and, if relevant,
http://www.yourdomain.comwith the canonical form
Always back up the database first.
Update theme files, CSS and JS that still call http assets
Check your theme (including child themes) for:
- Background images in CSS using
http://URLs - Script or style enqueues in
functions.phpthat reference HTTP - Template files with hard coded image or script URLs
Switch these to protocol relative URLs (//example.com/image.jpg) or HTTPS explicitly, then clear any caches.
Check external scripts, images and embeds
Some older external services still provide HTTP embed codes. Check:
- Analytics or marketing pixels
- Embedded videos or iframes
- Chat widgets and third party forms
Update to HTTPS embed codes wherever possible. If a provider still only supports HTTP assets, consider replacing it, as this can permanently harm your padlock and user trust.
Step 5: Keep or Improve Your Site Speed After Moving to HTTPS
HTTPS, TLS and HTTP/2: what changes for performance
TLS handshakes add a small overhead when connections are first established. HTTP/2 and HTTP/3 recover that cost by allowing browsers to reuse a single encrypted connection for many requests, and by improving how assets are transferred.
On well configured hosting, visitors should not notice a slowdown. Issues tend to appear when TLS is misconfigured, the server is underpowered or there are too many redirect hops before content is served.
Use caching and a CDN without breaking HTTPS
After the switch, confirm that:
- Any page caching plugin still works correctly with HTTPS URLs
- Your CDN is configured with the HTTPS origin and correct certificate
- Cached pages are served over HTTPS without downgrading assets to HTTP
If you are not sure how caching layers interact, the article on understanding WordPress caching layers gives a clear overview.
How server‑level caching and the G7 Acceleration Network help
Server‑level caching and an edge layer close to your users remove most of the TLS cost by serving responses quickly and keeping connections warm. The G7 Acceleration Network combines edge caching, smart compression and HTTP/2+ support so HTTPS responses are delivered quickly without extra plugins.
It also includes optimised image delivery: images are converted on the fly to modern AVIF and WebP formats, typically cutting file sizes by more than 60 percent while maintaining real‑world quality. This runs outside WordPress, is free for every G7Cloud site, and needs no changes to your media library.
Retest Core Web Vitals and TTFB after the switch
Once everything is on HTTPS, retest:
- Time to First Byte (TTFB) from a UK location
- Core Web Vitals such as LCP, FID and CLS
Use tools like PageSpeed Insights or WebPageTest, then compare to your pre‑migration results. If TTFB has increased significantly, the guide on reducing WordPress Time to First Byte on UK hosting walks through server and site level fixes.
Step 6: Update SEO, Analytics and External Services
Update WordPress sitemaps and internal links
If you use an SEO plugin that generates XML sitemaps, ensure it now lists HTTPS URLs only. Re‑save its settings if needed. Internal links will usually update via the search and replace you ran earlier, but spot check key pages to confirm there are no residual HTTP links.
Tell Google Search Console and Bing about HTTPS
In Google Search Console, add the HTTPS property (for example, https://yourdomain.com) if it is not already present. Submit your updated sitemap pointing to HTTPS URLs and monitor indexing and coverage reports for a few weeks.
Repeat the same process for Bing Webmaster Tools. Both search engines usually handle protocol changes cleanly if redirects are correct and the old HTTP URLs are not blocked.
Check Google Analytics, tags and tracking pixels
Most modern analytics tags work fine over HTTPS, but you should:
- Confirm tracking scripts are loaded via HTTPS
- Ensure referral exclusions and filters still make sense if domains changed
- Check goal and funnel URLs match the new HTTPS paths
Update payment gateways, webhooks and API callbacks
Payment gateways, CRMs and marketing tools may have callback URLs that still point to HTTP. Common places to update include:
- Stripe or PayPal webhook endpoints
- CRM form handlers posting back to your domain
- Stock or order sync integrations for WooCommerce
Log into each service, search for your domain and change http:// to https:// where appropriate.
Step 7: Security Headers, HSTS and Ongoing Maintenance
Add HSTS carefully and avoid locking in broken setups
HTTP Strict Transport Security (HSTS) tells browsers to only use HTTPS for your domain for a period of time. Once set, if there is a problem with your certificate or HTTPS configuration, visitors may not be able to reach your site until the policy expires.
Add HSTS only after:
- All redirects work as intended
- No mixed content warnings remain
- Your certificate is stable and renewals are reliable
A basic Apache header looks like:
Header always set Strict-Transport-Security "max-age=31536000; includeSubDomains; preload"
Adjust the max-age to a shorter value at first if you prefer a cautious rollout.
Use sensible security headers without hurting performance
Security headers such as Content-Security-Policy, X-Frame-Options and Referrer-Policy help protect your site against various attacks. Poorly configured policies can break legitimate scripts or embeds though, so start with conservative rules and test carefully.
Many web hosting security features can be applied at server or edge level so WordPress itself does not carry the full burden. This also avoids extra plugins that add overhead on each request.
Monitor for SSL expiry, mixed content and crawl errors
Ongoing tasks should include:
- Automated renewal of your SSL certificate
- Regular scans or monitoring for new mixed content
- Watching Search Console for crawl and indexing errors
Managed WordPress hosting with G7Cloud and the G7 Acceleration Network reduces the day to day SSL workload by automating certificate renewals, enforcing HTTPS at the edge and applying sensible security headers by default.
Troubleshooting Common HTTPS Migration Problems
Endless redirect loops after forcing HTTPS
If you are stuck in a redirect loop:
- Check for competing rules in
.htaccess, Nginx config, your CDN and any redirect plugins - Ensure WordPress Address and Site Address are set correctly and not fighting server‑level rules
- Temporarily disable redirect plugins to isolate the cause
View browser developer tools → Network tab and look at the chain of 301/302 responses to see where the loop begins.
Images or fonts not loading due to blocked mixed content
Browsers often block fonts, scripts and some images still loaded via HTTP. Use the browser console (F12) to list mixed content warnings and note each offending URL.
Fixes usually involve:
- Updating hard coded URLs in CSS, JS or templates
- Running another targeted search and replace in the database
- Updating third party embed codes to HTTPS
WooCommerce checkout or payment gateway issues
After the switch, test:
- Guest checkout and account login
- Common payment methods (card, PayPal, etc.)
- Order confirmation pages and emails
If payments fail or orders are marked as unpaid, check:
- Gateway settings for return and callback URLs
- Mixed content or blocked scripts on the checkout page
- Any custom security plugins that might be blocking callbacks
Sudden slowdowns after enabling SSL
If performance drops after the switch:
- Check for extra redirect hops introduced by HTTPS and HSTS
- Verify that caching still works and is not bypassed for HTTPS pages
- Look for increased bot traffic or attacks that happened to coincide with the change
G7Cloud’s G7 Acceleration Network includes bot protection that filters abusive and non human traffic before it reaches PHP or the database. This keeps server load stable and reduces the risk of slowdowns or avoidable downtime when your site is busy.
When to Ask for Help Moving WordPress to HTTPS
Signs you should involve your host or developer
Consider asking for help if:
- You run a high revenue WooCommerce store where downtime is costly
- Your stack includes custom integrations, headless setups or complex CDNs
- You are not comfortable editing
.htaccess, Nginx config orwp-config.php - You have already run into redirect loops or checkout issues
A good host will also help interpret TTFB and Core Web Vitals changes rather than leaving you to guess.
What a good managed migration should cover
A well managed migration to HTTPS typically includes:
- Installing and testing SSL certificates for all relevant domains
- Setting WordPress and database URLs to HTTPS
- Implementing lean, correct 301 redirects at the right layer
- Cleaning mixed content and updating embeds
- Verifying WooCommerce and payment gateways
- Updating sitemaps, Search Console properties and key integrations
If you prefer not to handle this yourself, providers like G7Cloud offer a free WordPress migration service that can include the HTTP to HTTPS move as part of a broader move to managed hosting.
If you are using this protocol change as a chance to improve speed overall, you may also find it helpful to work through the wider steps in the practical guide to WordPress speed optimisation for non‑developers once your HTTPS migration is stable.
If you would like HTTPS, caching, image optimisation and security handled with less day to day effort, it is worth exploring managed WordPress hosting and the G7 Acceleration Network so you can focus more on your business and less on infrastructure.