
Who This Guide Is For (And What You Will Have At The End)
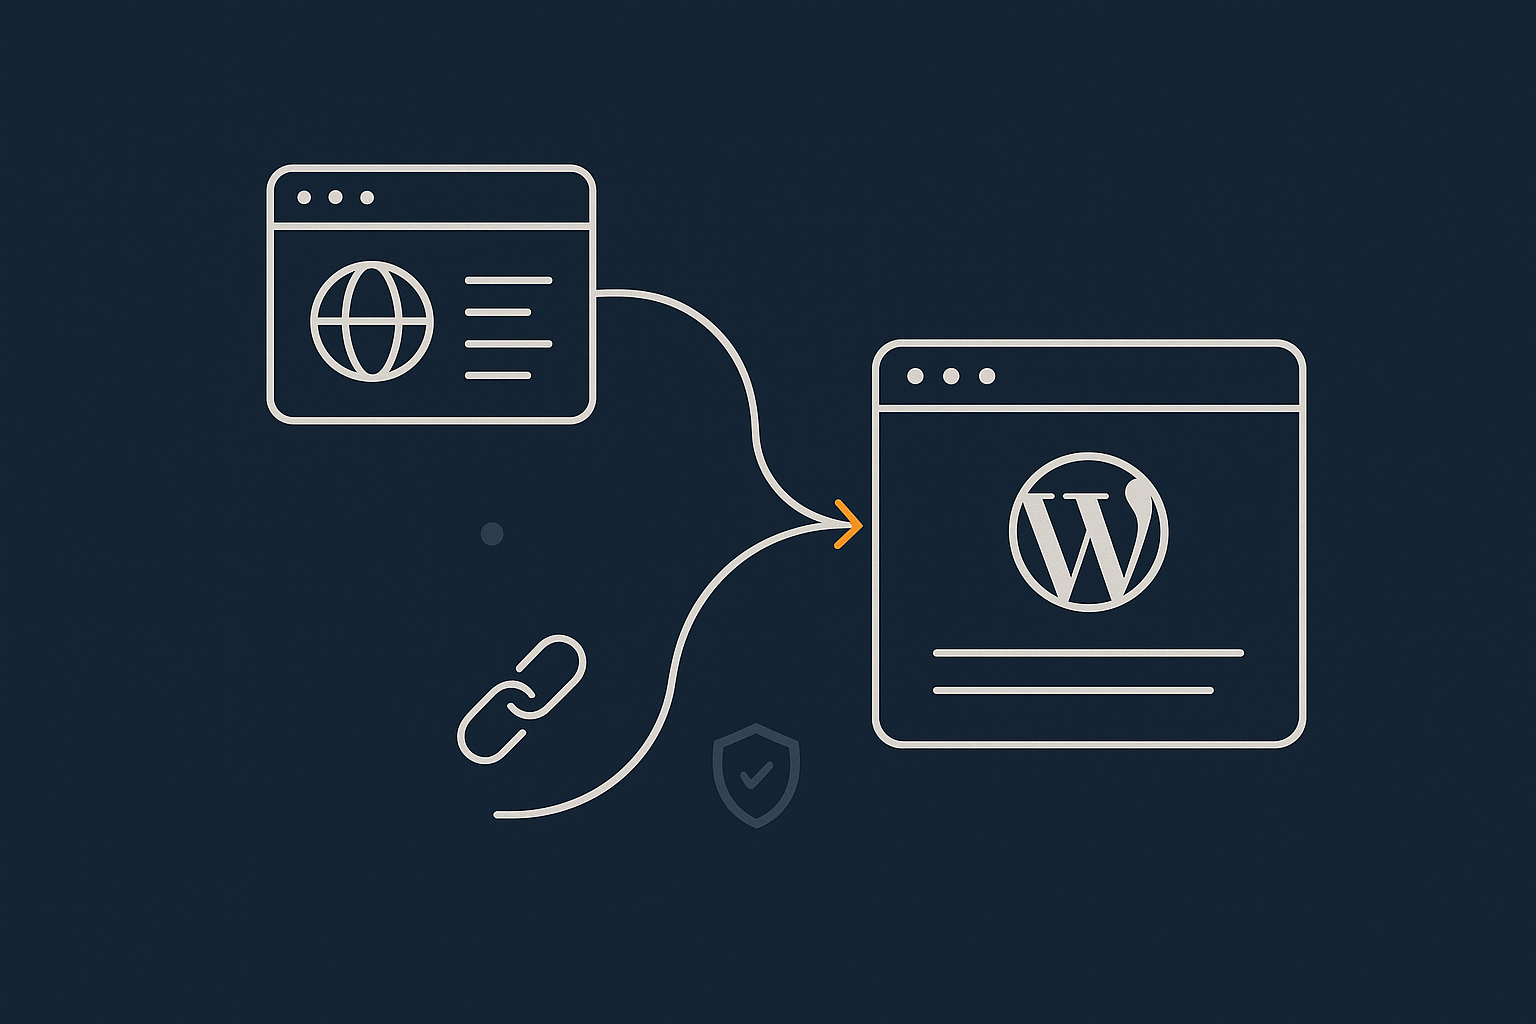
This guide is for UK businesses running WordPress or WooCommerce that want to change domain name without losing search engine visibility or breaking logins, carts or admin access.
You might be:
- Rebranding to a new company or product name.
- Moving from a .co.uk to a .com (or vice versa).
- Merging several sites into one primary domain.
By the end, you will have:
- Your full WordPress site running cleanly on the new domain with HTTPS.
- 301 redirects in place so all old URLs point to their new equivalents.
- Logins, cookies and WooCommerce sessions working normally.
- Google Search Console updated so Google understands the move.
- A short post‑migration checklist to keep traffic and rankings steady.
If you want a wider view of risks and planning around hosting changes, you can pair this with our WordPress / WooCommerce migration checklist for UK businesses.
Before You Start: Backups, Access and a Sensible Plan
Decide exactly what is changing (domain only vs host + domain)
There are three common scenarios:
- Domain change only: Same server and hosting account, just a new domain. This is simpler. You mainly update URLs and redirects.
- Domain + hosting change: New domain and moving to a different provider. This adds DNS cutover and more testing.
- Multiple domains into one: For example, redirecting several microsites into a new primary brand. Requires more redirect planning.
Be clear which applies to you. It affects how you handle DNS, SSL and migration order.
Take full backups you can actually restore
Ensure you have:
- A complete copy of
public_htmlor your site’s document root (all WordPress files). - A full database export (
.sql), usually via phpMyAdmin or a control panel backup tool.
Do not rely only on “incremental” or “file‑only” backups. Make sure you could rebuild the site on a new server using only these backups if you had to.
If your host offers an easy restore function, confirm how it works. With managed WordPress hosting from G7Cloud, for example, snapshot backups can be restored with one click, which is useful if a domain move goes wrong.
Make sure you have the right access: DNS, hosting, WordPress admin
You will need:
- Domain / DNS access: Login to wherever your domain is registered (or where its nameservers point). This might be the same place as your hosting or separate. If you need a cleaner setup, consider consolidating domain registration and DNS management in one place.
- Hosting access: cPanel, Plesk or your cloud panel to create the new site and database, and manage SSL.
- WordPress admin: Administrator account on the existing site so you can install plugins or update settings.
Set expectations for SEO: what normally happens after a domain move
With proper 301 redirects and a clean setup in Google Search Console, most sites see:
- A short adjustment period where impressions and clicks wobble.
- Google gradually replacing old URLs with the new domain over a few weeks.
- Similar overall traffic levels after the move, assuming nothing else changes.
Large content changes, poor redirect setup or slow performance on the new host will make this more volatile. A careful technical move tends to be far less dramatic than most people fear.
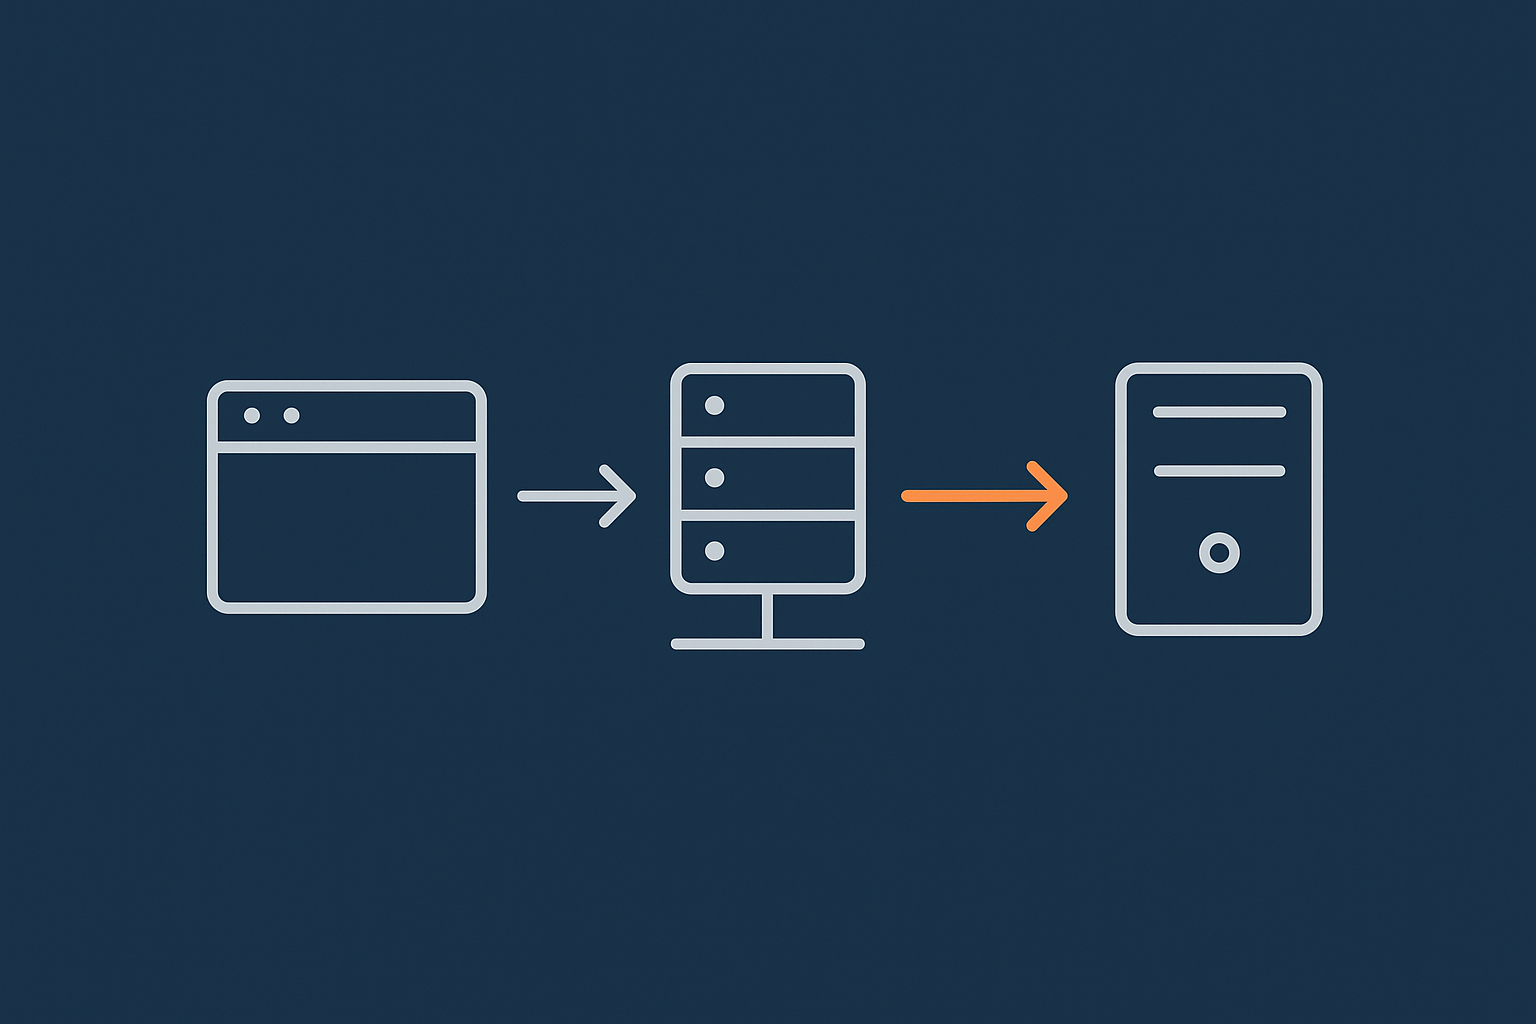
Step 1: Prepare the New Domain and Hosting
Register and point the new domain (DNS and nameservers in plain English)
If you have not already bought the new domain, register it with a provider you are comfortable managing long term. Using the same provider for domains and hosting can simplify DNS changes.
You then need to decide where DNS will live:
- If you use your hosting provider’s nameservers, you will change nameservers at the domain registrar to point to the host.
- If you use a third‑party DNS service, you will update A / AAAA / CNAME records there to point to the new server’s IP or hostname.
Propagation is often “near real time” but can take a few hours. Plan the cutover for a quieter time for your business.
Create the new site in your hosting control panel
If you are staying on the same server
On cPanel‑style hosting this usually means:
- Add the new domain as an “Addon Domain” or additional domain.
- Note the document root directory (for example
/home/account/newdomain.co.uk/). - Create a new database and database user for the new site, or plan to share the existing database with a different table prefix if your host recommends it.
If your provider offers free WordPress migration help, it may be simpler to ask them to create the new site container for you with the right PHP version and modules.
If you are moving to a new host at the same time
The order is typically:
- Sign up with the new host and create an empty WordPress site for the new domain.
- Use their temporary URL / staging hostname to test the migrated copy before DNS changes.
- Only switch DNS once you are happy the copy works properly.
High quality managed WordPress hosting will usually include a migration service, performance tuning and staging, so you can separate “copying the site” from “switching the domain” in a controlled way.
Install a valid SSL certificate on the new domain
Your new domain must support HTTPS from day one. Typically you will:
- Enable Let’s Encrypt or another SSL certificate in your control panel for the new domain.
- Confirm the certificate covers both
www.newdomain.co.ukandnewdomain.co.uk.
Many providers automate this. Confirm the certificate is active by loading the new domain (or temporary domain) over HTTPS before going further.
Step 2: Copy Your WordPress Site to the New Domain
Choose your migration method: plugin, control panel tool or manual copy
You have three main routes:
- Migration plugin (for example, Duplicator, All‑in‑One WP Migration): Easiest for many users, especially when staying on similar hosting. Follow the plugin’s guide and ensure the package completes without errors.
- Host migration tool: Some panels and managed hosts offer one‑click WordPress cloning between domains or servers. This can be very reliable when supported by the provider.
- Manual copy: Download files via SFTP, export the database via phpMyAdmin, upload to the new host and import. This gives the most control but requires care.
If you are uncomfortable with manual work and your host offers free WordPress migration help, using that is usually safer than doing it all alone.
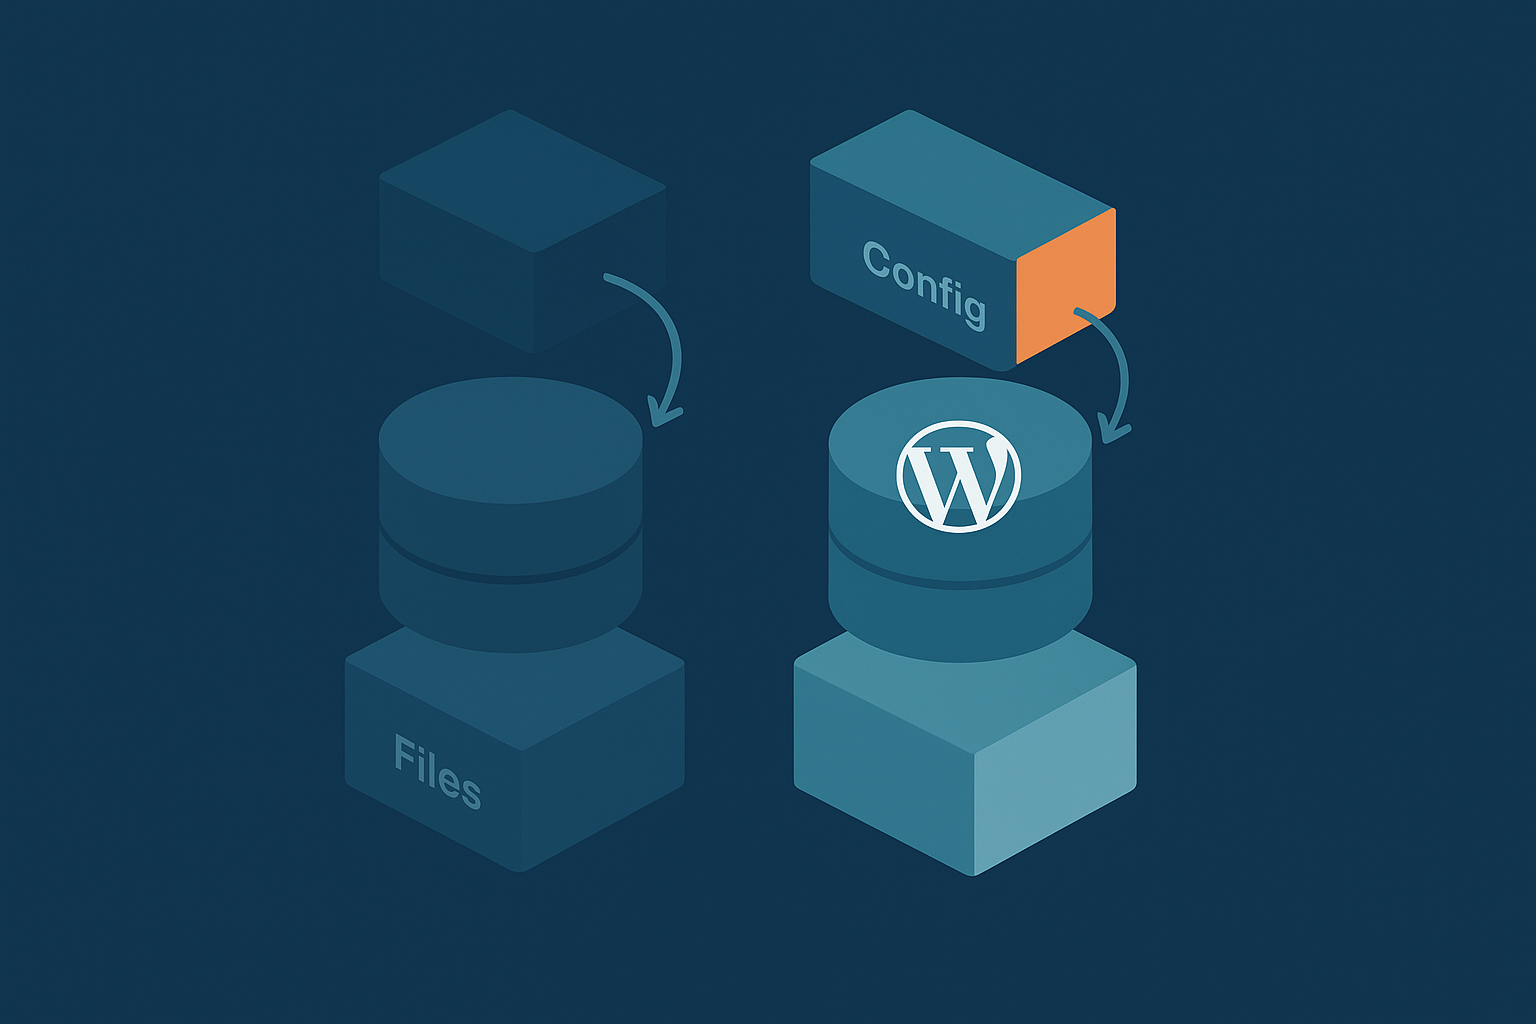
Copy the files and database to the new domain
For a manual copy, the steps are:
- Download all files from the old site’s document root, including
wp-contentandwp-config.php. - Upload them into the new domain’s document root on the new hosting.
- Export the database as
.sqlfrom phpMyAdmin on the old host. - Create a new empty database on the new host and import the
.sqlfile.
Do not edit URLs in the database at this stage. That comes later.
Update wp-config.php safely if the database details change
On the new host, open wp-config.php and update:
define( 'DB_NAME', 'new_db_name' );
define( 'DB_USER', 'new_db_user' );
define( 'DB_PASSWORD', 'new_db_password' );
define( 'DB_HOST', 'localhost' ); // or the host provided by your provider
Keep a copy of the original wp-config.php before editing. If you see “Error establishing a database connection” after uploading, these settings are usually the cause.
Step 3: Update WordPress URLs for the New Domain
Change the Site URL and Home URL
Method A: Change URLs in wp-admin (when you can log in)
If you can access the WordPress admin on the new domain or temporary URL:
- Go to Settings → General.
- Update both WordPress Address (URL) and Site Address (URL) to the new domain, including
https://. - Save changes and log in again if prompted.
Method B: Define the URLs in wp-config.php
If you cannot log in, you can hard‑code the URLs temporarily in wp-config.php above the line that says “That’s all, stop editing!”:
define( 'WP_HOME', 'https://www.newdomain.co.uk' );
define( 'WP_SITEURL', 'https://www.newdomain.co.uk' );
This overrides the database values and can fix login loops.
Method C: Update URLs directly in the database
As a last resort, you can edit the wp_options table via phpMyAdmin. Find the rows with option_name of siteurl and home and change the values to the new domain with HTTPS. Be careful not to edit any other rows.
Run a safe search and replace for old URLs in content
Once the core URLs are correct, you need to update links and media URLs inside the database. This includes:
- Internal links in posts and pages.
- Image URLs stored in post content and meta fields.
- Widget content that references the old domain.
Handling serialised data correctly
WordPress stores many options and plugin settings as serialised PHP data. A naive “find and replace” at SQL level can corrupt these. Use a tool that is serialisation‑aware, such as the “Search Replace DB” script or a reputable migration plugin with safe replace built in.
What to exclude from search and replace
In most cases you should avoid replacing:
- GUIDs in the
wp_poststable when there is no protocol change. If you have only changed host name, this is less critical, but most SEO guidance says leave GUIDs alone as they are internal identifiers. - Email addresses, for example
info@oldbrand.co.uk, unless you are also changing email branding. - Any references that should continue pointing to the old domain, such as a legacy documentation site you are keeping live.
Take a fresh database backup just before running the replace. If you use a service with the G7 Acceleration Network in front, it will automatically update cached pages as the URLs change, reducing the risk of stale mixed URLs.
Step 4: Set Up 301 Redirects From Old Domain To New
Why 301 redirects matter so much for SEO
How Google treats a domain move
A 301 redirect tells browsers and search engines that a URL has moved permanently. When every old URL issues a 301 to the equivalent URL on the new domain, Google can transfer most signals, including link equity, to the new location.
If you simply point the new domain at the same site without redirects, search engines see two separate sites and you risk splitting authority or triggering duplicate content issues.
Avoiding redirect chains and loops
Your goal is a single, clean 301 hop:
http://old → https://old → https://new is already a chain and should be avoided. You want:
http://old and https://old both going directly to https://new in one step.
Similarly, avoid creating rules where old → new → old in a loop. Always test representative URLs after changing rewrite rules.
Configure a full‑site redirect at server level
Example: Apache .htaccess rule
If your old site runs on Apache, add this near the top of the .htaccess in the old domain’s document root:
RewriteEngine On
RewriteCond %{HTTP_HOST} ^(www\.)?old-domain\.co\.uk$ [NC]
RewriteRule ^(.*)$ https://www.new-domain.co.uk/$1 [L,R=301]
Adjust the domains and www preference to match your final choice. This rule redirects every path on the old domain to the same path on the new domain.
Example: Nginx server block rule
On Nginx, you typically configure a separate server block for the old domain that only handles redirects:
server {
    listen 80;
    listen 443 ssl;
    server_name old-domain.co.uk www.old-domain.co.uk;

    # SSL config here if needed

    return 301 https://www.new-domain.co.uk$request_uri;
}
If you are unsure where to place these directives, your hosting provider’s support team should be able to add them for you.
Check redirects and fix common mistakes
After enabling redirects:
- Test a sample of old URLs, including product pages, category archives and blog posts.
- Use a redirect checker or
curl -Ion the command line to confirm a single 301 hop. - Check that HTTP and HTTPS on the old domain both end up at the correct HTTPS version of the new domain.
If your site is fronted by services like the G7 Acceleration Network, remember that redirects may be cached. Clear the edge cache after making server‑level changes so tests reflect the new rules.
Step 5: Check Logins, Cookies and Mixed Content
Fixing login problems after a domain change
Clear browser cookies and cache
Old cookies tied to the previous domain or protocol often cause login loops or “invalid nonce” errors. Ask your team to:
- Log out of WordPress.
- Clear cookies and cached files for the old and new domains.
- Use an incognito / private browsing window for the first login after the move.
Update any hard‑coded cookie domains or security plugins
Some security and caching plugins define explicit cookie domains or session names. After changing domain, update:
- “cookie domain” settings in security / firewall plugins.
- Hard‑coded
COOKIE_DOMAINvalues inwp-config.php, or remove them if not strictly required.
If you use a host that provides server‑level protection, such as the bot filtering in the G7 Acceleration Network, you can often simplify plugin stacks and reduce conflicts after a domain switch.
Fix mixed content and insecure asset URLs
How to spot mixed content warnings
Mixed content occurs when an HTTPS page loads some resources, such as images or scripts, over HTTP. Browsers show a broken padlock or “Not secure” warning.
To check:
- Open a few key pages on the new domain.
- Use the browser developer tools → Console tab to see any mixed content errors.
Updating theme, plugin and CDN URLs
Common sources of mixed content include:
- Hard‑coded
http://URLs in theme templates. - Old CDN URLs that still point to the old domain.
- Plugin settings that include full URLs with protocol.
Update these to https://newdomain.co.uk or to protocol‑relative URLs where appropriate. If your hosting includes the G7 Acceleration Network, it will also serve images through an edge layer and automatically convert them to AVIF and WebP on the fly, usually cutting image file sizes by over 60 percent without any extra plugins or WordPress changes.
Flush caches properly so you see the real site
After a domain move you should clear:
- Any WordPress page cache plugins.
- Object caches (Redis / Memcached) if in use.
- Server‑level and CDN / edge caches.
Our guide on WordPress caching layers explains how these levels interact, which is helpful when you are not sure what to purge. If your host sits behind a network like the G7 Acceleration Network, flushing its cache is important, as users might otherwise see cached pages with old URLs.
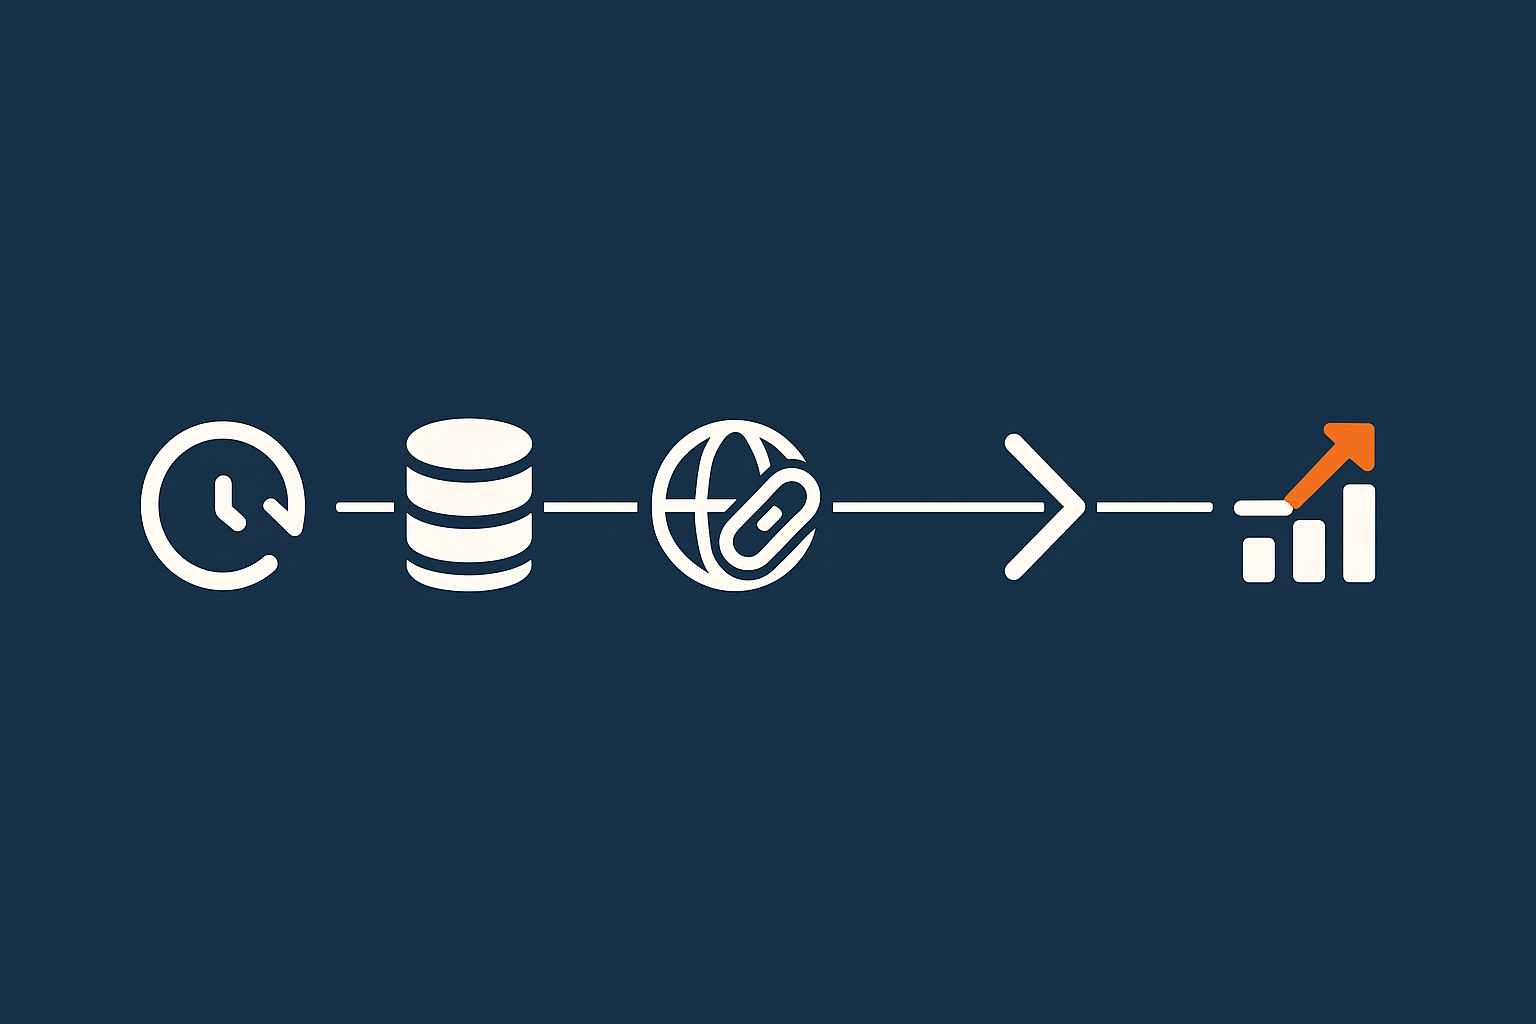
Step 6: Tell Google About the New Domain
Add and verify the new domain in Google Search Console
Set up the new domain in Google Search Console:
- Log in to Search Console.
- Add a new property for the new domain. A “Domain” property is usually preferable as it covers all protocols and subdomains.
- Verify using DNS TXT record or another supported method.
Use the Change of Address tool
Requirements for the tool to work
The Change of Address tool (for old to new domain) is available in the old domain’s property and requires:
- Both old and new domains verified in Search Console.
- 301 redirects set up from old URLs to corresponding new URLs.
- Both domains to be actively accessible.
Once these are in place, follow Google’s steps to submit the domain change.
What you should expect to see over the next few weeks
After submitting the change and with redirects in place, you will typically see:
- Search Console gradually reporting more activity on the new property.
- Index coverage shifting from old to new domain.
- Search results updating the displayed domain, usually within a few weeks.
Our separate guide on debugging WordPress Search Console errors can help interpret 404s, soft 404s or server issues that might appear during this period.
Update sitemaps, robots.txt and key external links
Next:
- Ensure the WordPress SEO plugin or XML sitemap generator is outputting sitemaps with the new domain.
- Update any manual sitemap locations in Search Console.
- Check
robots.txton the new domain for hard‑coded URLs pointing to the old site. - Update key external links you control, such as social profiles, Google Business Profile and major directories.
Step 7: Post‑Migration Checks Over the First 4 Weeks
Monitor 404 errors and fix important ones quickly
Use Search Console and your server logs or analytics to identify 404 pages that visitors still hit on the old domain. For high‑value URLs, consider custom redirect rules if the new structure has changed.
Tailored redirects for high‑traffic legacy URLs are worth the effort, especially for old campaigns, partner links or heavily linked content.
Watch performance and uptime on the new setup
Changing domain and hosting at the same time can alter performance. Track:
- Time to first byte and page load times.
- Stability under normal peak traffic.
If your site receives heavy traffic or attracts bad bots, using the bot protection built into the G7 Acceleration Network can help by filtering abusive and non‑human requests before they hit PHP or the database, which reduces wasted server load and helps keep uptime more stable after a move.
Keep an eye on organic traffic and rankings
Check analytics weekly, not hourly. Expect some movement, but look for:
- Sustained drops across all content (which suggest a technical issue).
- Falls limited to specific sections (which might point to redirect gaps or thin content problems).
If the technical migration is sound, trends usually stabilise without drastic intervention.
Common Pitfalls When Moving to a New Domain (And How To Avoid Them)
Forgetting www vs non‑www or HTTP vs HTTPS
Decide a single canonical format, such as https://www.newdomain.co.uk, and ensure all other variants redirect to it:
http://newdomain.co.uk → https://www.newdomain.co.ukhttp://www.newdomain.co.uk → https://www.newdomain.co.ukhttps://newdomain.co.uk → https://www.newdomain.co.uk
Apply the same logic on the old domain with redirects that go straight to the canonical version on the new domain, not via intermediate steps.
Breaking WooCommerce carts or logins with aggressive caching
Full‑page caching can conflict with dynamic pages like carts, checkouts and account areas, especially after a domain change. Make sure:
- WooCommerce cart and checkout URLs are in your cache exclusion list.
- Any logged‑in pages that should stay dynamic are not being served from cache.
- Minification / concatenation tools are updated to the new domain and re‑generated.
With performance‑focused services such as the G7 Acceleration Network, WooCommerce‑aware rulesets can cache catalog pages for speed while respecting baskets and logged‑in sessions.
Leaving the old domain half‑alive
A common mistake is leaving some content or an old WordPress install accessible on the old domain while also running the new site. This confuses users and search engines.
The old domain should do only one job: issue 301 redirects to the new domain. Remove old site files once you are certain redirects are working and backups are safe.
When To Ask Your Host To Handle The Move For You
If any of the following apply, it is wise to let your provider lead or at least review the plan:
- High‑traffic WooCommerce shop where downtime costs real money.
- Complex multi‑language or multisite installation.
- Tight integration with third‑party APIs, CRMs or SSO.
Many providers of managed WordPress hosting include free domain moves or full migrations. G7Cloud, for example, offers free WordPress migration help for new customers, including redirects and Search Console checks, which can be a relief if you lack in‑house technical staff.
Summary: A Simple Checklist For Moving WordPress To A New Domain
- Clarify scope: domain change only or domain + hosting.
- Take full, restorable backups of files and database.
- Confirm access to DNS, hosting panel and WordPress admin.
- Register and configure the new domain’s DNS and hosting.
- Install a valid SSL certificate for the new domain.
- Copy the WordPress files and database to the new hosting.
- Update
wp-config.phpwith new database credentials if needed. - Set WordPress Site URL and Home URL to the new HTTPS domain.
- Run a serialisation‑safe search and replace for old URLs.
- Configure one‑hop 301 redirects from old domain to new.
- Test logins, carts and forms, clear cookies and caches.
- Fix any mixed content and update CDN or plugin URLs.
- Add and verify the new domain in Google Search Console.
- Use the Change of Address tool once redirects are in place.
- Update sitemaps, robots.txt and key external links.
- Monitor 404s, performance and organic traffic for 4 weeks.
- Decommission old site content, leaving only redirects on the old domain.
If you prefer not to manage every technical detail yourself, exploring managed WordPress hosting with a built‑in acceleration layer such as the G7 Acceleration Network can reduce the moving parts: backups, caching, image optimisation and bot filtering are handled for you, so a domain change becomes a straightforward, low‑risk project rather than a stressful one‑off event.