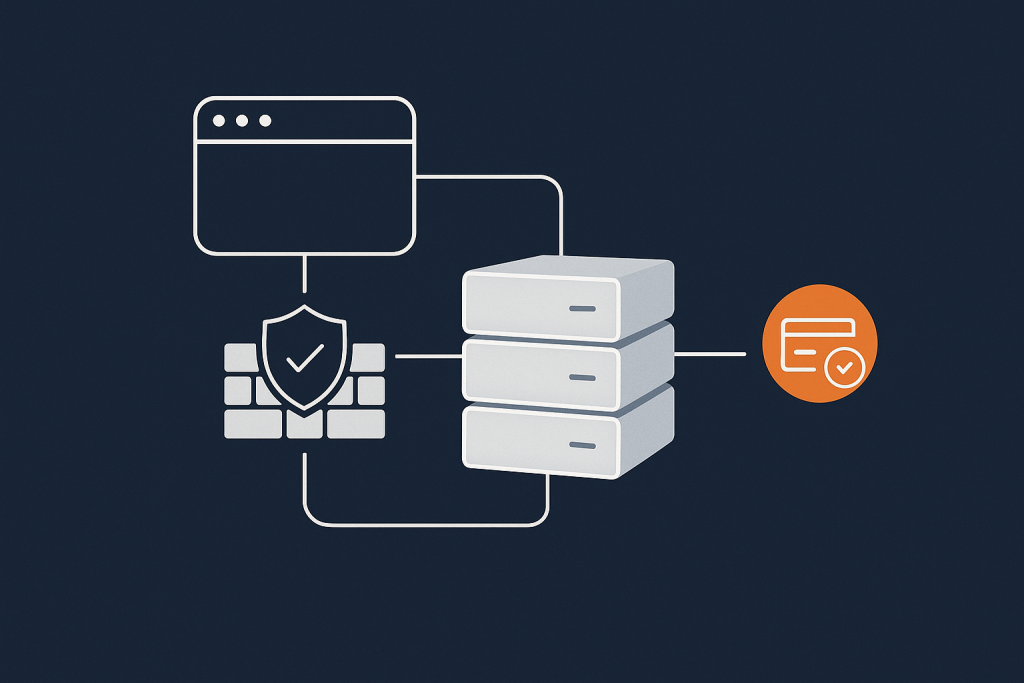
Practical Linux Firewalling for Small Servers: Getting Started with iptables, nftables and UFW
Who This Firewall Guide Is For (And What You Will Set Up)
Typical situations where a firewall suddenly matters
You usually start caring about a firewall when something new goes online:
- You have just created a small VPS to host a WordPress or WooCommerce site.
- You have installed a control panel and opened ports for it.
- You have moved a test project into production and now real visitors use it.
Soon after, you notice SSH login attempts in /var/log/auth.log, or a security scan shows open ports you did not expect. A basic host firewall is one of the simplest ways to reduce your exposed “surface” on the internet.
This guide is written for:
- Small business owners running a single VPS.
- Developers and freelancers managing a few client servers.
- Technically minded people new to Linux server administration.
If that sounds like you, you probably do not want to become a full time network engineer. You just want sensible, understandable firewall rules that protect your server without getting in your way.
What you will have working by the end
By the end of this guide, you will:
- Understand what a Linux firewall does and where it sits in the connection flow.
- Know whether your system is using
iptables,nftablesor UFW on top. - Have a simple, safe firewall policy for a small web server:
- Allow SSH from anywhere or from a restricted IP range.
- Allow HTTP (
80) and HTTPS (443). - Deny other inbound traffic by default.
- Be able to test which ports are open from both the server and your own machine.
- Know where to go next for more advanced abuse reduction.
You will see three main approaches:
- UFW for a beginner friendly firewall on Ubuntu and Debian.
- iptables for systems that still use it directly.
- nftables for newer distributions moving away from iptables.
You do not need to use all three. You will usually pick one that matches your distribution and your comfort level.
Assumptions and safe working practices
This article assumes:
- You have SSH access to a Linux server as a user with
sudoprivileges. - You are comfortable running commands that you copy and adapt.
- You can reach some form of console in an emergency (for example the VPS “console” in your provider’s panel).
Before you start changing firewalls on a live server:
- Take a snapshot or backup if your VPS panel allows it.
- Keep a text file or notes of every command or configuration file you change.
- Test on a staging or non production server if possible.
If you only want to run one or two business sites and do not want to manage this level of detail long term, a managed service such as Managed WordPress hosting can handle most of the underlying firewalling and platform updates for you.
Firewall Basics in Plain English
What a firewall actually does on a Linux server
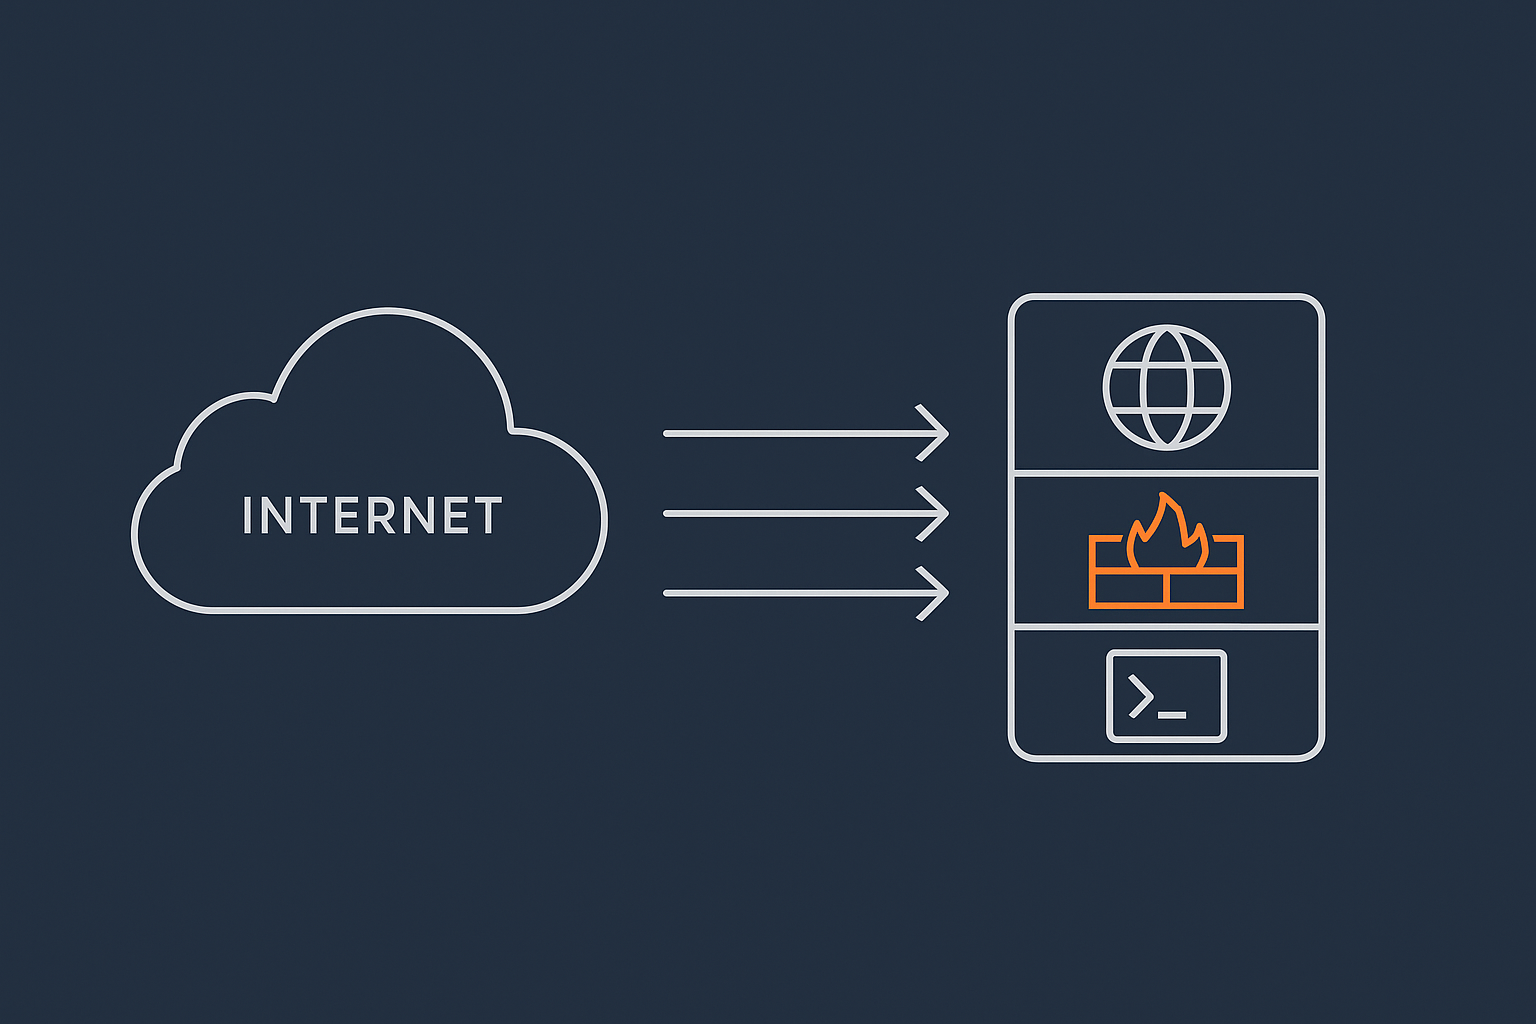
On a Linux server, the firewall is a set of rules inside the kernel that looks at every packet of network traffic and decides:
- Accept it (let it through).
- Drop it (silently ignore it).
- Reject it (deny it and usually send an error back).
The rules can be very simple:
- Allow anything coming out of the server.
- Allow incoming traffic to SSH, HTTP and HTTPS.
- Deny other incoming connections.
Or they can be complex, including:
- Rate limits for repeated connections.
- Matching on country, interface, or connection state.
- Different rules for IPv4 and IPv6.
On Linux, these rules are implemented using either iptables or nftables. Tools like UFW provide a friendlier interface and then write rules for one of these systems underneath.
Inbound vs outbound traffic and common web ports
It helps to separate:
- Inbound traffic: connections from the internet to your server. For example:
- A visitor’s browser connecting to port
443for HTTPS. - Your SSH client connecting to port
22to manage the server.
- A visitor’s browser connecting to port
- Outbound traffic: connections from your server out to the internet. For example:
- Your server fetching Linux updates.
- WordPress plugins contacting external APIs.
Typical ports you will care about on a small web server:
22– SSH.80– HTTP, unencrypted web traffic.443– HTTPS, encrypted web traffic using SSL/TLS.- Control panel ports where present (for example
2083,8443, or others).
Most basic firewall policies keep outbound traffic fairly open and limit inbound traffic to a small, known set of ports.
Where firewalls fit with SSH security, WAFs and network protection
A firewall is one layer of security, not the only one. It works alongside:
- SSH hardening: keys instead of passwords, restricted root access, tools like Fail2ban. Our article Securing SSH on Your Linux Server covers that in depth.
- Web application firewalls (WAFs): rules that understand HTTP and block malicious patterns inside web requests (for example some WordPress security plugins, or external WAF services).
- Network and CDN protection: filtering abusive traffic before it even reaches your server. The G7 Acceleration Network does this while also optimising images to AVIF and WebP to reduce load on your web and PHP stack.
The host firewall complements these, particularly by making sure services that should never be internet facing simply are not reachable.
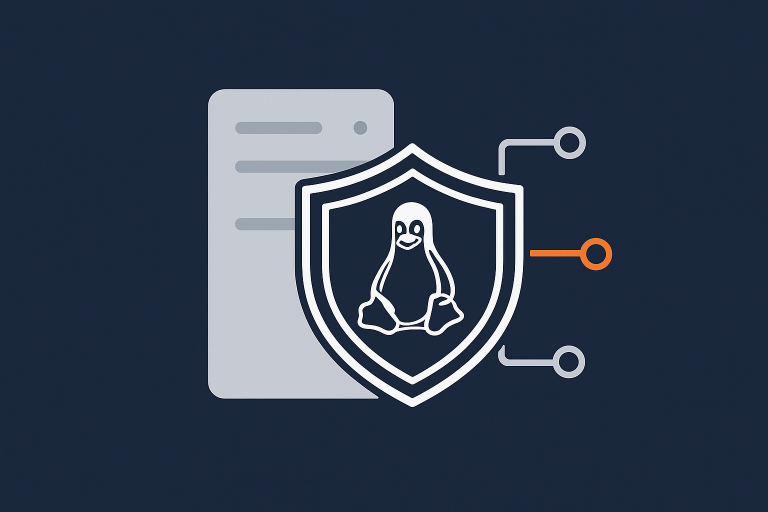
iptables, nftables and UFW: What Is Running On Your Server?

How iptables and nftables relate under the hood
Historically, Linux firewalls have been managed with iptables. Many guides and Stack Overflow answers still use it.
Newer kernels and distributions are gradually switching to nftables, which aims to:
- Provide a more consistent, unified ruleset for IPv4 and IPv6.
- Be more efficient and easier to manage at scale.
On some distributions, the iptables command is just a compatibility layer that translates your commands into nftables rules. On others, iptables is still the primary system.
You do not want both systems independently managing different sets of rules unless you know exactly why. So the first step is to check what is actually active.
What UFW is and why beginners often start there
UFW (Uncomplicated Firewall) is a front end for iptables / nftables that gives you simpler commands like:
sudo ufw allow ssh
Instead of constructing full iptables rules by hand.
On Ubuntu Server, UFW is installed by default but often disabled until you turn it on. On plain Debian it may not be installed, but it is available from the standard repositories.
Quick checks: which firewall tools are installed and active
First, check whether UFW is installed and its status:
sudo ufw status verbose
This command:
- Asks UFW whether it is
activeorinactive. - Shows the current default policies and any rules.
If you see command not found, UFW is not installed.
Next, check for nftables:
sudo nft list ruleset
If nftables is in use, you will see tables and chains output. If it is installed but unused, you might see an empty ruleset or a brief error. If the command is missing, nftables is probably not installed.
Then look at iptables:
sudo iptables -L -n -v
This shows any current IPv4 iptables rules. On some nftables based systems, this output may be auto generated from nftables rules. At this stage, we are only inspecting, not changing anything.
If you are unsure what your distribution prefers:
- Ubuntu 20.04+ and Debian 10+ often ship with nftables but keep iptables compatibility available.
- Older CentOS and some embedded distributions still rely on iptables directly.
Safety First: How To Avoid Locking Yourself Out With a Firewall
Keep an existing SSH session open and test from another terminal
When you change firewall rules, there is a small but real risk of blocking your own SSH access. To reduce stress:
- Open two SSH sessions to the server.
- Make changes in one session.
- Use the other session to test connections (or simply keep it open as a safety net).
If you apply a rule that accidentally blocks your new connections, the existing session may remain open and let you undo the change.
Know your SSH port and management IP addresses
If you have moved SSH to a non default port, keep it written down. You can confirm it with:
sudo ss -tlnp | grep ssh
This shows which TCP ports are listening for SSH and which process owns them.
If you plan to restrict SSH to a known IP or range, note down:
- Your office or home static IP address, if you have one.
- Any VPN endpoints you use to manage servers.
You can see the IP you are connecting from by visiting a site such as https://ifconfig.me in your browser. Be aware that dynamic IPs can change, which makes strict IP based SSH restrictions less practical without a VPN.
Using console access or out-of-band access on VPS and VDS
Most VPS and managed and unmanaged virtual dedicated servers provide a “console” or “serial” access through their control panel. This connects directly to the virtual machine as if you had a monitor attached, bypassing SSH and the firewall.
If you lock yourself out:
- Open the console from your provider’s panel.
- Log in locally.
- Disable or adjust the firewall rules.
Knowing how to reach this console before you start makes mistakes much less worrying.
Common dangerous mistakes to avoid
- Enabling a firewall with a default policy of
denyfor inbound traffic before creating an allow rule for SSH. - Accidentally denying both IPv4 and IPv6 access to SSH when you only intended one.
- Flushing all iptables rules (
iptables -F) on a system where the firewall is managed by some other tool, without understanding how they are rebuilt.
If you see commands online that remove or reset large groups of rules, take extra care and make sure you have console access handy.
Understanding a Simple Web Server Firewall Policy
Decide which inbound ports you actually need
For a single WordPress or small web application server, inbound needs are usually modest:
- Always: SSH (
22or your chosen port) so you can manage the server. - If hosting websites: HTTP (
80) and HTTPS (443). - If running a control panel: whatever ports it listens on, according to its documentation.
Everything else – database ports, Redis, internal admin tools – are usually best left inaccessible from the public internet, or bound only to 127.0.0.1 so the firewall never even sees them.
Default policies: deny by default, allow specific services
A simple and effective approach is:
- Default inbound policy: deny.
- Default outbound policy: allow (for a basic setup).
- Then add explicit “allow” rules for SSH, HTTP and HTTPS.
This is the same pattern security teams use at scale but applied in a very small, understandable way.
How this affects WordPress, WooCommerce and control panels
For WordPress or WooCommerce:
- As long as
80and443are open, visitors and payment gateways can reach the site. - Admin logins and APIs used by plugins also go through those ports, so the firewall does not directly interfere.
For control panels:
- You must leave their management ports open if you use them from the internet.
- Consider limiting control panel ports by IP if you always manage from a fixed location or VPN.
If your site is fronted by a service such as the G7 Acceleration Network, most traffic will come from that network’s IP ranges, with abusive bots filtered before they hit your server. Your host firewall then focuses on keeping unwanted ports closed, rather than trying to distinguish between good and bad HTTP traffic.
Option 1: Using UFW for a Beginner-Friendly Firewall

Installing and enabling UFW on Ubuntu and Debian servers
If sudo ufw status shows inactive or the command is missing, you can install and prepare it.
On Ubuntu or Debian:
sudo apt update
sudo apt install ufw
This:
- Updates your package index.
- Installs the UFW tool and its service.
Before enabling UFW, set a default deny policy for incoming connections and allow SSH:
sudo ufw default deny incoming
sudo ufw default allow outgoing
sudo ufw allow OpenSSH
These commands:
- Set inbound to deny by default.
- Keep outbound open.
- Add a rule using the
OpenSSHprofile to allow SSH on its current port.
Now enable UFW:
sudo ufw enable
UFW will warn you that it may disrupt existing SSH connections. Because you have already allowed OpenSSH, it should remain accessible. Keep your existing SSH session open while you test from another terminal or device.
If you realise you have made a mistake and need to quickly turn UFW off again:
sudo ufw disable
Step-by-step: a sensible UFW rule set for a small web server
For a typical WordPress server on standard ports:
sudo ufw allow OpenSSH
sudo ufw allow http
sudo ufw allow https
These commands add simple inbound allow rules. UFW knows the port numbers for common service names such as http and https.
You can confirm the rules with:
sudo ufw status numbered
You should see something like:
Status: active

     To                         Action      From
     --                         ------      ----
[ 1] OpenSSH                    ALLOW IN    Anywhere
[ 2] 80/tcp (http)              ALLOW IN    Anywhere
[ 3] 443/tcp (https)            ALLOW IN    Anywhere
[ 4] OpenSSH (v6)               ALLOW IN    Anywhere (v6)
[ 5] 80/tcp (v6)                ALLOW IN    Anywhere (v6)
[ 6] 443/tcp (v6)               ALLOW IN    Anywhere (v6)
If you have a control panel listening on a specific port, for example 8443:
sudo ufw allow 8443/tcp
Adding rules for non-standard SSH ports and extra services
If SSH is running on port 2222 instead of 22, you can allow that port:
sudo ufw allow 2222/tcp
You might also choose to restrict SSH to certain IPs:
sudo ufw allow from 203.0.113.10 to any port 2222 proto tcp
This:
- Allows SSH on port
2222. - Only from the IP
203.0.113.10.
Be cautious with such restrictions if your IP is dynamic or you move around a lot.
Listing, changing and deleting UFW rules safely
To see your rules with numbers you can reference when deleting:
sudo ufw status numbered
To delete a rule by its number (for example rule 3):
sudo ufw delete 3
UFW will show you which rule you are about to remove and ask for confirmation. This is a relatively safe way to tidy up.
If you want to reset UFW back to defaults and start again:
sudo ufw reset
This removes all rules and disables UFW. Use it with care if the firewall is currently protecting a live system.
Option 2: Basic iptables Rules for Small Servers
When iptables still makes sense to use directly
You may still work directly with iptables when:
- You are on an older distribution that does not support nftables.
- You need fine grained control that UFW does not easily expose.
- You prefer to understand and manage the raw rules yourself.
If your system is already using UFW, firewalld or another tool, avoid mixing manual iptables changes without understanding how they interact. Those tools may overwrite or rebuild the rules.
Inspecting current iptables rules without changing anything
To view current IPv4 rules:
sudo iptables -L -n -v
This shows:
- Each chain (INPUT, OUTPUT, FORWARD).
- The default policy for each chain.
- Any rules with packet and byte counters.
If this output is empty or very minimal, iptables is not actively filtering much. On the other hand, if you see a large, complex ruleset, it may already be managed by higher level software.
Building a minimal iptables rule set step by step
To construct a very small ruleset for a single server:
- Set default policies.
- Allow established and related traffic.
- Allow SSH, HTTP and HTTPS.
- Drop everything else inbound.
Note: These example commands adjust live rules. Use them on a test server first and ensure you have console access.
# Flush existing rules in the filter table
sudo iptables -F

# Set default policies
sudo iptables -P INPUT DROP
sudo iptables -P FORWARD DROP
sudo iptables -P OUTPUT ACCEPT

# Allow established and related traffic
sudo iptables -A INPUT -m conntrack --ctstate ESTABLISHED,RELATED -j ACCEPT

# Allow SSH on port 22
sudo iptables -A INPUT -p tcp --dport 22 -j ACCEPT

# Allow HTTP and HTTPS
sudo iptables -A INPUT -p tcp --dport 80 -j ACCEPT
sudo iptables -A INPUT -p tcp --dport 443 -j ACCEPT

# Allow loopback (localhost) traffic
sudo iptables -A INPUT -i lo -j ACCEPT
What this does:
-Fflushes existing rules in thefiltertable.- Default policies drop new inbound connections, but allow outbound.
- The conntrack rule allows responses to connections you initiated to come back in.
- Specific ports for SSH, HTTP and HTTPS are allowed.
To verify:
sudo iptables -L -n -v
If SSH stops working in new connections after applying changes, use your existing session or console to adjust rules or temporarily set the INPUT policy back to ACCEPT:
sudo iptables -P INPUT ACCEPT
Saving iptables rules so they persist across reboots
By default, iptables rules are lost when the system reboots. To persist them on Debian and Ubuntu, you can use iptables-persistent:
sudo apt update
sudo apt install iptables-persistent
During installation, it will offer to save current IPv4 and IPv6 rules. You can later save changes with:
sudo netfilter-persistent save
To inspect the saved files:
/etc/iptables/rules.v4/etc/iptables/rules.v6
You can edit these files directly, but take care and keep backups before changing them.
Option 3: Getting Started with nftables
Why distributions are moving to nftables
nftables aims to simplify and unify Linux firewalling. It:
- Uses one consistent syntax for both IPv4 and IPv6.
- Can express complex rulesets more compactly.
- Is actively maintained and is the long term direction for many distributions.
If you are starting fresh on a new distribution that supports nftables, it is sensible to learn its basics rather than investing deeply in legacy iptables syntax.
Checking for existing nftables configuration
To see if nftables is already used:
sudo nft list ruleset
If you see a non empty configuration, read through it before making changes. It might be managed by a distribution tool.
Check the nftables service status:
sudo systemctl status nftables
This tells you whether nftables is enabled and started at boot.
A simple nftables configuration for a single web server
nftables rules are usually stored in /etc/nftables.conf. A minimal example:
#!/usr/sbin/nft -f

flush ruleset

table inet filter {
  chain input {
    type filter hook input priority 0;

    # Accept traffic from loopback
    iif lo accept

    # Accept established and related
    ct state established,related accept

    # Allow SSH on port 22
    tcp dport 22 accept

    # Allow HTTP and HTTPS
    tcp dport { 80, 443 } accept

    # Drop everything else
    drop
  }

  chain forward {
    type filter hook forward priority 0;
    drop
  }

  chain output {
    type filter hook output priority 0;
    accept
  }
}
What this configuration does:
- Defines a single
inettable that covers IPv4 and IPv6. - Allows loopback and established connections.
- Allows SSH, HTTP and HTTPS.
- Drops all other inbound and forwarded traffic.
- Allows all outbound traffic.
Enabling and testing nftables safely
Before replacing any existing firewalling, back up your current nftables configuration:
sudo cp /etc/nftables.conf /etc/nftables.conf.backup.$(date +%F)
Then edit /etc/nftables.conf with your chosen editor and paste your rules. For example:
sudo nano /etc/nftables.conf
After saving, test the configuration syntax:
sudo nft -c -f /etc/nftables.conf
If this shows no errors, apply it:
sudo nft -f /etc/nftables.conf
Finally, enable the nftables service so rules are loaded on boot:
sudo systemctl enable nftables
sudo systemctl start nftables
Keep an existing SSH session open while you test new connections. If something goes wrong, use your backup file to restore the previous ruleset:
sudo cp /etc/nftables.conf.backup.YYYY-MM-DD /etc/nftables.conf
sudo nft -f /etc/nftables.conf
Replace YYYY-MM-DD with the correct date.
Testing Your Firewall: Are the Right Ports Open?
Using ss or netstat on the server
To see which ports your server is listening on:
sudo ss -tuln
This lists:
- TCP and UDP sockets.
- Listening IP addresses and port numbers.
For a simple web server you might expect to see:
:22for SSH.:80for HTTP (if your web server listens on it).:443for HTTPS.
If a service is not listening on a port, opening that port in the firewall will not help. The application and the firewall work together.
Checking from your local machine with nc or nmap
From your own computer, you can test connectivity using nc (netcat). For example:
nc -vz your.server.example 22
nc -vz your.server.example 80
nc -vz your.server.example 443
You should see succeeded messages for ports that are open and reachable. If a port is filtered or closed, it will time out or show an error.
For a broader scan from your local machine (where permitted), you can use nmap:
nmap -Pn your.server.example
This shows which ports appear open from the internet. Use this carefully and only on servers you own or manage, as port scanning third party systems without permission is not acceptable practice.
Typical results for a well-configured WordPress server
For a small WordPress site, both ss on the server and nmap from your machine will usually show:
- Port
22(or whichever SSH port you use). - Port
80and443if you support both HTTP and HTTPS.
Other services such as MySQL (3306) and Redis should either:
- Be listening only on
127.0.0.1(local only). - Be blocked by the firewall from external access.
Real-World Tweaks: Rate Limiting and Basic Abuse Reduction
Simple rate limiting for SSH brute force attempts
A firewall cannot replace stronger SSH security, but it can slow down brute force attempts.
With UFW, you can rate limit SSH:
sudo ufw limit ssh
This allows connections but throttles repeated attempts from the same IP, reducing the impact of automated scans.
With iptables, a manual example for port 22:
sudo iptables -A INPUT -p tcp --dport 22 -m conntrack --ctstate NEW \
  -m limit --limit 6/min --limit-burst 20 -j ACCEPT
This rule:
- Applies to new SSH connections.
- Allows short bursts but limits the sustained rate.
Always combine this with stronger SSH practices, such as those described in Securing SSH on Your Linux Server.
How firewall rules interact with Fail2ban and application-level rules
Tools like Fail2ban monitor log files and insert temporary firewall rules to block abusive IPs. They usually work by managing iptables or nftables chains on your behalf.
Key points:
- Set your base firewall policy first (allow SSH, HTTP, HTTPS, deny everything else).
- Let Fail2ban add dynamic rules on top of that.
- Avoid manually flushing iptables or nftables rules without understanding how Fail2ban will recreate them.
At the application level, web server and WordPress security plugins can block or challenge suspicious traffic. These do not replace the firewall, but they can deal with more nuanced HTTP level patterns.
When you should move to managed protection and network-level filtering
If your site or API starts to attract:
- Significant bot traffic.
- Regular brute force attempts or credential stuffing.
- Traffic spikes that push CPU or database load high.
It may be time to place a layer in front of your server that can filter and cache traffic closer to visitors. The G7 Acceleration Network does this by:
- Filtering abusive or non human traffic before it hits PHP or the database.
- Optimising images to AVIF and WebP on the fly, often cutting size by more than 60 percent without changing WordPress plugins.
Your host firewall then remains relatively simple while offloading much of the heavy work to the edge network.
Firewalling and Ongoing Server Management: How Much Do You Want To Own?
Firewalling as part of a wider security baseline
A sensible firewall is one part of a broader baseline for a small server that also includes:
- Regular security updates and kernel patches.
- SSH key based access and limited root login.
- Basic monitoring and alerting so you notice issues early.
- Backups and tested restore procedures.
- Log review, particularly for SSH and web server logs.
Our guide First 48 Hours on a New Linux VPS ties these together into an initial checklist. For understanding logs in more detail, see Practical Linux Log File Basics for VPS Owners.
When a managed VDS or managed WordPress hosting is the calmer choice
As your usage grows, you might find that:
- Firewalling, patching, and monitoring become a regular, ongoing task.
- You are spending more time keeping the server healthy than on your actual site or application.
If you run several sites or a busy application, a managed environment such as managed and unmanaged virtual dedicated servers can take over much of the OS level care, leaving you with more time to focus on code and content. For smaller setups that only need WordPress, Managed WordPress hosting provides an even higher level of abstraction: the platform, caching, SSL and firewalling are taken care of for you.
Next steps: logs, monitoring and incident response
Once your firewall is in place:
- Watch your logs to see what is being blocked or allowed. Tools like
journalctland your web server logs are useful here. - Set up simple external monitoring and alerts so you know if HTTP or SSH becomes unreachable. Our article Server Monitoring for Non-Admins is a good starting point.
- Write down a short incident plan: how you will reach the console, which commands you will run to disable or adjust the firewall, and who you will contact if you need help.
If you are ready to go a bit further with security and performance, it is worth exploring how your current setup would look on a virtual dedicated server or on Managed WordPress hosting. Both options can reduce the day to day operational load while still giving you the flexibility you need.