How to Safely Update and Patch a Linux Server (Without Breaking Your Sites)
Why updating and patching your Linux server matters
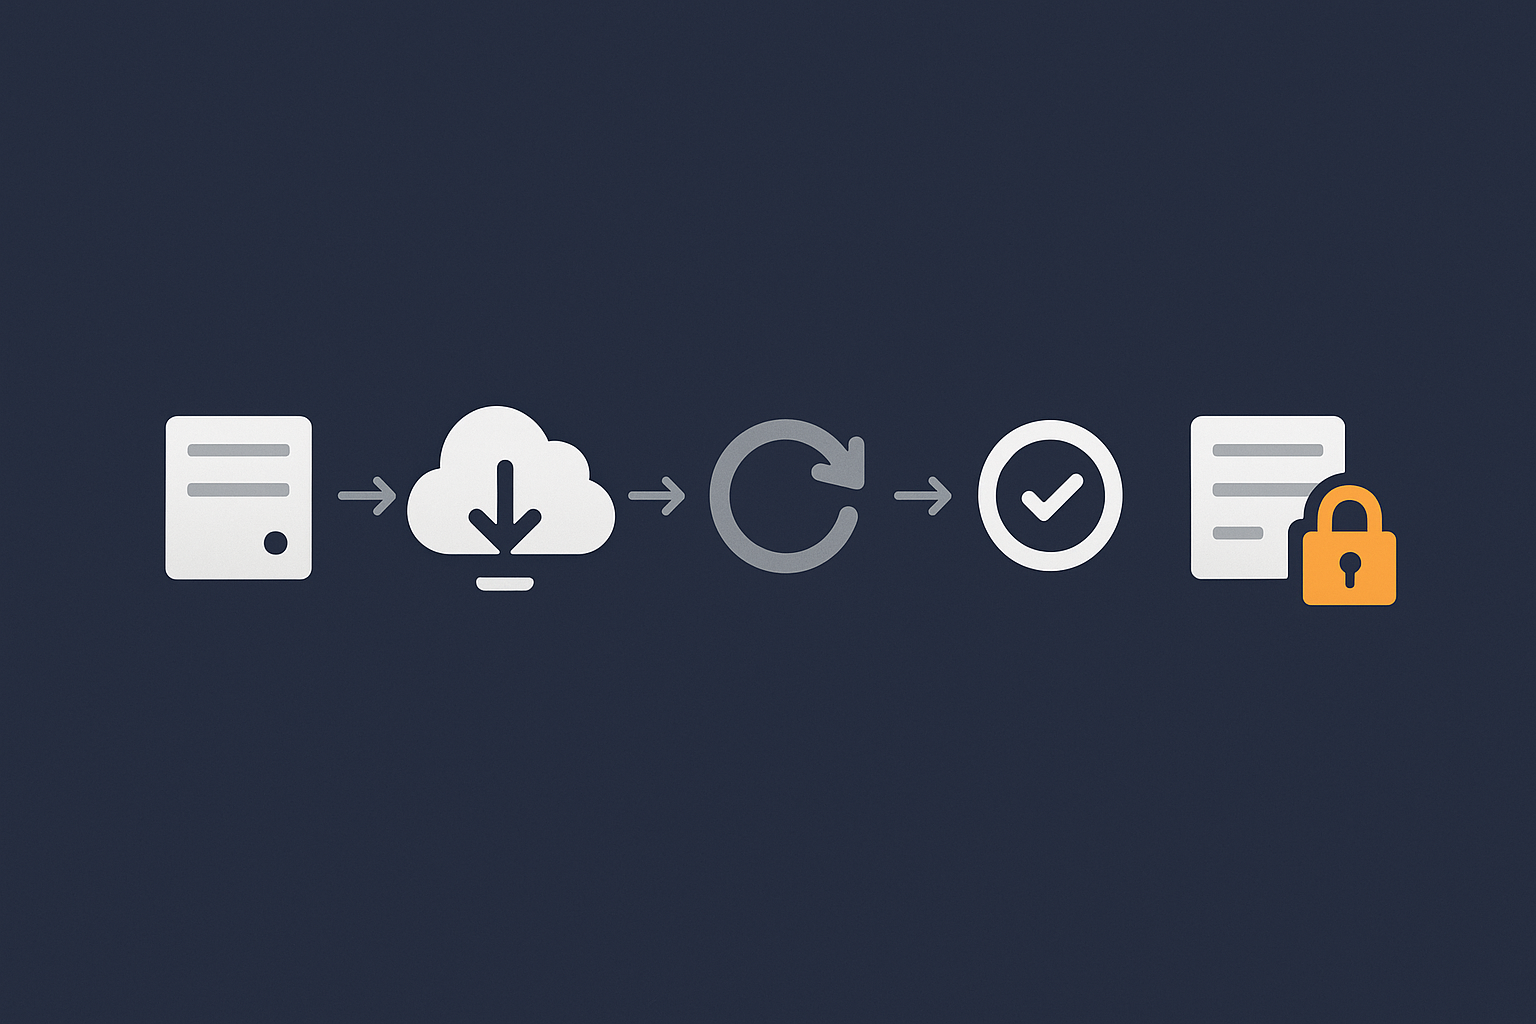
Security, stability and compliance in plain language
Updating a Linux server is about two main things:
- Removing known weaknesses that attackers could use.
- Fixing bugs that can cause crashes or strange behaviour.
Linux distributions regularly release:
- Security patches that close vulnerabilities in the kernel, OpenSSL, PHP, the database and many other components.
- Bug fix updates that make software behave more predictably and efficiently.
If you never apply updates, you drift further from what the distribution’s developers test and support. Over time that can leave you with:
- Unpatched security issues.
- Packages so old that newer software will not install cleanly.
- Compatibility problems when you eventually have to upgrade.
For organisations that need to meet data protection or industry standards, a basic patching routine is usually part of compliance. Even if you are running a single personal site, it is worth treating updates as routine care rather than a one-off task.
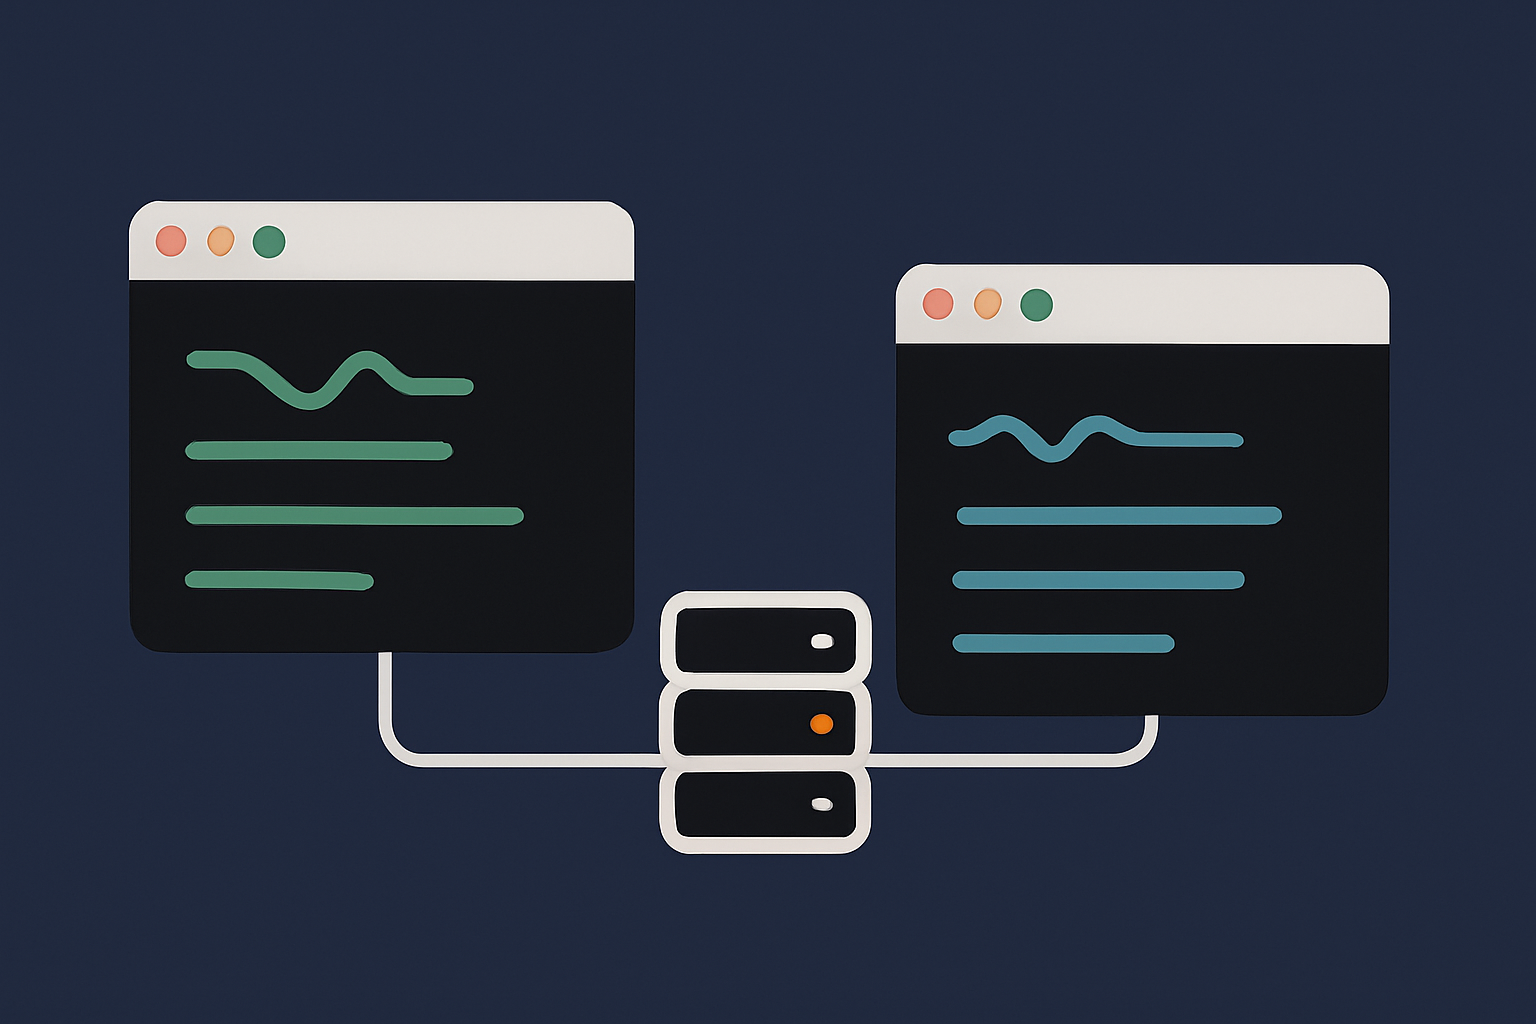
How updates affect WordPress, WooCommerce and other apps
Most web applications, including WordPress and WooCommerce, rely on several pieces of server software:
- Web server such as Apache or Nginx.
- PHP with extensions like
curl,gdorimagick. - Database server such as MySQL or MariaDB.
Updating the operating system can change any of these. Typical effects include:
- Minor version bumps to PHP that tighten security but keep your site working as before.
- Patch updates to MySQL or MariaDB that improve reliability.
- Configuration file changes in Apache, Nginx or PHP-FPM that may alter how sites are served.
Major changes, such as moving from PHP 7.4 to 8.2, are more likely to reveal old plugins or themes that are not compatible. It is wise to read our guide on understanding PHP versions for WordPress before making large version jumps, especially on busy WooCommerce stores.
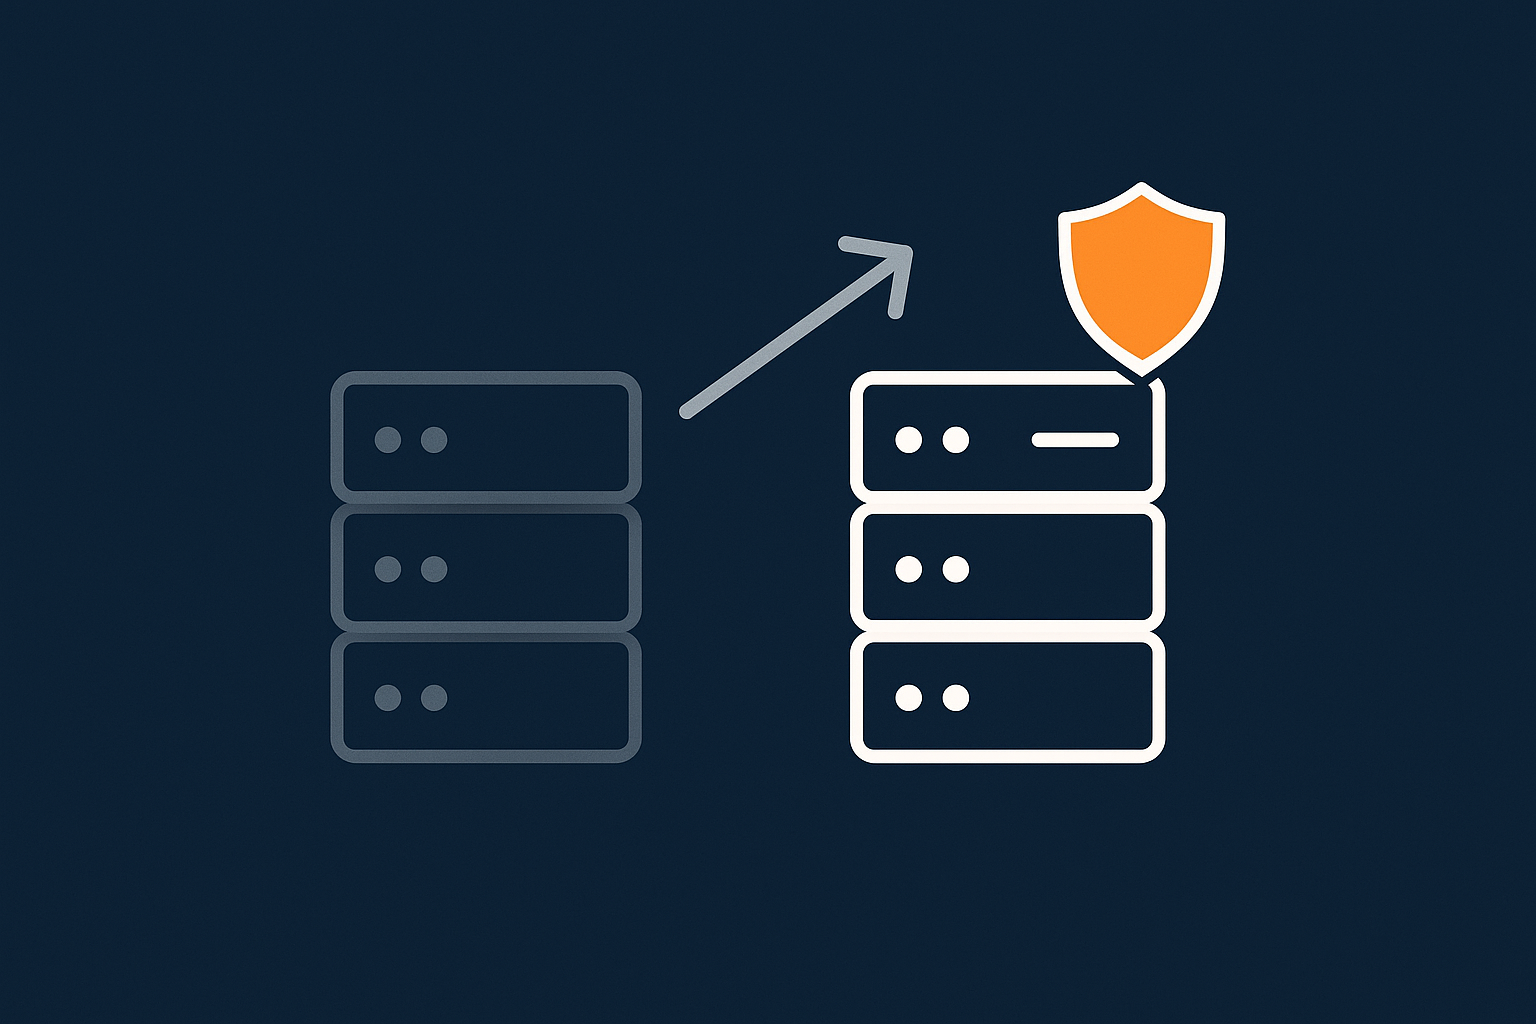
When unmanaged is fine and when you really want a managed VDS
Running an unmanaged VPS or virtual dedicated server gives you full control. You are responsible for:
- Planning and applying system updates.
- Watching for security advisories.
- Monitoring performance and capacity.
- Recovering from failed updates using backups or snapshots.
This can be a good fit if you enjoy learning Linux, are comfortable reading documentation and have time to test changes. For more complex or business critical systems, or when you simply do not want to handle routine patching, a managed and unmanaged virtual dedicated servers plan lets you decide how much of that responsibility you keep.
In this article we will assume you are running an unmanaged server, and show you how to handle updates calmly and methodically.
Before you update: make your server safe to work on
Step 1: Confirm SSH access and users
Before you change anything, make sure you have a reliable way to get into the server. You should know:
- Which SSH user you will log in as (ideally a non-root user with sudo access).
- How you will connect if something goes wrong with your usual SSH key (for example, a secondary key or console access in your control panel).
If you are unsure about SSH, our guide on connecting to a Linux server securely using SSH is a good place to start.
Step 2: Check current Linux distribution and version
You need to know what you are running before you can choose the right update commands. In your SSH session, run:
cat /etc/os-releaseThis command simply prints information about your operating system from a text file. You should see lines like:
NAME="Ubuntu"
VERSION="22.04.4 LTS (Jammy Jellyfish)"
ID=ubuntu
VERSION_ID="22.04"
or
NAME="AlmaLinux"
VERSION="9.4 (Seafoam)"
ID="almalinux"
VERSION_ID="9.4"
Make a note of this. It will decide whether you use apt, yum or dnf later.
Step 3: Ensure you have recent, restorable backups
Updating packages changes lots of files on disk. A backup gives you a way back if you are unhappy with the result.
There are two main layers to consider:
- Server level snapshots, usually created in your VPS or VDS control panel.
- Site level backups, created by your WordPress or database backup solution.
Before running large updates:
- Create a new snapshot of the server in your provider’s panel if available.
- Take a fresh backup of your sites and databases.
- Confirm where you would go to restore them if needed.
If you mainly run WordPress or WooCommerce, the article on what every WordPress owner should know about backups and restores explains site level backups in more depth.
Step 4: Check basic server health before touching anything
It is helpful to know that the server is already healthy. That way if something looks wrong after an update, you know it is likely related to the change.
Useful checks include:
- CPU load and memory use.
- Free disk space, especially on
/and/var. - Current web traffic level, so you can avoid patching at the busiest moment.
For a practical walkthrough of CPU, RAM and disk tools, see how to check CPU, memory and disk usage on a Linux server.
Common pre‑update mistakes to avoid
Some avoidable problems appear again and again:
- Updating during peak traffic, which makes any short downtime more disruptive.
- Running heavy updates on a nearly full disk, which can cause package operations to fail part way through.
- Making large configuration changes and OS updates at the same time. It becomes much harder to know which one caused an issue.
- Not keeping a simple log of what you changed. A text file with dates and commands can be surprisingly useful later.
Understanding Linux updates: security patches vs full upgrades
What your package manager actually does
Every major Linux distribution includes a package manager that:
- Knows which packages are installed.
- Checks online repositories for newer versions.
- Downloads and installs updates, handling dependencies for you.
On most servers you will use:
apton Debian and Ubuntu.yumordnfon CentOS, AlmaLinux and Rocky Linux.
If you would like a deeper explanation of these tools, you can read our beginner friendly guide to Linux package managers.
Security updates, bug fixes and major version upgrades
Updates come in different flavours:
- Security updates fix vulnerabilities. They are usually safe to apply promptly.
- Bug fix updates may address performance or reliability issues.
- Major version upgrades change underlying frameworks or configuration formats.
Standard update commands tend to apply both security and bug fix updates within the same major OS release. Jumping to a new release, such as Ubuntu 22.04 to 24.04, is a separate “distribution upgrade” that deserves more planning and testing than day-to-day patching.
How this ties into PHP, web servers and databases
When you run general system updates, you may be updating:
- Apache or Nginx and their modules.
- PHP core and modules like
mbstring,intlandxml. - MySQL or MariaDB and related client libraries.
Even if the version does not change dramatically, package updates can:
- Overwrite or offer to replace configuration files.
- Enable or disable modules.
- Restart services such as PHP-FPM or MySQL.
That is why we will walk through updates in small, understandable steps, rather than one big blocked-in command you copy and paste without context.
How to safely update an Ubuntu or Debian server
Quick safety checklist before running apt
Before using apt, check:
- You know which distribution and version you are on.
- You have a recent snapshot or backup you can restore.
- The server has enough free disk space (aim for at least a few GB free).
- You have a quiet period to work in, especially for live shops.
Run updates step by step with apt
On Debian and Ubuntu, you normally update in two steps: refresh the package list, then apply upgrades.
-
Update package lists
sudo apt updateThis does not install anything. It contacts the repositories defined in
/etc/apt/sources.listand reports which packages have newer versions available.Look for the summary near the end which might say for example:
42 packages can be upgraded. Run 'apt list --upgradable' to see them. -
Review upgradable packages (optional but helpful)
apt list --upgradableThis shows which packages are queued for upgrade and their version changes. It can help you notice when large components like
phpormysql-serverare included. -
Apply normal upgrades
sudo apt upgradeThis installs newer versions of existing packages but usually avoids removing or installing many new ones by default.
Be careful: if apt proposes removing important packages (such as your web server), review the list. You can press
nto cancel and investigate before proceeding.
If you want the package manager to handle dependency changes more freely, you can use sudo apt full-upgrade. For routine patching, many administrators use apt upgrade first and reserve full-upgrade for planned maintenance windows.
Dealing with configuration prompts during apt upgrade
While running apt upgrade, you may see prompts such as:
Configuration file '/etc/php/8.2/fpm/php.ini'
 ==> Modified (by you or a script) since installation.
 ==> Package distributor has shipped an updated version.
   What would you like to do about it? Your options are:
    Y or I  : install the package maintainer's version
    N or O  : keep your currently-installed version
These prompts appear when:
- You have customised a configuration file.
- The package provides a new default configuration.
Safe habits:
- If you know you have carefully tuned a configuration file, choose to keep your current version and manually inspect differences later.
- If you are not sure, keeping the existing file is usually less disruptive in the short term.
- Make a note of which files it mentioned so you can review them calmly after the update.
When and how to reboot Ubuntu or Debian
Kernel updates and some core libraries only take full effect after a reboot. To see if a reboot is recommended, run:
if [ -f /var/run/reboot-required ]; then cat /var/run/reboot-required; else echo "No reboot needed"; fiIf a reboot is required, plan a short maintenance window. When ready, you can reboot cleanly with:
sudo rebootThis tells the system to restart in an orderly way, stopping services and unmounting filesystems safely. For more on reboot options, see how to reboot Linux commands.
Verifying that web services came back cleanly
After updates and any reboot, verify that key services are running.
-
Check Nginx
sudo systemctl status nginx -
Check Apache
sudo systemctl status apache2 -
Check PHP-FPM
sudo systemctl status php*-fpm(On some systems you may need the full service name such as
php8.2-fpm.) -
Check MySQL or MariaDB
sudo systemctl status mysql
sudo systemctl status mariadb
You should see “active (running)” for the services you use. Then check your websites in a browser, preferably:
- Your main public homepage.
- WordPress admin dashboard.
- A WooCommerce checkout page if you run a shop.
If everything loads properly, note the time and what you updated in your change log.
How to safely update a CentOS, AlmaLinux or Rocky Linux server
Identify whether you use yum or dnf
On RHEL family systems (CentOS, AlmaLinux, Rocky Linux), yum has historically been the package manager. Newer versions use dnf as the backend while keeping the yum command for compatibility.
You can usually run:
yum --versionor
dnf --versionto see which one is present. In most modern environments, both are available and act similarly, so we will focus on dnf while noting yum equivalents.
Run updates step by step with yum or dnf
-
Check for available updates
sudo dnf check-update(On older systems you can use
sudo yum check-update.)This contacts configured repositories and lists packages that can be updated.
-
Apply updates
sudo dnf updateThis installs newer versions of packages and will show you a summary with sizes and versions before proceeding. Review the list and press
yto continue when you are satisfied.Important: if the transaction proposes removing critical services such as
httpd(Apache) ornginxwithout replacing them, pressnto cancel and investigate.
Kernel updates and controlled reboots
RHEL family distributions provide regular kernel updates through dnf update. After such an update you should plan to reboot into the new kernel at a suitable time.
To see the currently running kernel:
uname -rYou can compare this with the kernel package version shown in the update list. When ready, reboot using:
sudo rebootGive the server a minute or two, then reconnect via SSH and confirm the new kernel with uname -r again.
Check Apache, Nginx, PHP-FPM and MariaDB/MySQL after updates
As with Debian and Ubuntu, confirm key services after updates and any reboot:
-
Apache (httpd)
sudo systemctl status httpd -
Nginx
sudo systemctl status nginx -
PHP-FPM
sudo systemctl status php-fpm -
MariaDB or MySQL
sudo systemctl status mariadb
sudo systemctl status mysqld
Then browse to your sites and check both the front end and application back end (such as /wp-admin for WordPress).
Safer workflows for production servers
Using staging or a maintenance window
For production sites, especially shops and membership platforms, try to:
- Schedule a short maintenance window at quieter times.
- Let colleagues or stakeholders know in advance.
- Use a maintenance page or plugin so visitors see a clear message if needed.
This keeps expectations realistic and gives you a bit of breathing space while you work.
Testing updates on a clone or staging site first
One of the safest habits is to test server and application updates away from the live site:
- Clone your VPS or VDS from a snapshot and apply OS updates there first.
- Use a staging copy of your WordPress or WooCommerce site to test PHP and plugin updates.
If the staging system behaves correctly, you can repeat the same steps in production with more confidence.
When your traffic is large or your application is complex, it may be worth considering a managed environment where this testing and patching is handled for you, such as our managed and unmanaged virtual dedicated servers or managed WordPress hosting for single or small groups of sites.
Coordinating OS, PHP and WordPress updates
A gentle order that works well for many sites is:
- Apply OS level security and bug fix updates.
- Update PHP within the same major branch (for example 8.1.x to 8.1.y).
- Update WordPress core, plugins and themes.
- Once everything is stable, plan any major version jumps such as PHP 8.1 to 8.2 or a new distribution release.
This helps you change one layer at a time and limits the number of variables if something behaves differently.
Automating security updates (without losing control)
Unattended security updates on Debian / Ubuntu
If you prefer not to log in every time there is a new security patch, Debian and Ubuntu can install security updates automatically.
First, install the unattended-upgrades package:
sudo apt update
sudo apt install unattended-upgrades
This adds a service that can apply updates on its own. To enable automatic security updates, run:
sudo dpkg-reconfigure unattended-upgradesYou will see a text-based prompt. Choose “Yes” to enable automatic updates using the distribution’s default settings.
Good practice with unattended updates:
- Limit them to security-only changes rather than all available updates.
- Ensure you have monitoring or alerts in place so you notice if something fails to restart correctly.
- Keep a regular manual review schedule to catch non-security updates.
distro-sync and security-only updates on RHEL family systems
On RHEL, CentOS, AlmaLinux and Rocky Linux, dnf can also handle automated updates and supports security-focused operations.
For example, to see which updates are marked as security related:
sudo dnf updateinfo list securityTo apply only security updates:
sudo dnf update --securityThe distro-sync command can align installed packages with the versions currently in your repositories, which is useful when you have changed repositories or need to bring a system back to a consistent state:
sudo dnf distro-syncUse distro-sync with care and preferably within a maintenance window, as it can downgrade or upgrade packages to match the repository exactly.
Monitoring and alerting so you know when something breaks
Whether updates are manual or automated, it helps to know quickly if something has gone wrong. Useful patterns include:
- External uptime monitoring that checks your site from the public internet.
- Server level monitoring for high load, low memory or disk issues.
- Alerting on failed services such as nginx, httpd or mysql.
This does not have to be elaborate, but some form of notification gives you a chance to react before users start reporting problems.
Handling common problems after updates
Web server or PHP will not start
If a service does not start after an update, first check its status:
sudo systemctl status nginx
sudo systemctl status apache2
sudo systemctl status php-fpm
sudo systemctl status php8.2-fpm
Adjust service names to your setup. The status output often includes a brief error.
Next, inspect the logs:
/var/log/nginx/error.logfor Nginx./var/log/apache2/error.logon Debian/Ubuntu Apache./var/log/httpd/error_logon RHEL family Apache.journalctl -u php-fpmor relevant PHP-FPM unit.
Common issues include syntax errors in configuration files or modules failing to load. If you recently changed configuration files, consider temporarily reverting those changes or restoring them from backup.
WordPress or WooCommerce errors after a PHP or database update
After PHP or database updates you may see:
- Blank pages or HTTP 500 errors.
- Deprecated function warnings.
- Database connection errors.
Useful steps:
- Check the web server error logs; they often include PHP error messages.
- Temporarily enable WordPress debugging in
wp-config.phpto see which plugin or theme is causing issues. - Confirm that the PHP extensions your site needs are still installed and enabled.
- Verify database credentials in
wp-config.phpif you see connection errors.
If a specific plugin is not compatible with your new PHP version, you may need to downgrade PHP within the same minor branch temporarily or replace the plugin with a maintained alternative.
Rolling back safely: using backups and snapshots
If you are not satisfied with the result of an update, resist the urge to run complex downgrade commands unless you are very comfortable with your package manager. Safer options include:
- Reverting to a VPS snapshot taken before the update.
- Restoring site level backups to a previous working state while you investigate.
Rolling back a snapshot usually replaces the entire server state, so be mindful of any data or uploads made since it was taken. For busy sites, it can help to take database specific backups more frequently than full system snapshots.
A simple, repeatable patching routine for your VPS or VDS
Suggested monthly routine for smaller sites
For modest traffic sites or portfolios, a monthly pattern can work well:
- Choose a quiet time and create a server snapshot.
- Log in via SSH and apply OS updates as described for your distribution.
- Reboot if required and verify services.
- Update WordPress core, plugins and themes.
- Record what you changed and note any observations.
This keeps you reasonably up to date without consuming much time month to month.
Suggested weekly routine for busy WooCommerce or high traffic sites
For more active businesses, especially online shops, it is worth increasing the frequency:
- Weekly:
- Check and apply OS security updates.
- Update WordPress, WooCommerce and critical plugins.
- Verify checkout and key user flows.
- Monthly or quarterly:
- Review PHP and database versions.
- Plan any major version changes with testing on staging first.
- Review server disk, CPU and RAM usage to plan capacity.
To keep performance stable under load, especially during busy periods, it can also help to control incoming traffic and asset optimisation. The G7 Acceleration Network can reduce server strain by optimising images on the fly into AVIF and WebP and filtering abusive bot traffic before it reaches PHP or the database.
When to hand patch management over to a managed VDS or managed WordPress
You might consider handing over patch management if:
- You find yourself delaying updates because you are worried about the impact.
- Your business relies heavily on your sites and you prefer clear service level expectations.
- You manage many sites and the time spent on updates is affecting other work.
In those cases, letting a provider handle OS patching, monitoring and incident response on a managed and unmanaged virtual dedicated servers plan, or using managed WordPress hosting for individual sites, can reduce operational load so you can focus on the application and content rather than the underlying platform.
Summary: keep your Linux server secure without constant stress
Safe patching is mostly about habits:
- Know your environment and access methods.
- Keep reliable, testable backups and snapshots.
- Apply updates regularly in small, understandable steps.
- Check your services and applications after each change.
- Write down what you changed so that future you has helpful context.
If you would like to spend less time on these routines and more on your sites or applications, you can explore our managed and unmanaged virtual dedicated servers and managed WordPress hosting options as a calm next step. They are designed to let you choose how much of the server care you want to keep in your own hands.