Practical WordPress Speed Optimisation for Non‑Developers: From 8 Seconds to Under 2 Seconds
Why WordPress Speed Matters More Than You Think
What “8 seconds vs 2 seconds” means in real terms
An 8 second load time often feels like “the site is broken” to a visitor. People tap a link, stare at a blank or half‑loaded page, and many simply give up. A 2 second load, on the other hand, feels normal and trustworthy. The page appears, they can scroll, and they start reading or buying.
For a UK business site, the practical differences are:
- Bounce rate: More visitors leave before the page loads at 8 seconds. At 2 seconds, many more stay long enough to see your offer.
- Perceived professionalism: A slow site suggests an under‑resourced or neglected business. A fast site feels organised and reliable.
- Staff time: Slow admin screens in WordPress mean your team spends more time waiting to update products, pages or blog posts.
You do not have to hit “perfect scores” to see real gains. Moving a key page from 7–8 seconds to under 2–3 seconds often brings a visible jump in enquiries, sign‑ups or sales.
Impact on conversions, SEO and trust
Google has said for years that speed is one of many ranking factors, especially on mobile. That does not mean fast sites are always at the top, but slow, heavy sites make it harder to compete. Faster pages usually mean:
- Better engagement on landing pages, which supports your SEO efforts.
- Higher conversion rates on forms and checkouts.
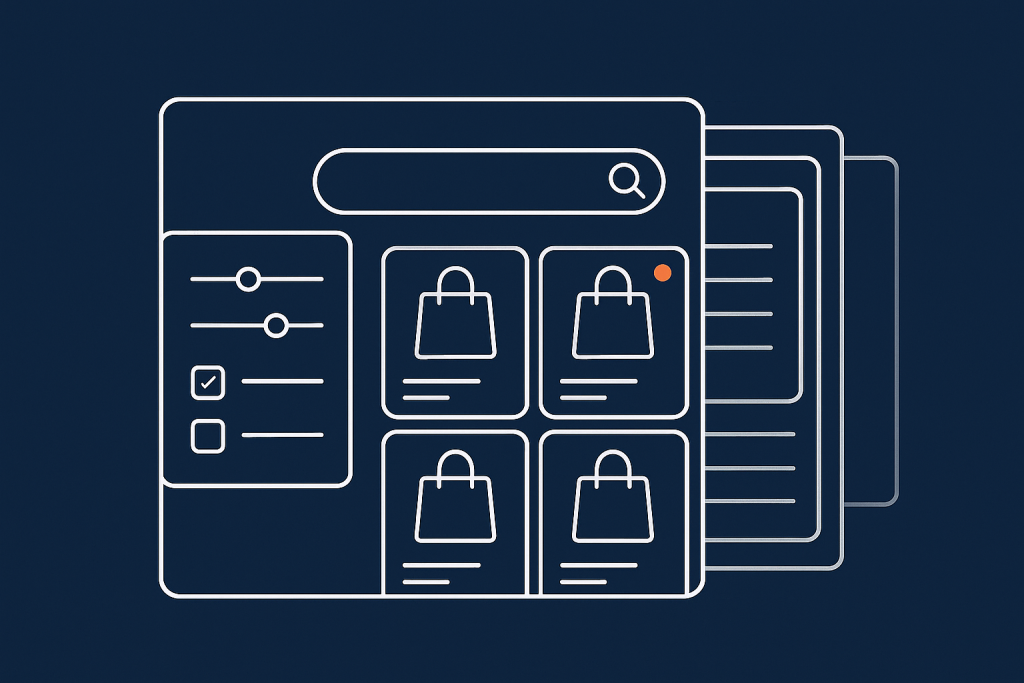
- Fewer abandoned baskets on WooCommerce stores.
Core Web Vitals are Google’s way of measuring user experience, including loading and visual stability. If you want a deeper explanation of those metrics in plain English, the guide Practical Core Web Vitals for WordPress: A Non‑Developer’s Guide for UK Business Sites is a useful next read once you have basic speed under control.
What you can realistically fix without being a developer
You do not need to write code to see a big speed improvement. As a non‑developer, you can safely:
- Measure your current speed with realistic tests.
- Clean up heavy plugins, unused themes and unneeded features.
- Improve hosting quality by choosing better managed WordPress hosting.
- Set up page caching using a well‑established plugin or an acceleration service.
- Optimise images and trim third‑party scripts.
- Put in place a simple monthly check so speed does not quietly decline again.
This article walks through these steps in a practical, non‑technical way, with a 30‑day checklist at the end.
First Step: Measure Where You Are (Without Guesswork)
Tools to use: GTmetrix, PageSpeed Insights and WebPageTest
Before changing anything, you need to know where you stand. Three free tools are particularly useful:
- GTmetrix – Combines load time, waterfall charts and simple grades. Choose a UK or nearby test location if possible.
- PageSpeed Insights – Google’s tool that shows mobile and desktop scores plus Core Web Vitals. It uses both lab tests and real‑world Chrome user data where available.
- WebPageTest – Very detailed, but you can keep to the basics: test location, connection speed and load time.
You do not need to obsess over every score. Focus mainly on a few key numbers.
Key numbers to watch: load time, TTFB, page weight and requests
When you run a test, look for:
- Load time (or “Fully Loaded”, “Document Complete”): Roughly how long it took the page to finish loading. Aim eventually for under 2–3 seconds on a reasonable connection.
- TTFB (Time To First Byte): How long it takes before the first piece of data comes back from your server. Over about 600–800 ms on a simple page often points to hosting or server‑side issues.
- Page weight: Total size of the page, usually shown in MB. Over 2–3 MB for a simple business page, or over 4–5 MB for most shops, is often a sign that images or scripts are too heavy.
- Number of requests: How many separate files are loaded (images, CSS, JavaScript, fonts, etc.). Over 100 requests is not automatically bad, but very high numbers usually mean more work for the browser.
How to run a fair test and avoid misleading results
To get meaningful results:
- Test logged out: Use an incognito/private window and make sure you are not logged into WordPress.
- Choose realistic locations: If your customers are mainly in the UK, use a London or nearby European test location where possible.
- Run multiple tests: Run each test 3 times and look at the median (middle) result. The first run may be slower if caches are cold.
- Test different pages: Do not only test the home page. Test at least one key landing page and, for WooCommerce, a product page and checkout.
Create a simple baseline: home page and one key landing page
Create a small spreadsheet or note with:
- Page URL.
- Tool used.
- Test location.
- Load time.
- TTFB.
- Page weight.
- Number of requests.
Record this for your home page and one key commercial page, such as your main service page or a top‑selling product. This is your baseline. You will re‑test after each set of changes to see what really helped.
If you want to go deeper into reading these test results, the article How to Diagnose Slow WordPress Performance Using Real Tools and Metrics offers a more technical walkthrough that you can refer to alongside this guide.
Your Hosting Foundation: Fix Speed Problems You Cannot Plugin Away
How poor hosting shows up in test results (TTFB, big spikes, timeouts)
Some speed problems are not fixable with plugins or tweaks. They come from the server itself. Signs of underpowered or overloaded hosting include:
- High TTFB everywhere: Even a simple page with little content shows 1–2+ seconds TTFB in GTmetrix or WebPageTest.
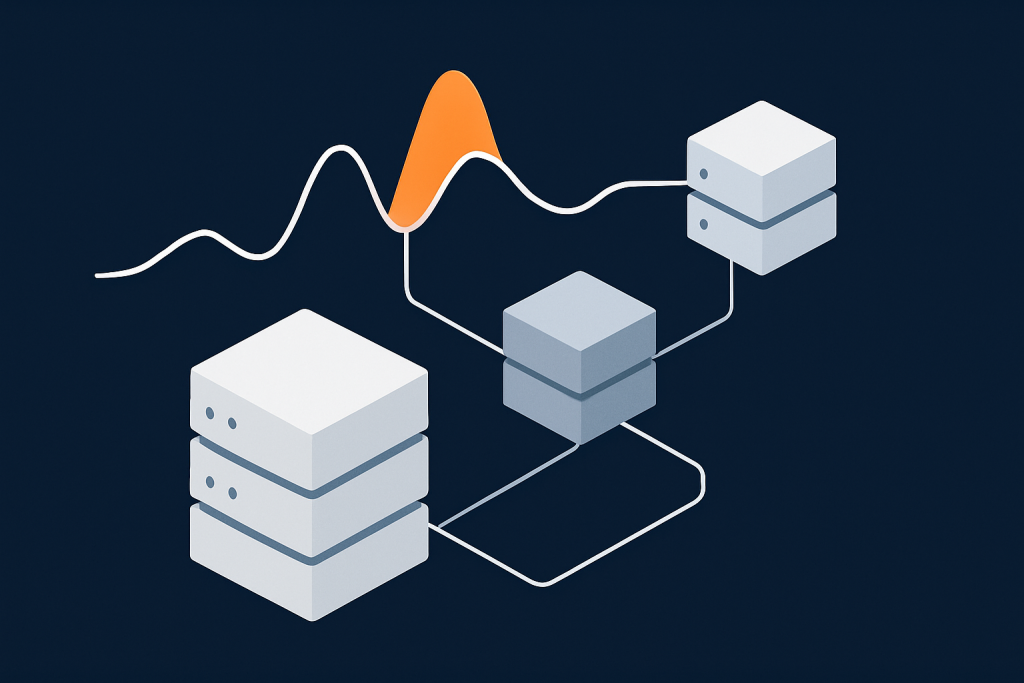
- Big variations between tests: One test shows 2 seconds, the next shows 7, then a timeout. That often means the server is struggling at busy times.
- Slow WordPress admin area: If wp‑admin feels sluggish even with few plugins enabled, your PHP or database resources may be tight.
- Frequent 502/503 errors: These “server not available” type messages suggest resource limits or crashes.
You can carry out many front‑end optimisations, but if the foundation is weak, you will only get so far. This is where improved web hosting performance features can make more difference than another plugin.
What a fast WordPress hosting setup looks like in plain English
A good WordPress hosting environment for UK businesses usually includes:
- Modern PHP versions (such as PHP 8.1 or 8.2) properly tuned for WordPress.
- SSD or NVMe storage for fast database and file access.
- Server‑level caching or an edge acceleration layer that handles caching and compression before requests hit PHP.
- Isolated resources so your site is not heavily affected by someone else’s traffic spikes on the same server.
- Data centres near your audience, for example in London or Amsterdam for UK‑focused sites.
Managed WordPress hosting with a provider like G7Cloud typically includes these elements plus automatic updates, backups and built‑in caching, which takes pressure away from non‑technical site owners.
When to move from basic shared hosting to managed WordPress or VDS
Consider moving away from entry‑level shared hosting when:
- You see persistently slow TTFB and big test result spikes.
- Your WooCommerce store slows noticeably during busy campaigns.
- Your host throttles or suspends you for “resource abuse” despite normal business traffic.
- You rely on the site for revenue and cannot afford random slowdowns.
A step up could be either fully managed WordPress hosting or a virtual dedicated server (VDS) if you need more isolation and control. Managed WordPress is usually simpler for non‑developers: the host tunes the stack, sets up caching and handles much of the maintenance for you.
Quick Wins Any Site Owner Can Do in an Afternoon
Clean up heavy plugins and themes without breaking your site
WordPress sites often slow down over time because of plugin bloat. A typical clean‑up process:
- List your plugins: In the WordPress dashboard, go to Plugins > Installed Plugins. Note what each one is for.
- Identify duplicates: Do you have multiple form plugins, page builders or SEO tools doing similar jobs?
- Check last used and necessity: If you cannot remember why a plugin is installed, it is a candidate for removal.
- Deactivate, test, then delete: Deactivate one or two at a time, check your site (especially key landing pages and checkout), then remove anything clearly not needed.
Keep an eye out for “all‑in‑one” plugins that bring sliders, forms, analytics, popups and more in one bundle. They are convenient but often heavy. It can be better to use a lighter, focused plugin for each job.
Similarly, delete unused themes from Appearance > Themes so WordPress only needs to maintain your active theme and one default theme as a fallback.
Disable what you are not using: sliders, trackers, live chat and extras
Many themes ship with sliders, animation effects and built‑in page sections that you simply never use. On live pages, extras like:
- Hero sliders and carousels.
- Multiple tracking scripts (e.g. old Facebook pixels, unused analytics tools).
- Live chat widgets, particularly on every page.
- Social media feeds pulling in external content.
all add load time. Decide what is essential to your visitor and what is not. For example:
- Replace sliders with a single, well‑designed static hero image and clear call to action.
- Consolidate analytics into one primary tool where possible.
- Limit live chat to key commercial pages or show it only after a short delay.
Many chat and marketing tools have built‑in options to delay loading or to appear only once the user interacts. Those small changes can shave seconds off on slower devices.
Update WordPress, themes and PHP for instant performance gains
Newer versions of WordPress, themes and PHP are often faster and more secure. As a non‑developer, you can:
- Take a backup through your host or a plugin.
- Update plugins and themes from the dashboard, ideally in small batches.
- Ensure WordPress core is on a current supported version.
- Ask your host to upgrade your PHP version to a current, supported release.
Switching from an older PHP version such as 7.4 to 8.1 or 8.2 alone can give an immediate speed boost for PHP‑heavy sites. There is a separate guide, Understanding PHP Versions and Why They Matter for WordPress, if you want reassurance before requesting a change.
Smart Caching: Making WordPress Feel Instant
What caching actually is in simple terms
By default, every page view in WordPress means:
- The server runs PHP code.
- WordPress pulls data from the database.
- The server builds the final HTML page.
This happens for every single visit. Caching stores the finished page so that, for the next visitor, the server can simply serve the stored copy instead of doing all the work again.
The result is usually a big drop in TTFB and total load time, especially on pages that do not change every second.
Page caching vs browser caching vs object caching
There are several layers of caching that you will see mentioned:
- Page caching: Stores complete HTML pages. This is the most noticeable win for most sites and can be handled by a plugin or an edge network like the G7 Acceleration Network.
- Browser caching: Tells the visitor’s browser how long to keep static files (images, CSS, JavaScript) so it does not have to re‑download them on every visit.
- Object caching: Stores database query results in memory using tools like Redis or Memcached. This is more advanced and especially useful for large or dynamic sites.
If you are not technical, start with page caching and basic browser caching. You can explore object caching later or with help from your host.
How to set up page caching safely as a non‑developer
If your host does not already provide caching, a straightforward approach is:
- Choose a reputable caching plugin with clear documentation and active support.
- Install and activate it, leaving advanced settings on their defaults at first.
- Enable page caching and, if available, basic browser caching.
- Test as a logged‑out user, especially checkout and contact forms.
Avoid stacking multiple caching plugins. One well‑configured caching layer is far better than several conflicting tools.
Special cases: WooCommerce carts, checkouts and logged‑in users
Caching does not suit every page. For WooCommerce and membership sites:
- Do not cache carts, checkouts or “My Account” pages.
- Be careful with pages that show personalised content to logged‑in users.
- Use the plugin’s built‑in rules for WooCommerce, or your host’s guidance, to exclude sensitive URLs from caching.
Many caching systems and managed WordPress platforms automatically detect and bypass cart and checkout pages, but it is worth confirming in your setup.
How the G7 Acceleration Network handles caching automatically
A managed acceleration layer such as the G7 Acceleration Network can take most of the complexity away. It sits in front of your site, caching pages at the network edge and serving them close to visitors, with built‑in awareness of WordPress and WooCommerce so carts and logged‑in areas stay dynamic. For many non‑developers, this is simpler and safer than fine‑tuning multiple plugins.
Cut Image Weight Without Destroying Quality
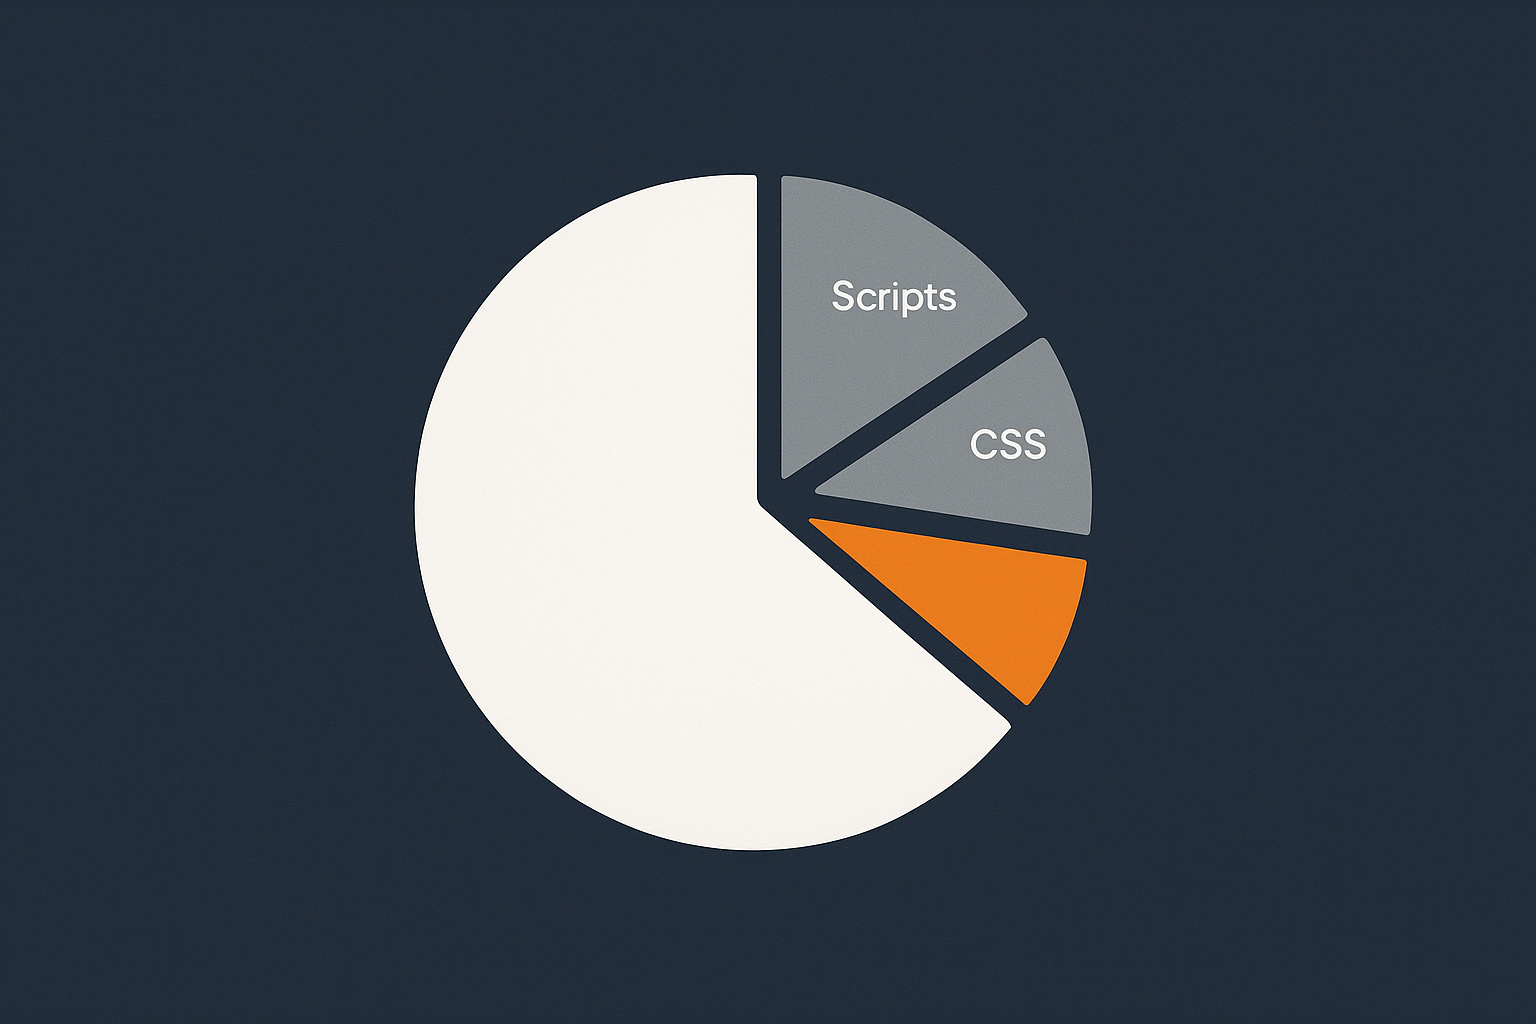
Why images are usually the biggest part of your page weight
On many WordPress sites, images make up 50–80 percent of the total page size. A few large hero images or uncompressed product photos can easily push a page over 5–10 MB, especially if they came straight from a camera or stock library.
This hurts mobile users in particular, who may be on slow or capped connections. Reducing image size usually gives the biggest and quickest win on load time.
Right sizing images for your layout (without a designer)
You do not need design skills to get image dimensions under control:
- Identify the widest size images are displayed on your site (for example, hero images at 1400–1600 pixels wide, blog images at 800–1000 pixels).
- Use a basic editor (such as Preview, Photos, or an online tool) to resize large originals down to just above the display size. There is rarely any benefit in uploading a 4000‑pixel image for a 1200‑pixel space.
- Aim for a sensible compromise: large enough to look good on desktop, not so large it is wasteful.
It also helps to set sensible max widths in your theme so images do not stretch unnecessarily across very large screens.
Compressing and converting to modern formats (WebP and AVIF)
After resizing, compression is the next step. Most image optimisation plugins will:
- Apply lossless or lossy compression to JPEG and PNG files.
- Convert images to modern formats like WebP, which are usually smaller for the same quality.
- Offer bulk optimisation to update existing media library items.
AVIF is a newer image format that can reduce file sizes further than WebP in many cases, while still giving good visual quality. For most non‑developers, it is enough to use a tool or service that simply converts images to the best available format automatically so you do not have to manage it yourself.
How the G7 Acceleration Network optimises images on the fly
Some providers now build image optimisation into their acceleration layer. With the G7 Acceleration Network for example, images are automatically converted on the fly to modern AVIF and WebP formats where supported, typically shrinking file sizes by over 60 percent while keeping quality appropriate for real‑world sites. This runs outside WordPress, so you do not need extra plugins or to change how you upload media.
Taming Third‑Party Scripts, Fonts and Embeds
How marketing tags, chat widgets and embeds silently slow you down
Every external script or embed you add is another request that can delay your page:
- Tag managers loading multiple analytics and advertising trackers.
- Live chat widgets that connect to external servers.
- Embedded YouTube or Vimeo videos, maps, social feeds and review widgets.
- External font services such as Google Fonts or Adobe Fonts.
Individually, each may look harmless, but together they add up. Worse, if a third‑party service is slow or blocked on a corporate network, it can hold up your page render.
Prioritise: what to keep, delay or remove
A simple way to decide what to do with each script:
- Essential and high‑value (keep): Core analytics (for example, Google Analytics), key conversion tracking tag, and legally required scripts (for example, some consent tools).
- Useful but not urgent (delay): Live chat, social feeds, some video embeds. Configure these to load after user interaction or a short delay.
- Low value or unused (remove): Old remarketing pixels from past campaigns, legacy analytics accounts, decorative widgets no one uses.
Often you can reduce a handful of scripts to a single, well‑configured tag manager setup, and remove at least one or two widgets with no real impact on marketing performance.
Practical ways to lazy load iframes, maps and videos with plugins
Lazy loading means deferring the load of heavy content until it is needed. For example:
- Replacing embedded videos with a static thumbnail that only loads the video player when clicked.
- Loading maps only when the user clicks “View map” rather than loading the iframe on initial page load.
- Using plugin settings to lazy load YouTube, Vimeo and Google Maps blocks.
Several performance and optimisation plugins provide simple toggles for “Lazy load iframes” or “Replace YouTube embeds with preview image”. These are usually safe options for non‑developers and can dramatically cut initial page weight.
Keeping WordPress Fast: Ongoing Checks That Fit In Your Month
Simple monthly speed health check process
Once you have got your site under 2–3 seconds, the main risk is slow creep as new content, plugins and scripts are added. A light‑touch monthly routine can prevent that:
- Run a quick GTmetrix or PageSpeed Insights test on your home page and one key commercial page.
- Compare results with your baseline. Watch for sudden jumps in page weight or load time.
- Check your plugin list for anything new or unused.
- Review recent large media uploads (for example, a new homepage hero image or video background).
This need not take more than 20–30 minutes a month once you know what to look for.
What to watch after a design change, plugin install or campaign launch
Major changes are when performance problems are most likely to appear. After any of these:
- New theme or major design refresh.
- Installation of a visual builder or complex plugin.
- Launch of a new tracking or advertising campaign.
run fresh tests on affected pages. Look for:
- Large new images or video backgrounds.
- Extra JavaScript files or fonts loaded by the new theme.
- New third‑party scripts from campaign tracking.
If you catch issues early, they are easier to fix before being baked into multiple pages.
When to call in help from your hosting provider or a developer
There is a sensible point to seek more expert help:
- Your TTFB remains high despite caching and basic clean‑up.
- Your WooCommerce checkout or account areas are slow and you cannot see an obvious cause.
- Your site slows or fails under modest traffic, even though you have followed the best practices above.
First, raise a ticket with your host. A good provider of managed WordPress hosting should help interpret logs, suggest configuration changes and confirm whether the issue is resource‑related. If the problem lies within your custom theme or plugins, a developer may then need to look at code‑level optimisations.
When Speed Issues Are Really About Traffic and Bots
Bad bots, fake traffic and why your site feels slow at random times
Sometimes, your site is fast on tests but feels slow to real users at random times. A common cause is automated traffic:
- Scrapers copying your content or prices.
- Bots hammering the login page to try brute‑force attacks.
- Over‑eager SEO tools crawling every URL repeatedly.
These requests still consume server resources even though they provide no value. On lower‑cost shared hosting, a burst of bad bot activity can slow down or temporarily knock out real customers’ sessions.
How bot filtering and edge protection keep your server calm
Bot filtering and edge protection aim to stop abusive or non‑human traffic before it reaches WordPress. This can include:
- Blocking known bad user agents and IP ranges.
- Rate‑limiting repeated requests to sensitive URLs (like wp‑login.php).
- Serving cached pages to search engine crawlers rather than letting them hit PHP every time.
Offloading this work to a network edge layer can stabilise performance during busy periods and reduce the risk of slowdowns that are difficult to diagnose from inside WordPress itself.
How the G7 Acceleration Network reduces load before it hits PHP
Acceleration platforms such as the G7 Acceleration Network include bot protection features that inspect and filter abusive or clearly non‑human traffic at the edge, before it touches PHP or the database. This reduces wasted server load, helps keep response times more consistent and lowers the chance of avoidable downtime when genuine visitors arrive in a rush.
Putting It All Together: A 30‑Day Plan to Go From 8 Seconds to Under 2

Week 1: Measure, baseline and quick hosting / PHP wins
Goals: Understand your current situation and fix foundation issues.
- Run GTmetrix and PageSpeed Insights tests on your home page and one key landing page, then record load time, TTFB, page weight and requests.
- Check for obvious hosting problems: very slow or inconsistent TTFB, frequent timeouts, slow wp‑admin area.
- Raise any concerns with your current host; if necessary, plan a move to better managed WordPress hosting or a virtual dedicated server.
- Update WordPress core, themes and plugins (with a backup in place).
- Ask your host to move you to a current PHP version (for example 8.1 or 8.2) after confirming compatibility.
Week 2: Caching and image optimisation in place
Goals: Cut server processing time and shrink page weight.
- Enable server‑level or plugin‑based page caching, making sure WooCommerce carts, checkouts and “My Account” pages are excluded.
- Turn on browser caching for static assets via your caching plugin or hosting control panel.
- Install and run an image optimisation solution to resize and compress large existing images where needed.
- Set a simple workflow for new image uploads: resize to sensible pixel dimensions and avoid uploading raw camera files.
If your hosting includes an acceleration layer like the G7 Acceleration Network, much of this is automated: pages are cached at the edge and images are converted to efficient AVIF and WebP formats on the fly, often cutting image file size by over 60 percent without you changing anything inside WordPress.
Week 3: Plugin clean‑up and third‑party script trimming
Goals: Remove unnecessary work from every page view.
- Audit all plugins, removing those that are unused, duplicated or low‑value.
- Reduce heavy “all‑in‑one” plugins where possible in favour of lighter, focused alternatives.
- Review third‑party scripts via your tag manager or theme settings. Remove old tracking tags and retired campaign pixels.
- Configure live chat and social widgets to load only where they are genuinely needed or after user interaction.
- Enable lazy loading for videos, iframes and maps in your performance or caching plugin.
Retest your key pages at the end of the week and compare to your Week 1 baseline. You should see measurable drops in load time and page weight.
Week 4: Final tuning, retesting and setting up ongoing checks
Goals: Reach a stable fast state and put monitoring in place.
- Fine‑tune any remaining caching or optimisation settings, such as minifying CSS/JS if your site remains stable with it enabled.
- Check WooCommerce flows or key forms under realistic use as a logged‑out user from a mobile device.
- Run final performance tests from a relevant UK or nearby location and record your new baseline.
- Set a simple monthly reminder for your speed health check and define a change checklist for major theme or plugin updates.
If, after these steps, you are still struggling to get under 2–3 seconds, it may be time to ask your host for deeper investigation or to involve a developer to look at custom themes and database queries. For many UK business and WooCommerce sites, however, these practical, non‑developer‑friendly steps are enough to move from frustrating 8‑second waits to a much more comfortable experience for your visitors.
If you would prefer not to manage caching layers, image formats and bot protection yourself, it is worth exploring managed WordPress hosting that includes an acceleration network like the G7 Acceleration Network. That combination lets you focus on running your business while the hosting platform handles much of the day‑to‑day work of keeping WordPress fast, secure and stable.